How to Tap Maple Trees – a tutorial on how to tap maple tree and gather sap to make maple syrup.
Maple syrup – real maple syrup. It is simply a must-try. During my childhood, heading out into the woods during the month of March was something I looked forward to every year. We’d go collect the sap, boil it down while we ate hot dogs over a fire and then have maple syrup over our pancakes the next morning. Looking back now, I didn’t realize just how lucky I was!
What You Will Need
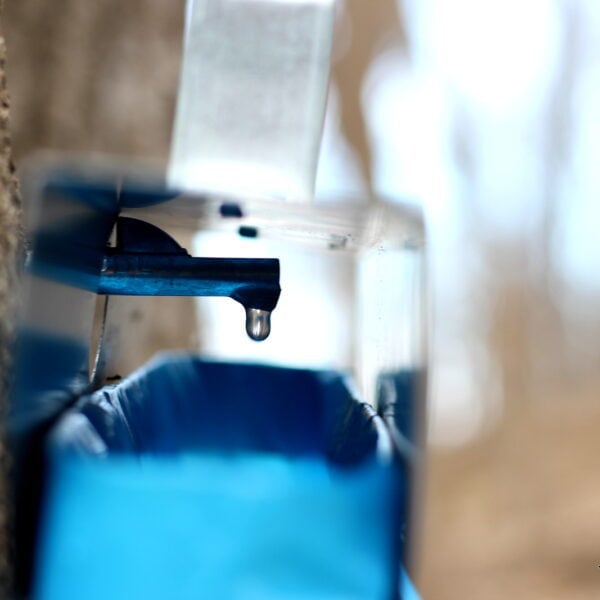
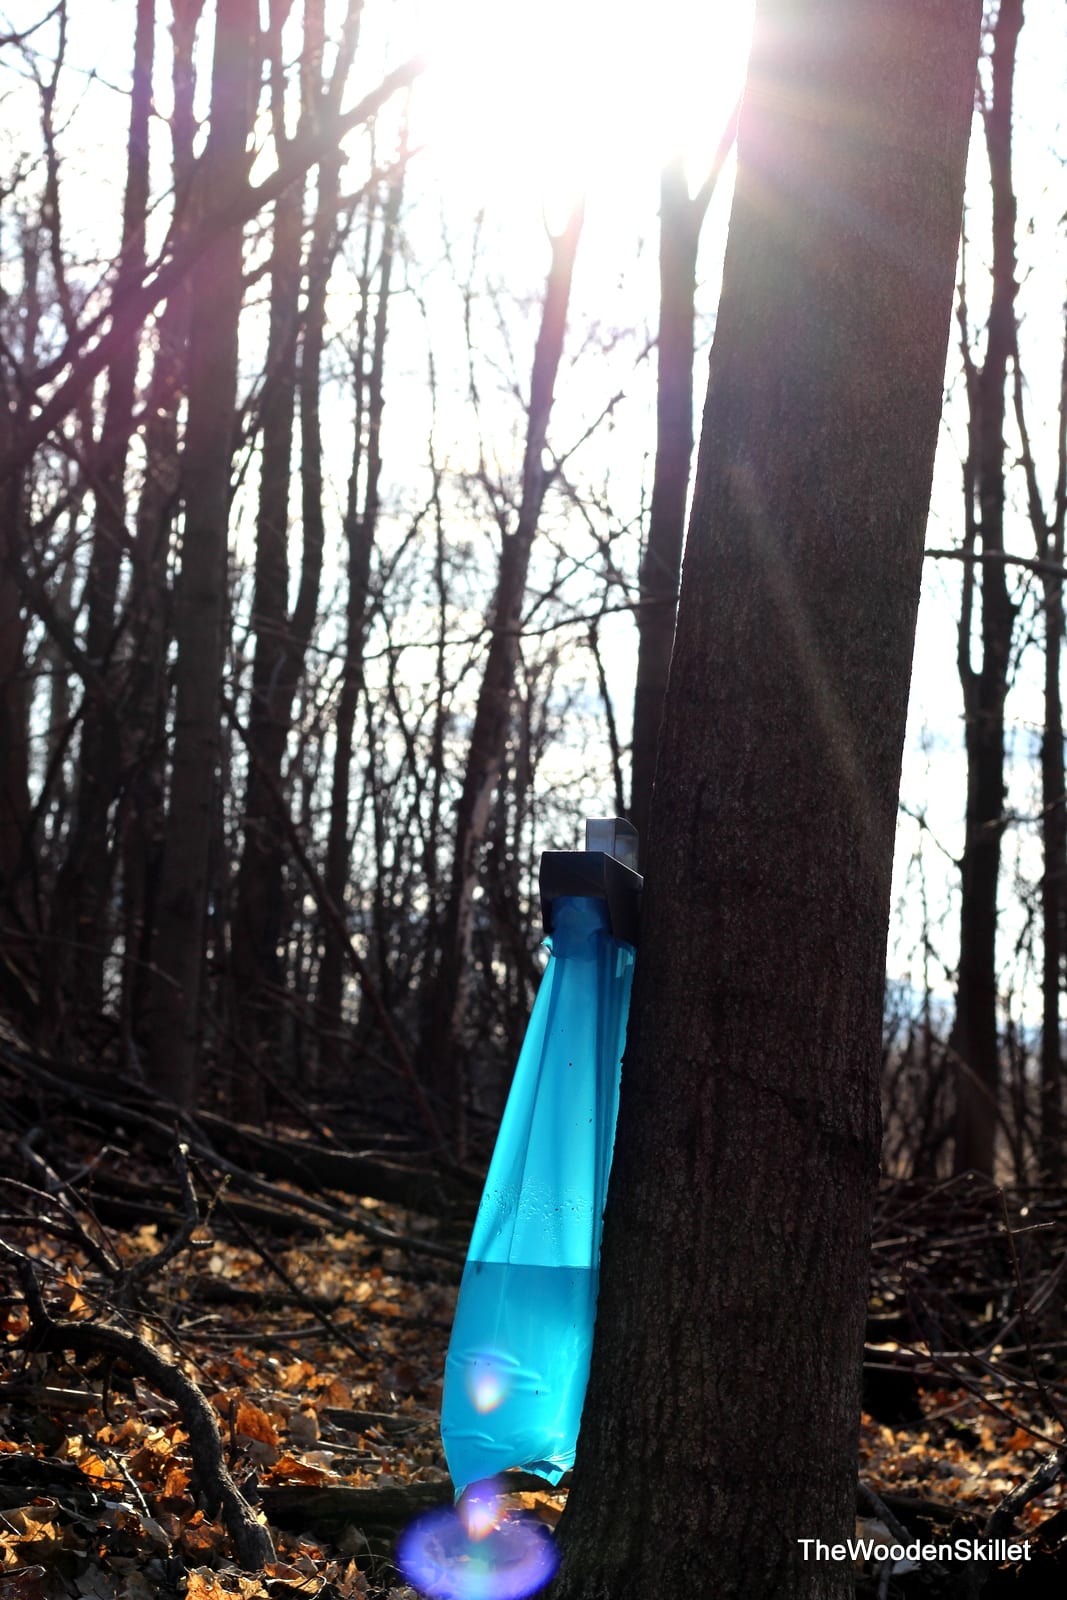
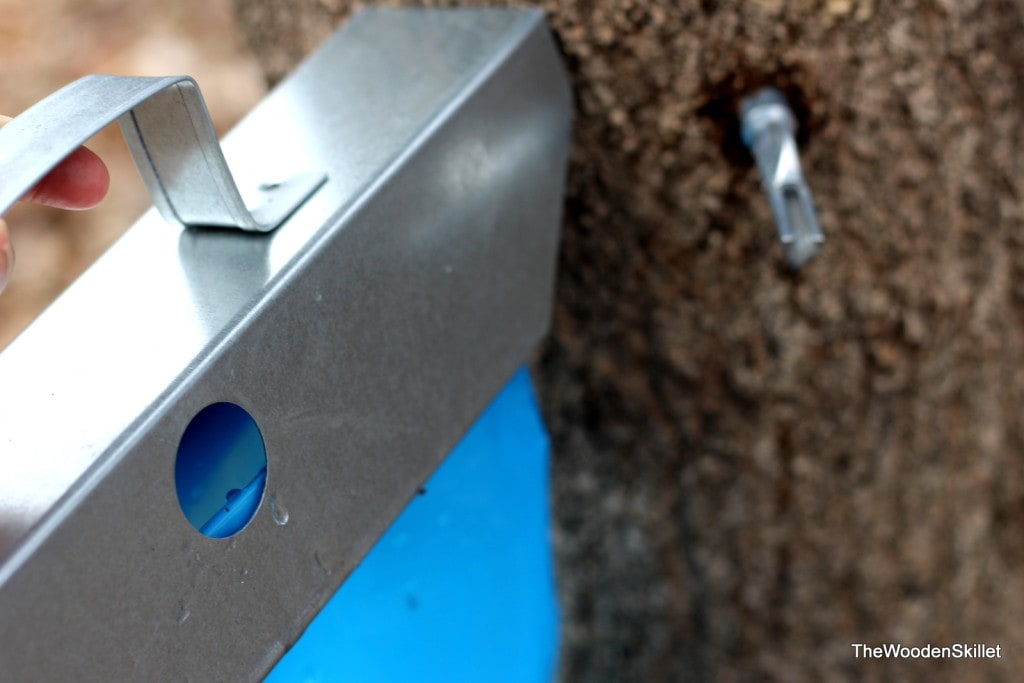
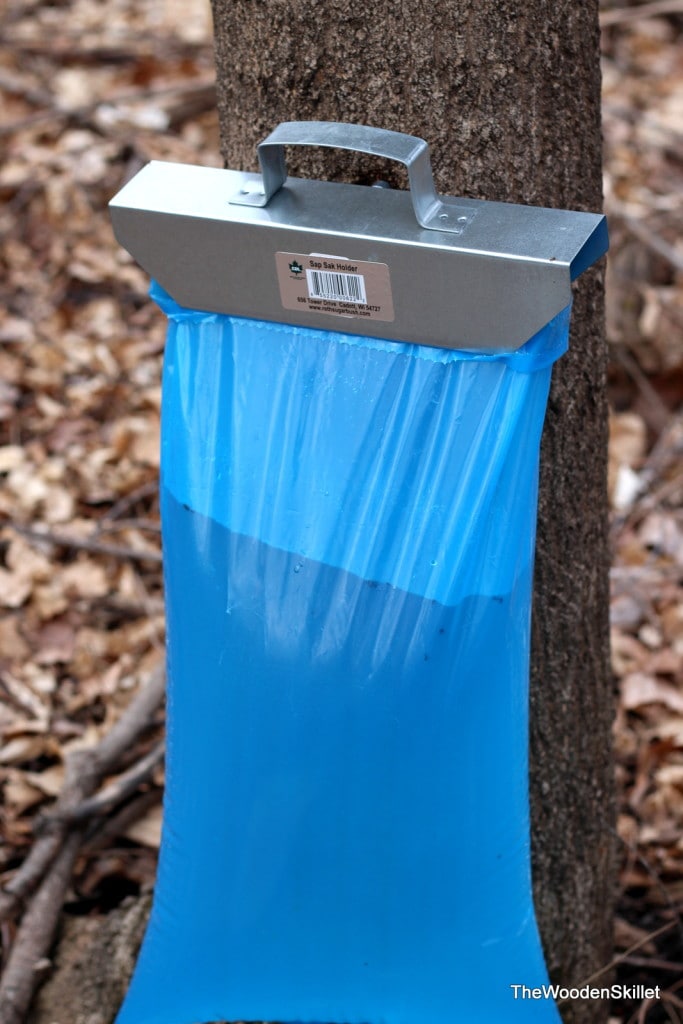
- Taps – Taps can be plastic or metal. Plastic taps are little cheaper and you typically use a plastic hose to connect the tap to a bucket that sits on the ground to collect sap. With metal taps, you typically use a bag that hangs off of the metal tap, like in the picture below:
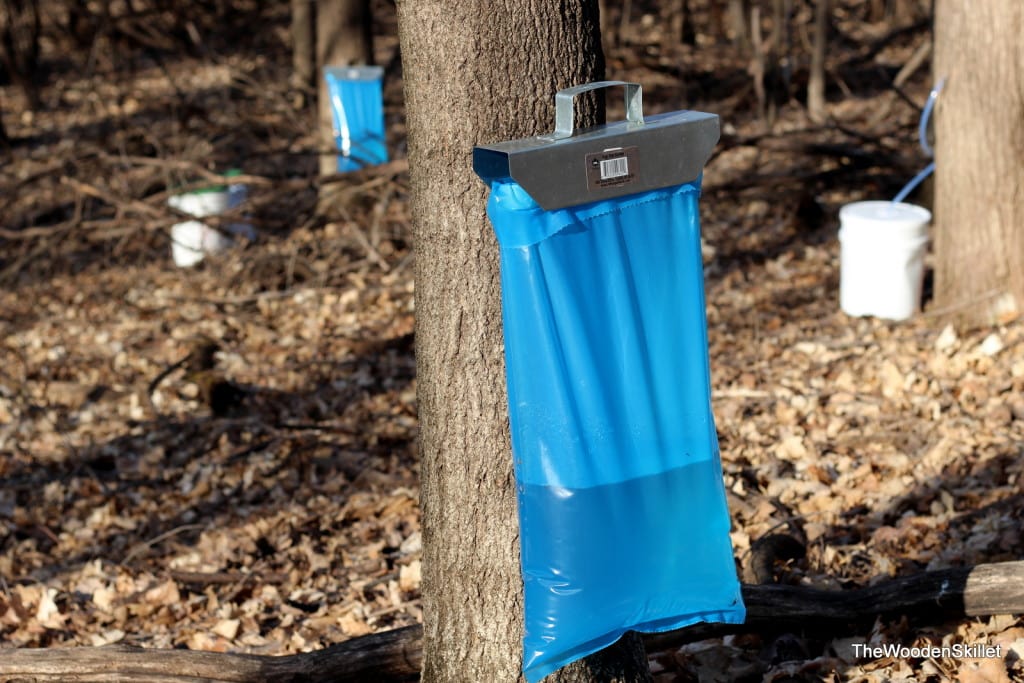
- Bags + Sack Holder: The bag hangs on the tap and the sap runs through the tap and fall into the bag. You could also simple catch the sap in a food-grade bucket, but it will end up with more debris and dirt in it.
- Food Grade Bucket: this will help store your gathered sap until you boil it down to make maple syrup.
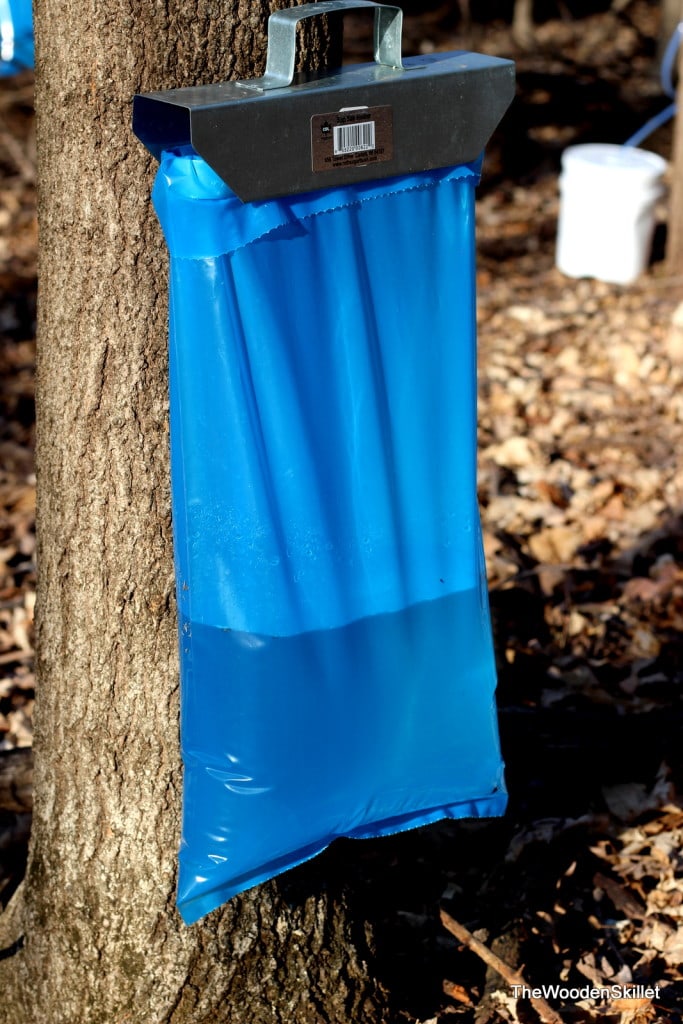
Here is a picture showing how the blue bag hangs on the metal tap:
SEE ALSO: How to Make Maple Syrup (this post shows you what you need to do to make maple syrup once the sap is collected).
How to Locate Maple Trees
Locate Sugar Maple Trees: The goal would be to find your sugar maple trees before they lose their leaves in the fall so that you would be able to identify them better (see, I am telling you now so you have plenty of time to stake them out over the summer). Sugar maple trees can be identified by a number of things: opposite branching and usually five-pointed leaves that are yellow or red in color. It is best to use Sugar Maple trees as opposed to other types of maples trees as the sugar concentration is higher. The ratio of sap to maple syrup for a sugar maple is 40:1 (so you need 40 gallons of sap to make 1 gallon of maple syrup).
Other Types of Maple Trees (and their sap to maple syrup ratio)
- Douglass Maple- 40:1
- Box Elder- 60:1
- Birch- 100:1
When can you start tapping maple trees
Generally, sap runs starting the end of February through approximately the end of March, or whenever the temperature at night consistently stops dipping below freezing overnight. You can also tell sap-season is over when the sap changes from clear to opaque to cloudy. Cloudy sap = season over. The best time to tap, when you will get the most sap, is when nighttime temps dip below freezing and daytime temps rise above freezing. The pressure build-up due to this change in temps supposedly allows for a larger amount of sap to run the following day.
How many taps per tree when sapping
Plan out your taps/When to tap: Measuring the tree circumference at breast-height and follow these guidelines:
- 10-14 inches = 1 tap per tree;
- 15-19 inches = 2 taps per tree;
- 20-24 inches = 3 taps per tree.
Even if your tree is larger than 24 inches, it isn’t recommended to use more than 3 taps. It is best to tap on the South side of the tree and never tap the same place on the tree two years in a row. It is best to keep alternating spots.
How to tap a maple tree:
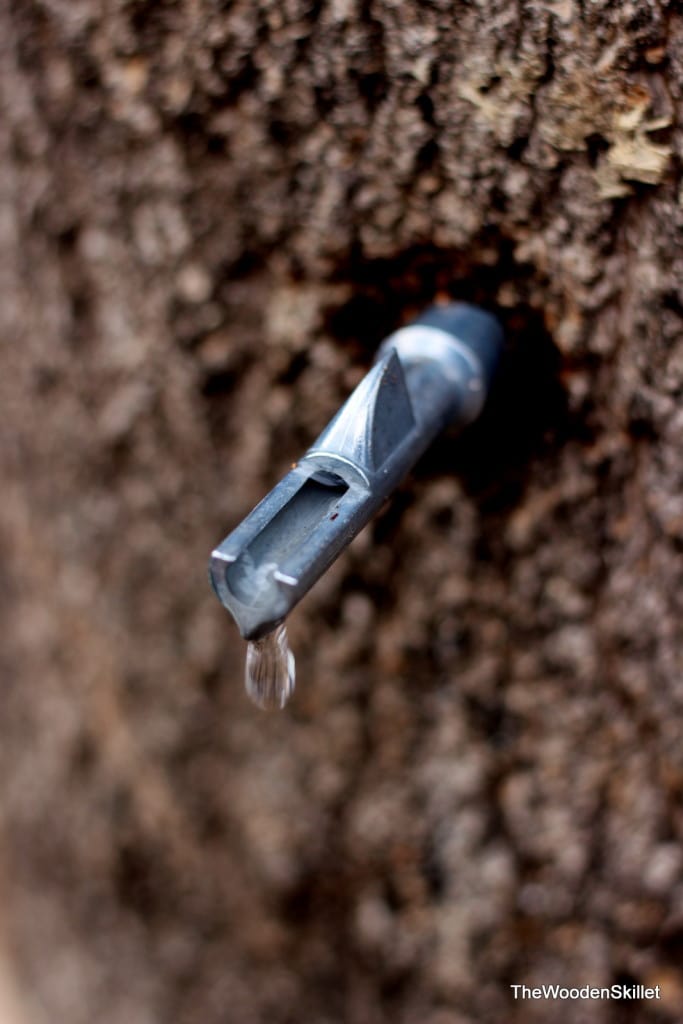
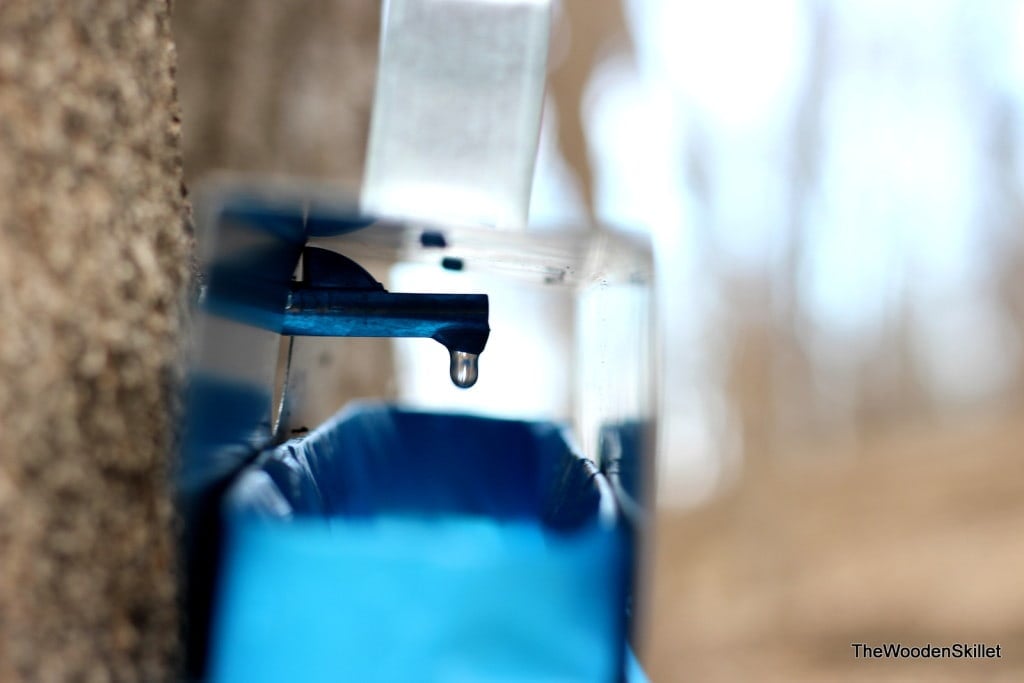
- Take a metal bit and drill a 7/16th hole, going into the tree an inch and a half at a slightly upward angle.
- Insert tap and then set up either bag or bucket (use a food-grade bucket! Do not use a bucket you would get from Home Depot or the like – the plastic they use in those buckets were not made for food).
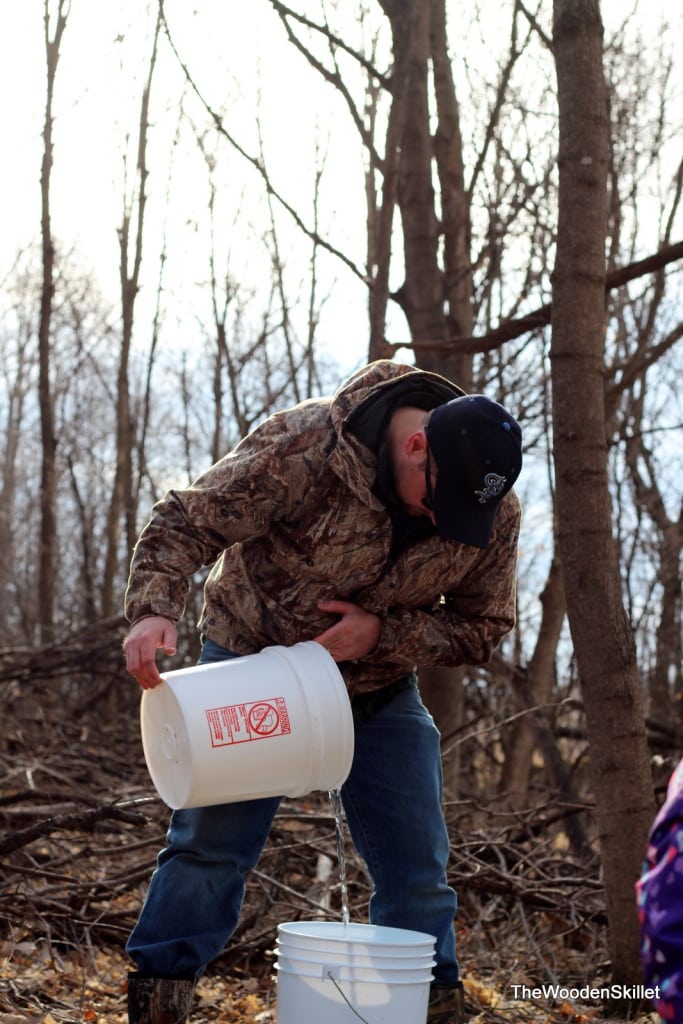
How to collect and store sap from a maple tree
Collecting and Storing Sap: Check your trees daily (or more or less). You want to keep your sap in a cold place and boil it down as soon as possible. That being said, I wouldn’t recommend boiling every day – waiting a few days, as long as the sap stays cool/cold, will be okay.
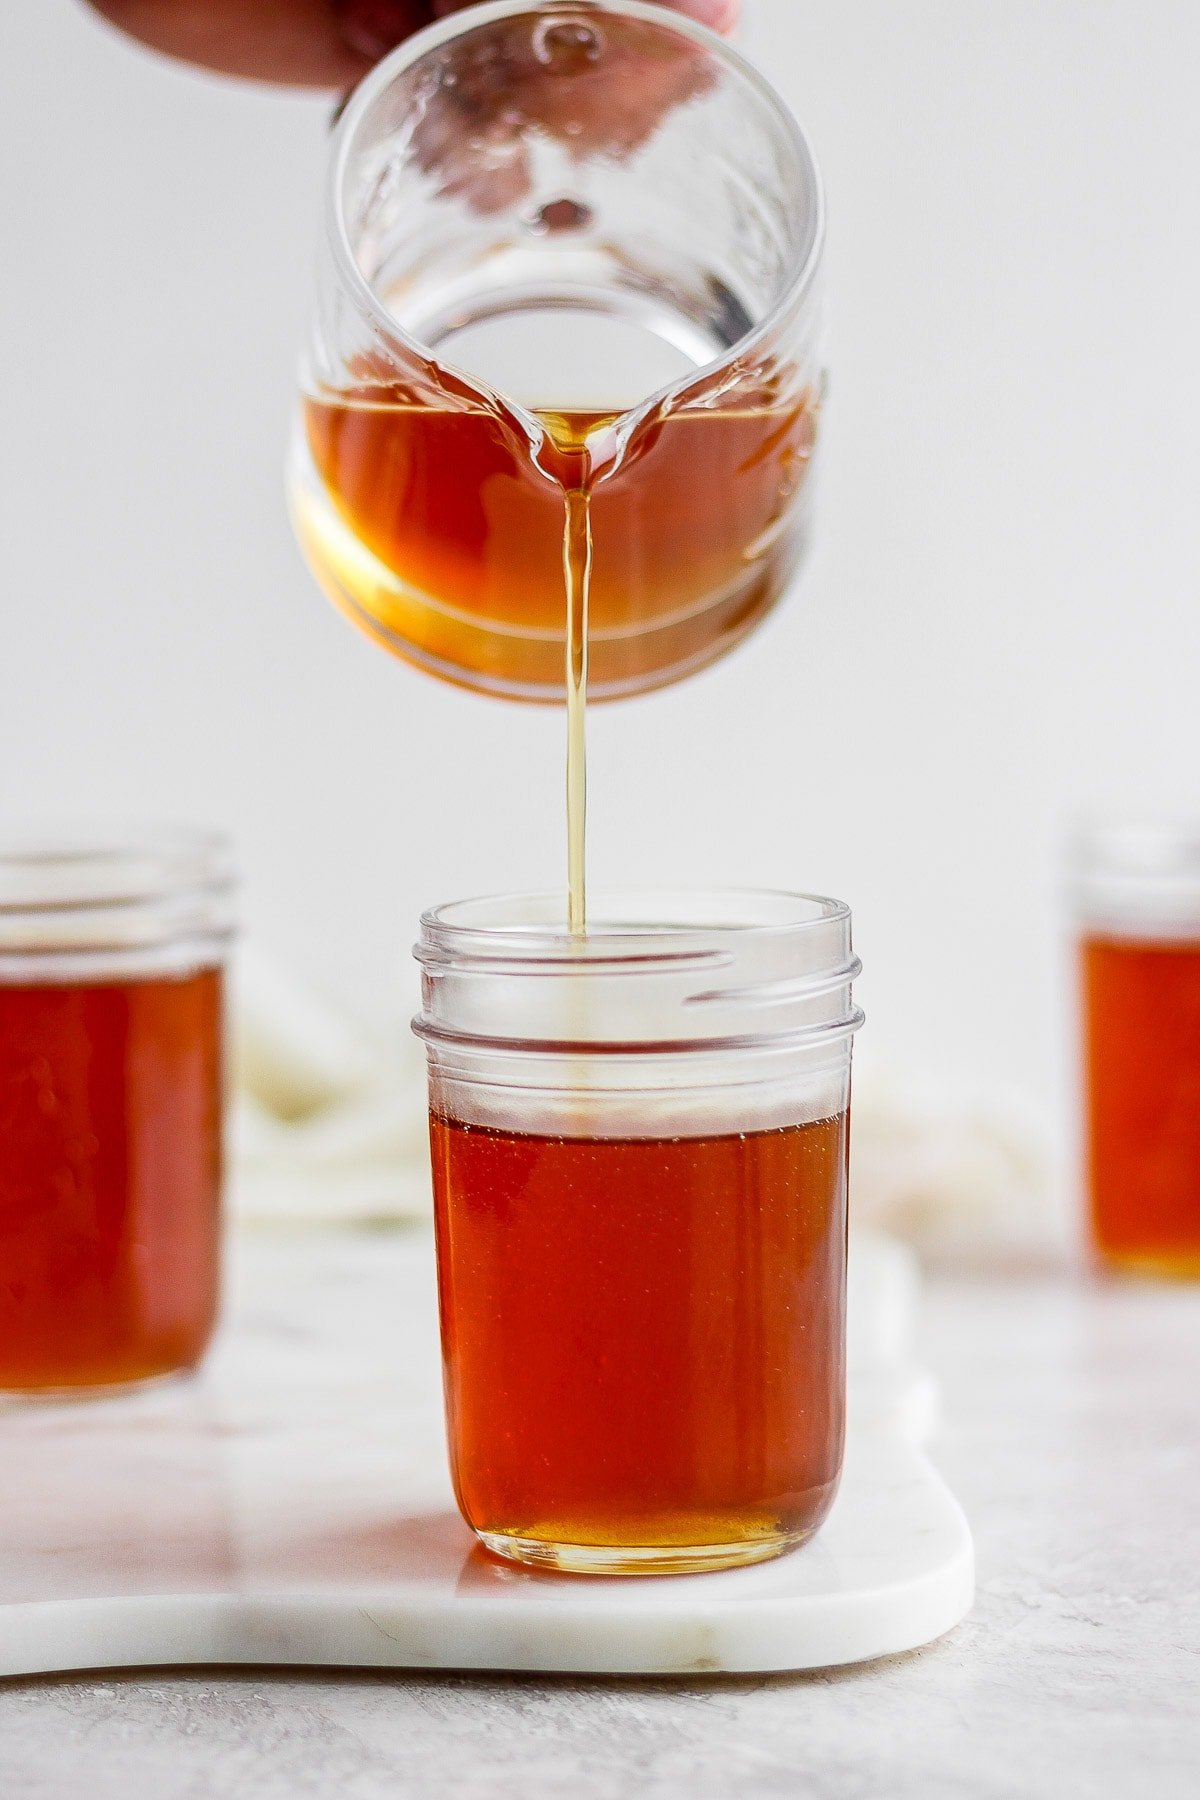
How to Make Maple Syrup from Sap
I wrote an entire other post about boiling down sap and how to make homemade maple syrup!
This one is FULL!
Tips for tapping maple trees
- Just because you don’t have a “back 40” full of maple trees, doesn’t mean you have to miss out on all the fun! Don’t be afraid to ask your City officials if you can have permission to tap just a couple of maples trees on their property? Or a neighbor or someone else who has a larger lot.
- This is a great activity for children. We had our 4-year-old helping us constantly. So, now we have bottles of maple syrup that she gets to use everyday and we can tell her she helped make it AND she knows where it came from the process it went through to go from sap to syrup – and all the hard work in between.
- You don’t need to tap hundreds of trees. We tapped 5 maple trees and collected sap for about a month – we ended up collecting 50-60 gallons of sap, which resulted in 1 gallon of syrup after we boiled it down.
- You will get bugs in your sap. Don’t panic. They should sink to the bottom. Just pour them off when you are combining your sap.
- When you are combining your sap, keep your batches separate. As I will explain in my next post on how to make maple syrup, there are different grades of syrup and it greatly, if not entirely, depends up on whether you are early or late in the season. Keeping things separate helps you attain your different grades of sap.
Enjoy~
Don’t forget to check out my Instagram account for some behind-the-scenes action! Or give me a follow on Facebook or see what I am pinning on Pinterest!

Leave a Rating & Comment