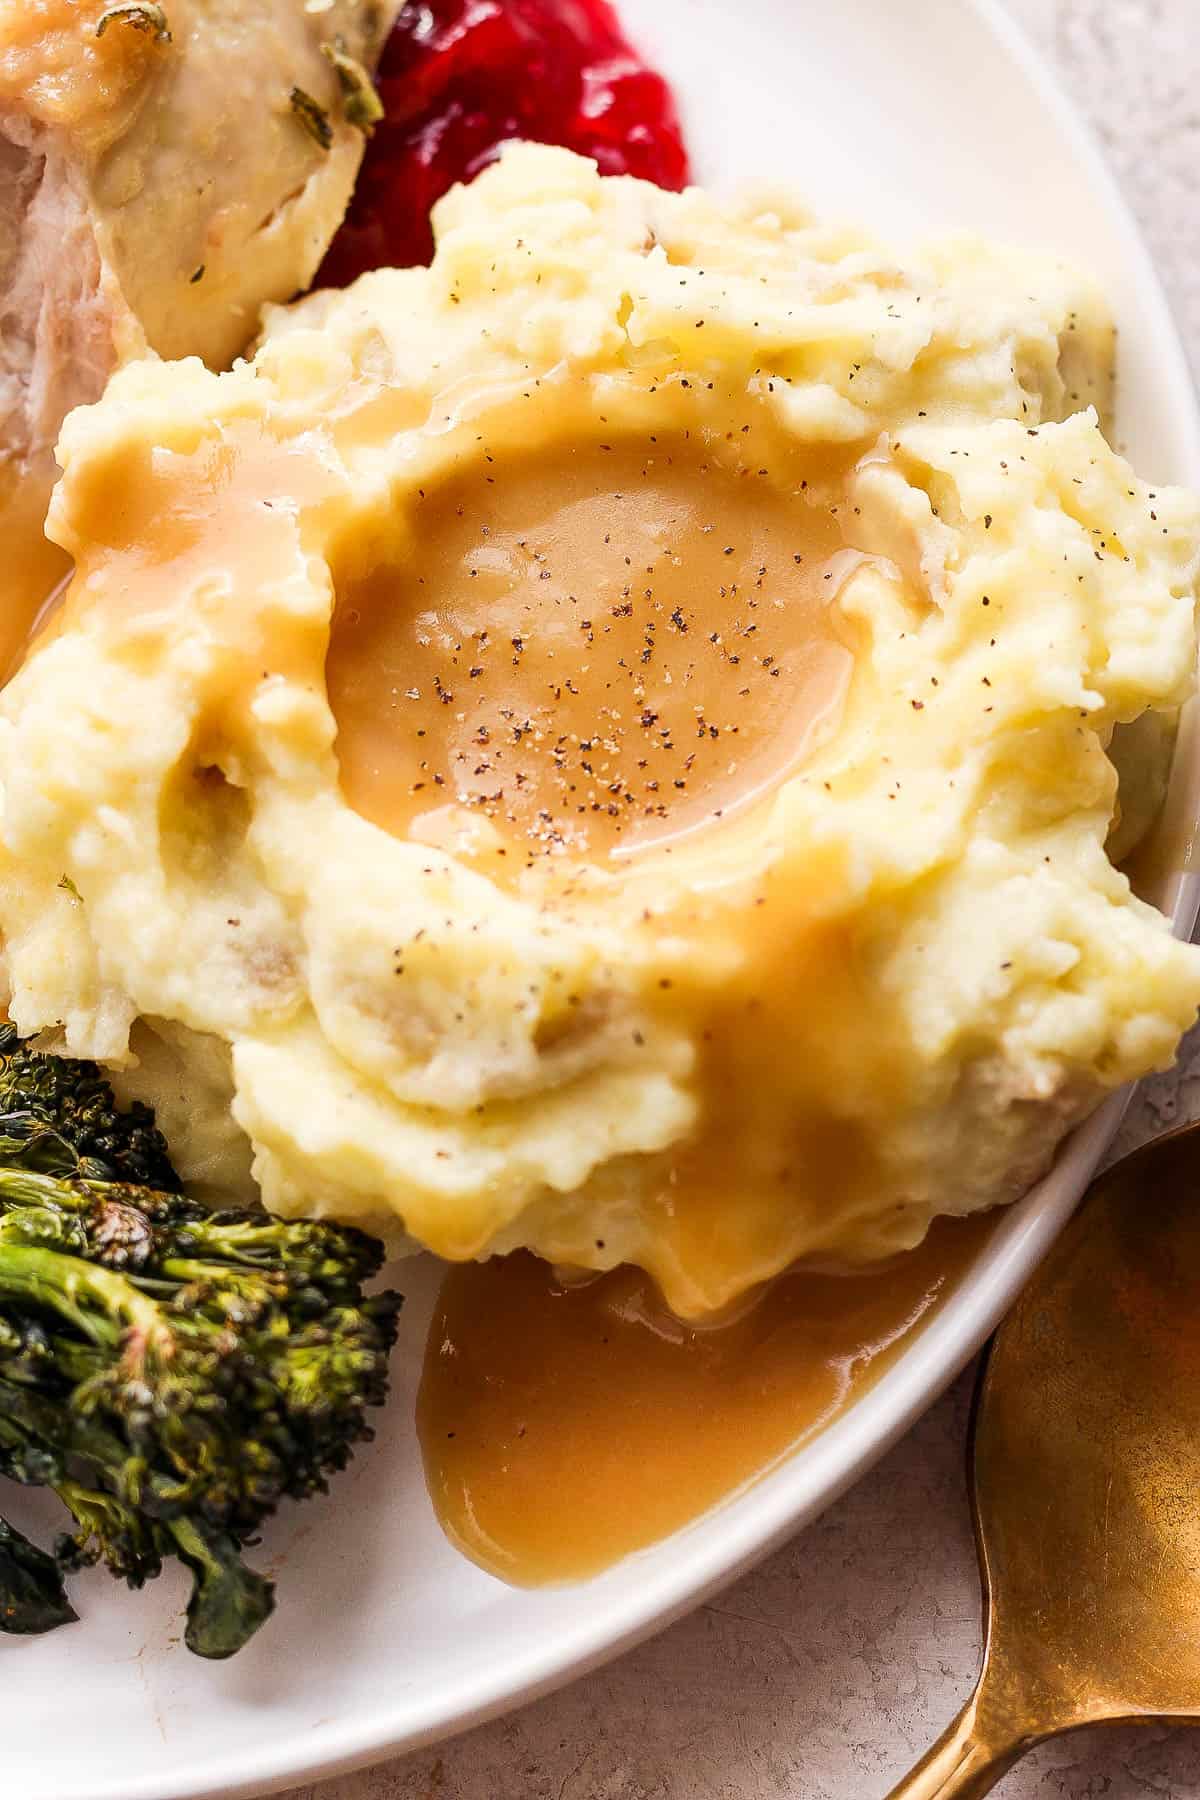
The Best Make Ahead Turkey Gravy – Quick Facts
- Recipe: Make Ahead Turkey Gravy
- Servings: 12
- Prep Time: 10 minutes
- Cook Time: 2 hours 15 minutes
- Total Time: ~2 hours 25 minutes
- Cuisine: American, Thanksgiving-style side
- Key Ingredients: Turkey wings (or thighs/neck), yellow onion, carrots, celery, turkey or chicken stock, butter, all-purpose flour (or gluten-free 1:1 flour)
- Make-Ahead Feature: Can be prepared ahead of time and frozen for 3–6 months
- Storage & Reheating: Cool completely, store in a freezer-safe container. Thaw overnight in the refrigerator and reheat slowly in a saucepan, stirring frequently.
- Gluten-Free Adaptation: Use a 1:1 gluten-free flour instead of all-purpose flour
- Why It Works: Roasting turkey wings and vegetables builds deep savory flavor. Straining and thickening with butter and flour yields a rich, classic gravy that’s perfect for holidays.
- Tips for Best Flavor: Use homemade or high-quality turkey stock, skim fat after chilling if desired, and taste for seasoning before serving.
- Ideal Pairings: Grilled Thanksgiving turkey, slow cooker mashed potatoes, roasted vegetables, wild rice stuffing, and dinner rolls
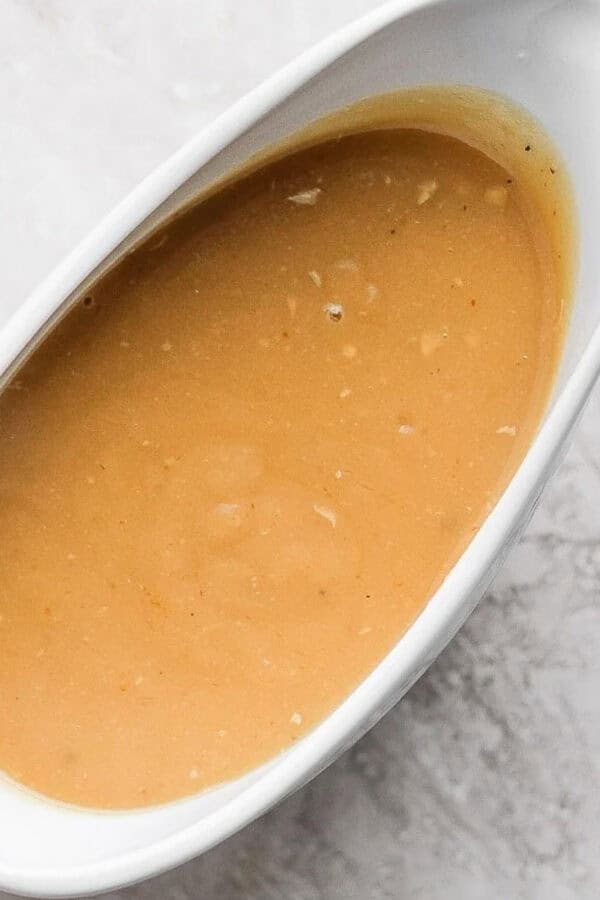
Make your Thanksgiving day to-do list more manageable by making this delicious gravy a few days ahead of time! You’ll still taste all those amazing Thanksgiving flavors thanks to juicy turkey wings, veggies, seasonings, butter, and perfectly seasoned stock. If you’re feeling inspired after seeing the entire gravy-making process below, check out our classic turkey gravy or turkey giblet gravy.
Looking for the best mashed potatoes to go with your gravy? Try our Make Ahead Mashed Potatoes!
What You Will Need
- turkey wings – Provides that unmistakeable turkey flavor throughout your gravy.
- yellow onions , carrots, & celery stalks – Classic holiday veggies that provides tons of flavor.
- olive oil – Just a bit to help your ingredients cook evenly.
- kosher salt & ground black pepper – Don’t forget the OG seasonings!
- turkey stock – This ingredient acts as the base of the gravy. Chicken stock will work as well. Note that turkey broth is seasoned and might change the flavor of this gravy.
- butter – Because what is gravy with out some savory butter?
- all-purpose flour – Make this recipe gluten-free by subbing 1-to-1 gluten free flour instead.
How To Make Make Ahead Turkey Gravy
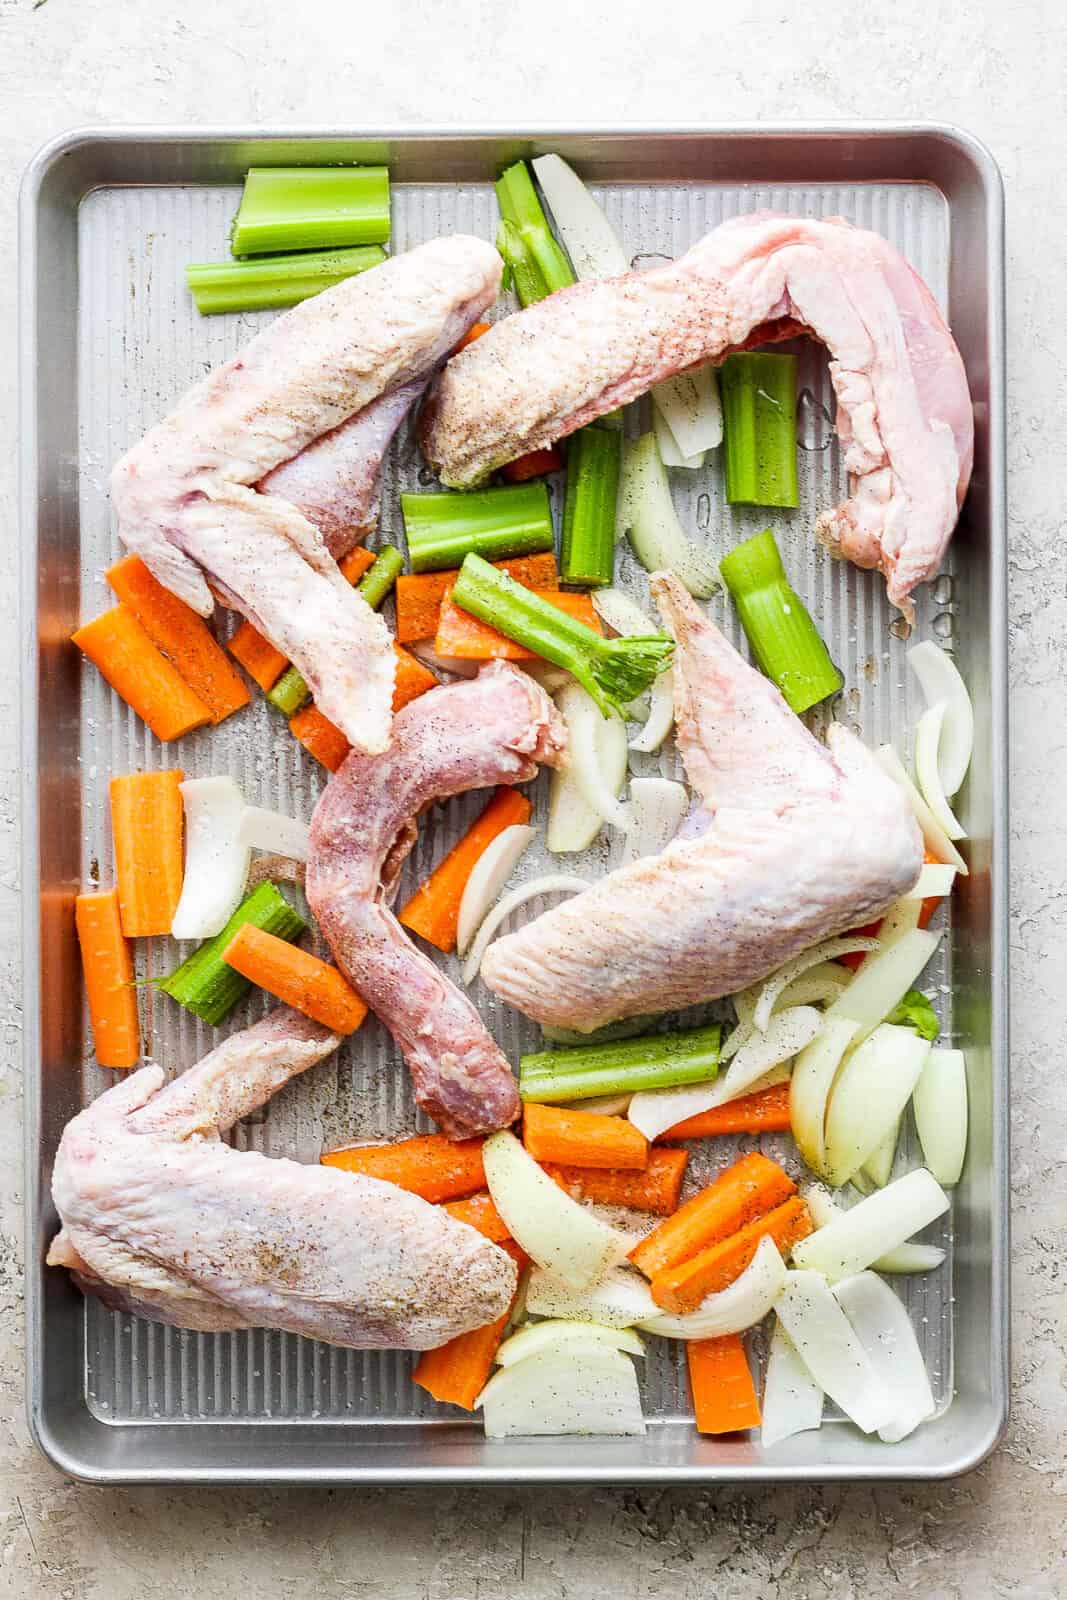
Step 1: Start by preheating your oven to 350°F and place turkey wings, onions, carrots, and celery on a rimmed baking sheet. Drizzle with olive oil and season everything with salt and pepper. Add two cups of stock to pan. Let it roast for around an hour.
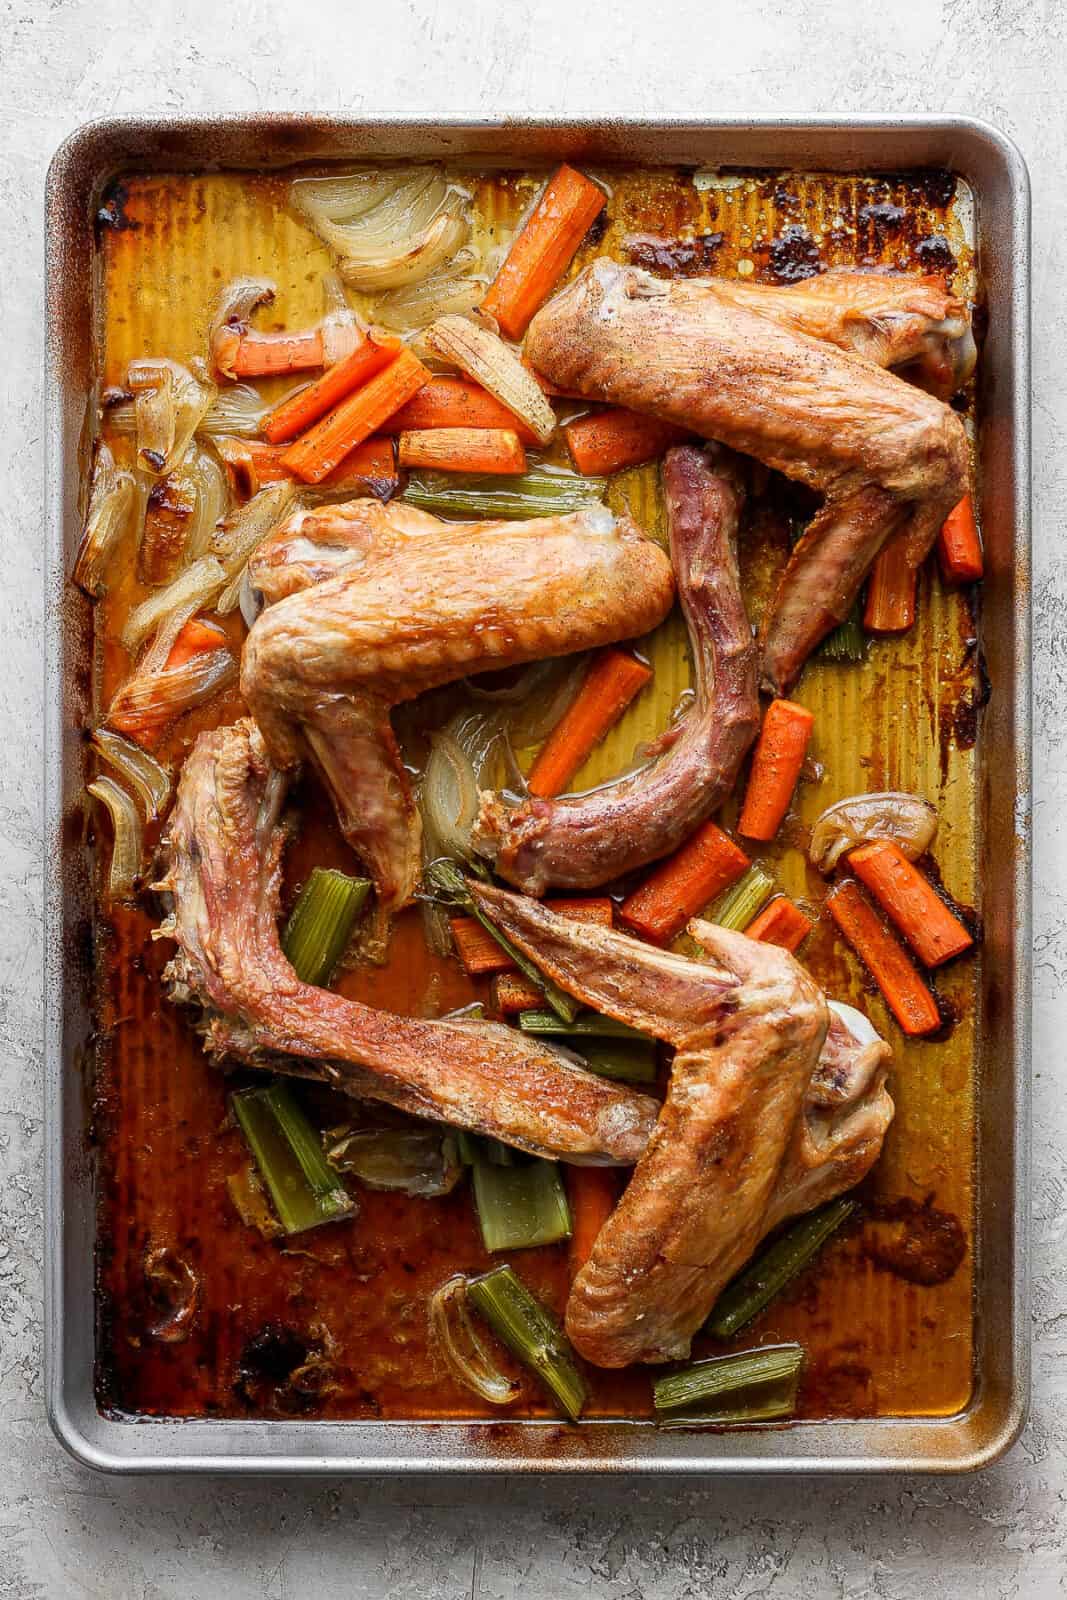
Step 2: Once everything looks golden brown and is cooked through, remove the pan from the oven.
Pro Tip
Periodically check on the pan and add additional stock as it starts to cook down. This helps to keep everything moist and from drying out.
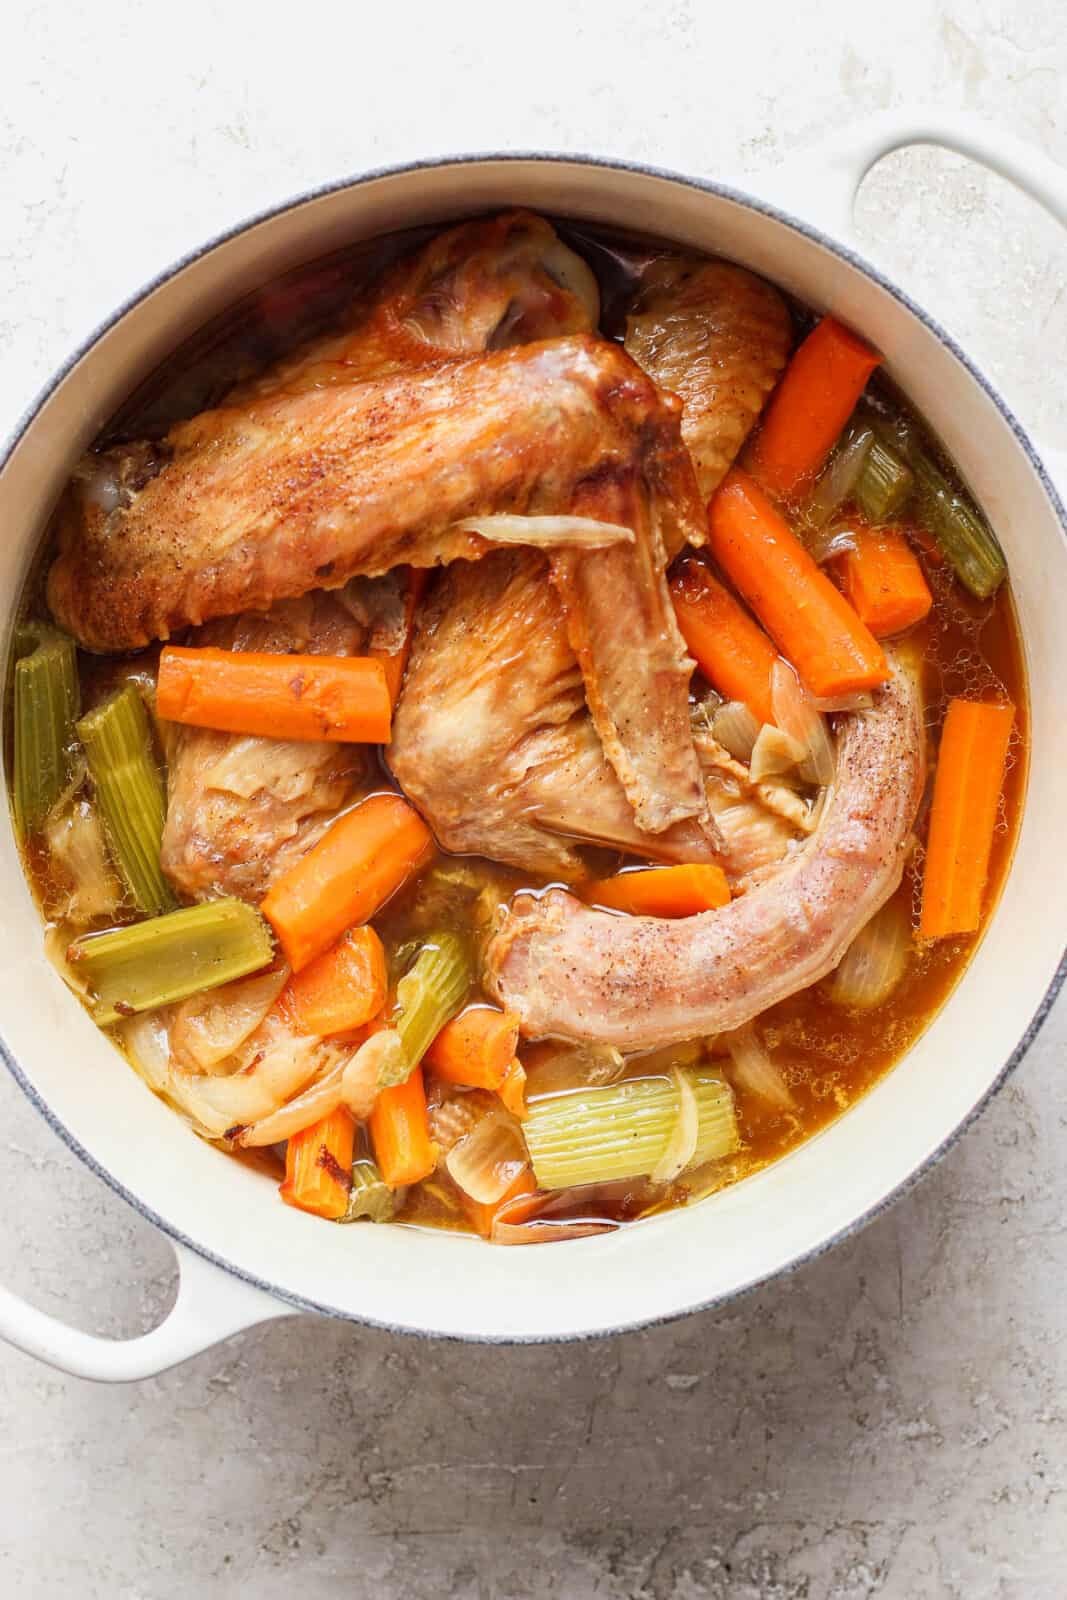
Step 3: Transfer turkey, veggies, and liquid to dutch + 4-5 additional cups of stock. Cover and simmer for about an hour. Add additional stock if it starts to cook down.
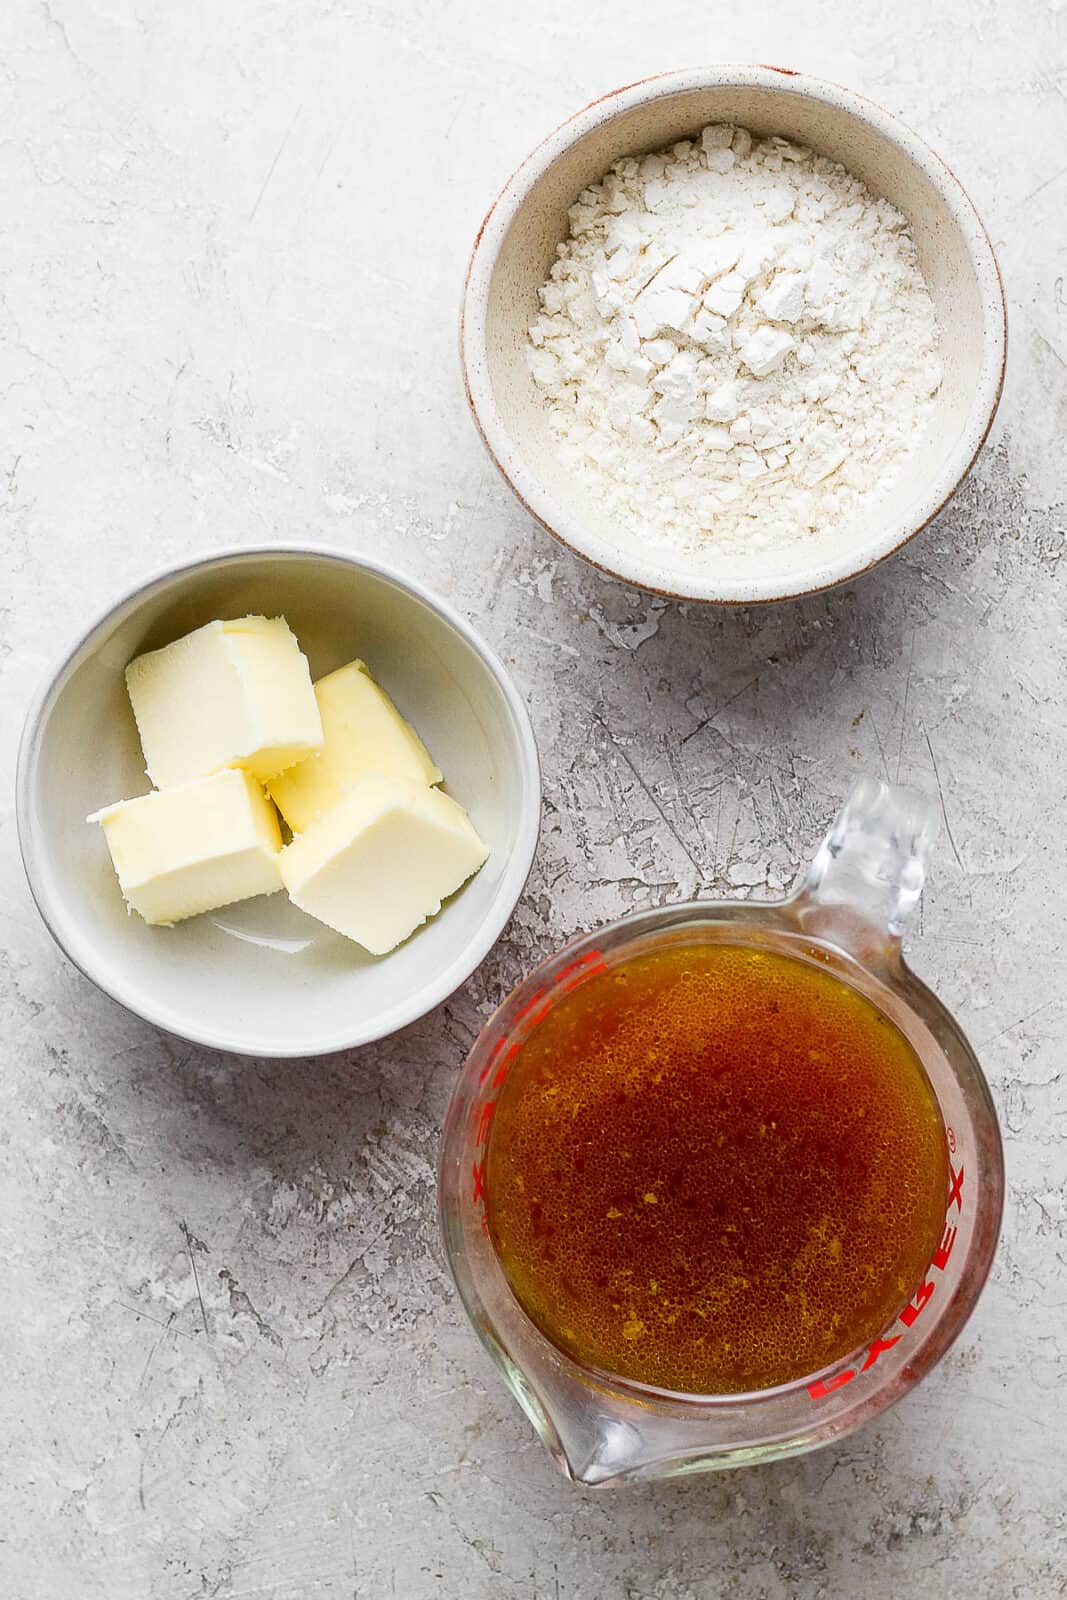
Step 4: Remove the turkey parts and bigger veggie pieces and use a fine-mesh strainer to strain the remaining liquid into a large bowl.

Step 5: Bring large cast iron skillet to medium-high heat. Add butter and melt. Whisk in flour. Slowly add the strained liquid and whisk to combine. Continue this until all the liquid has been added.
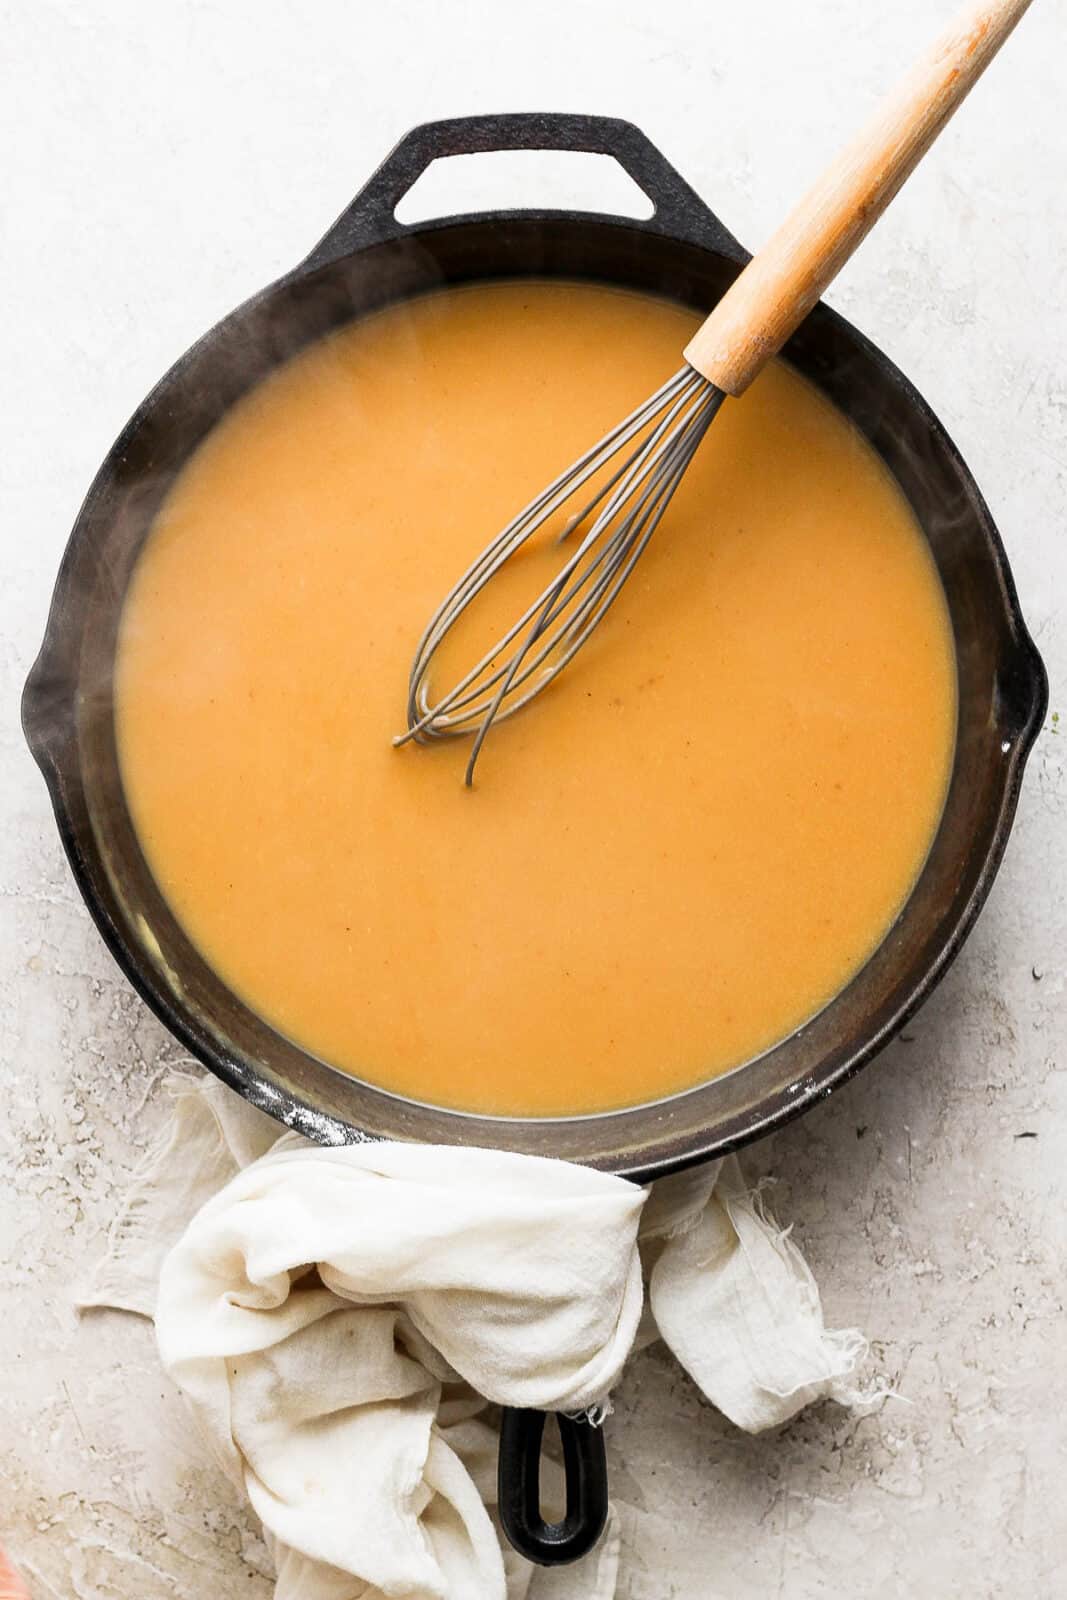
Step 6: Let gravy simmer for a few minutes to help everything thicken up. Give it a quick taste and add additional salt if needed. Add splashes of water or broth to thin and let it simmer a bit more to thicken.
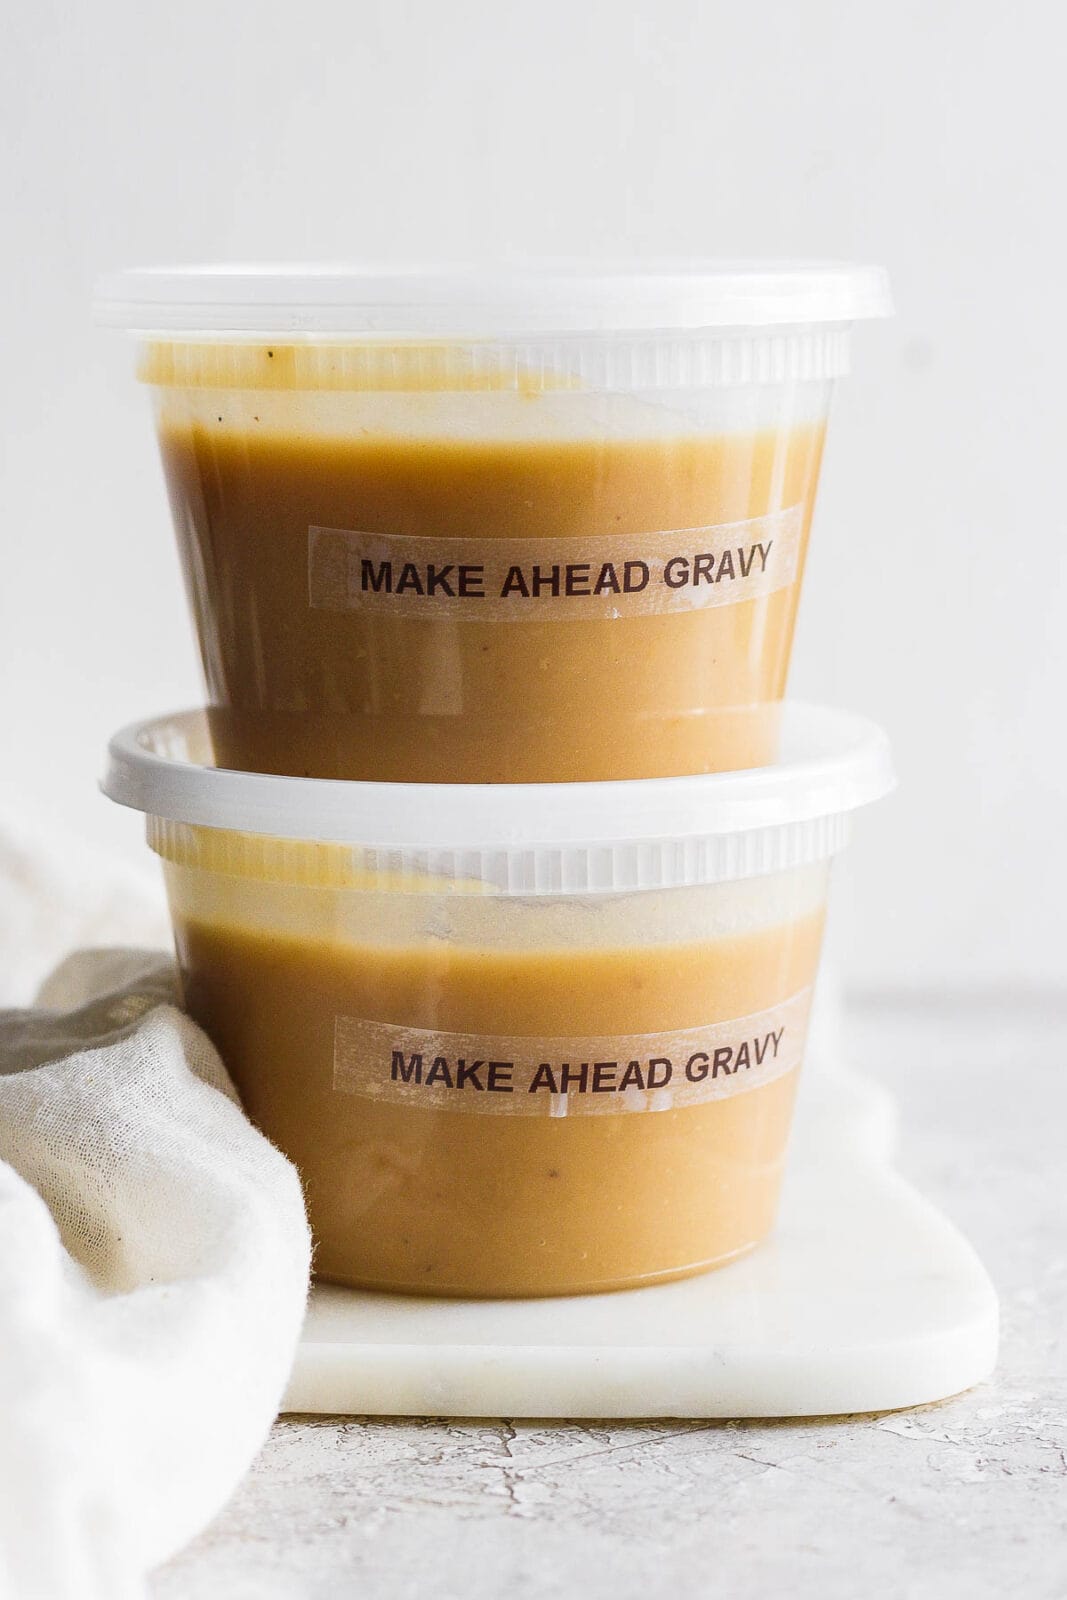
Step 7: Remove your homemade turkey gravy from the heat and let it cool completely before transferring it into a freezer safe, airtight container. Just be sure to leave a little room at the top as this will expand when frozen. Now add your label, pop it in the freezer, and give yourself a pat on the back for being the proactive host that you are!
How To Serve Make Ahead Gravy
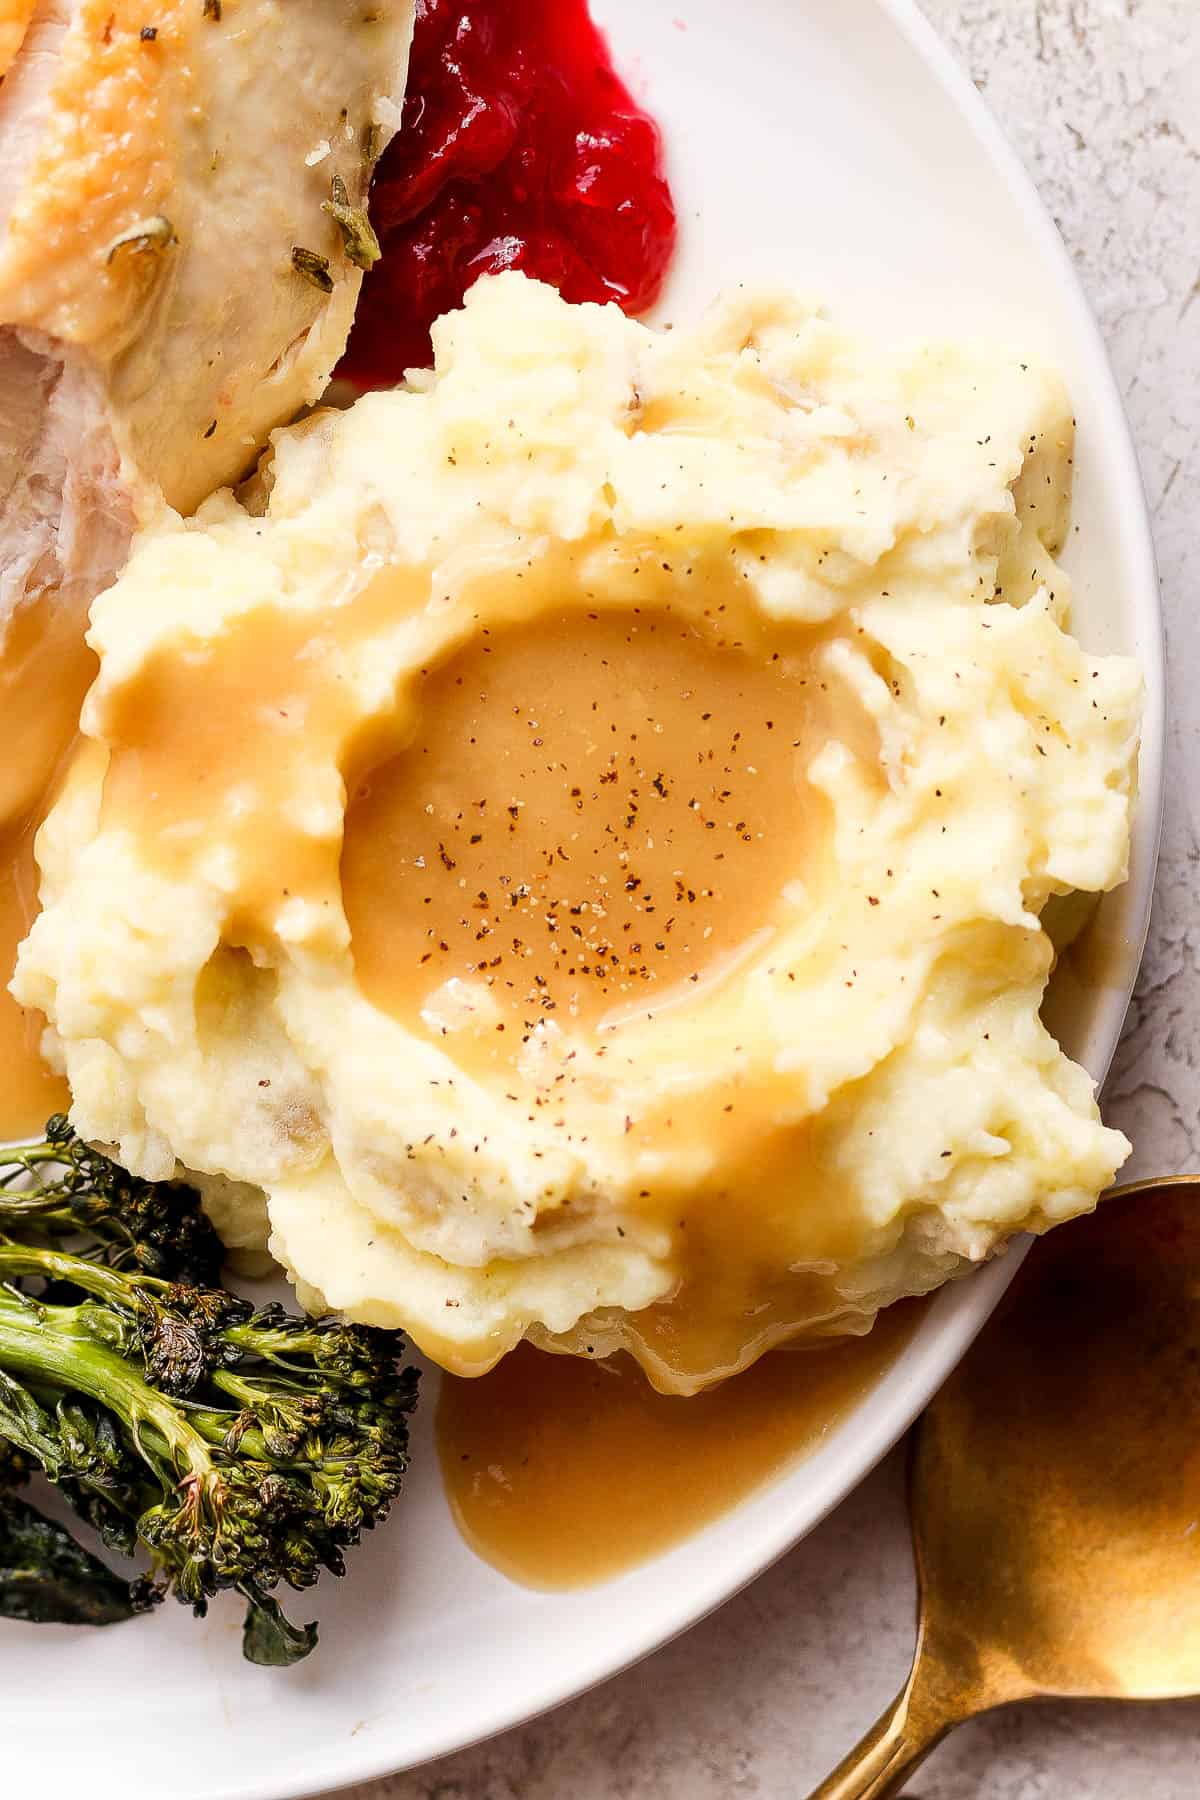
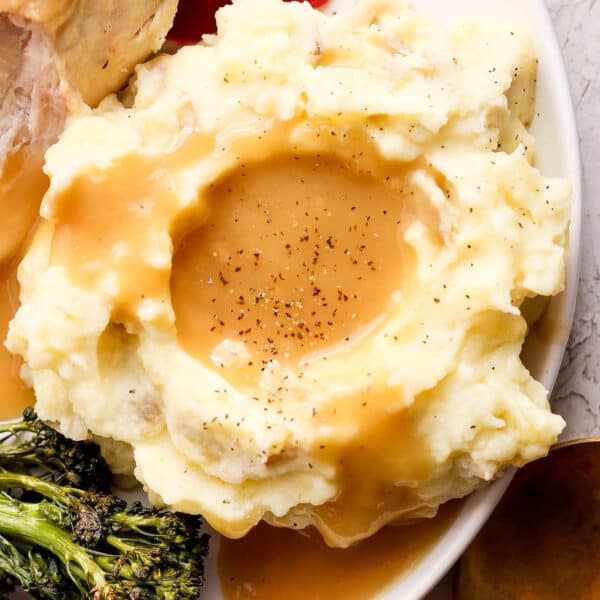
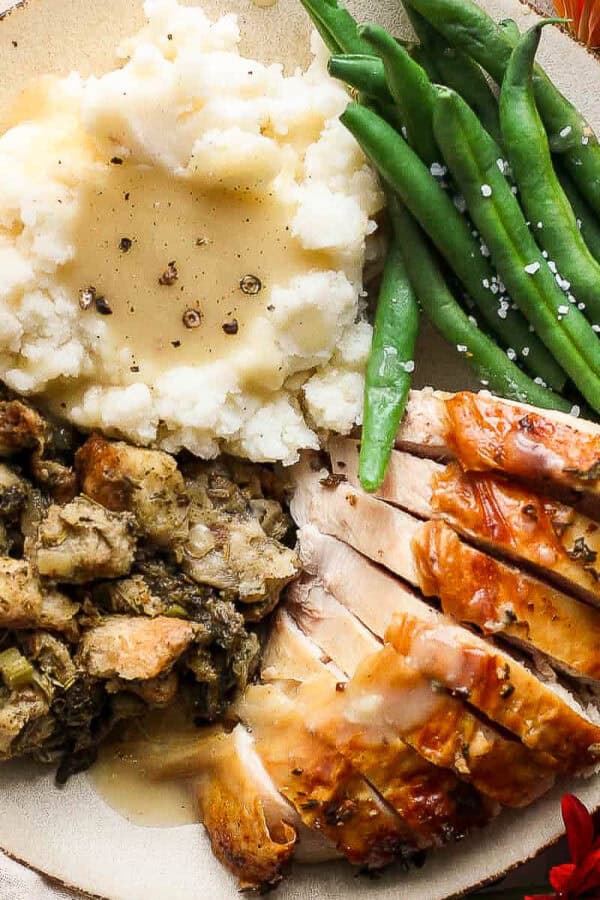
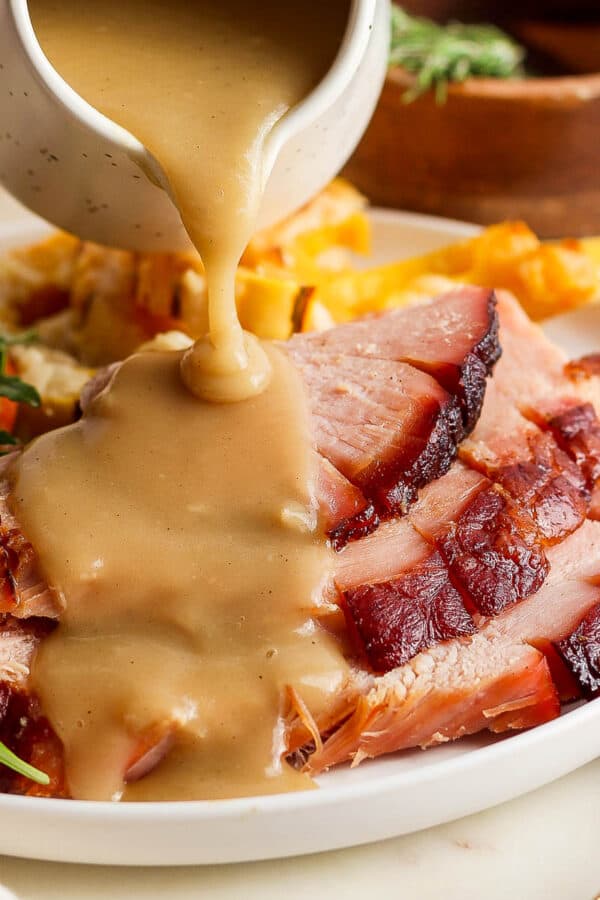
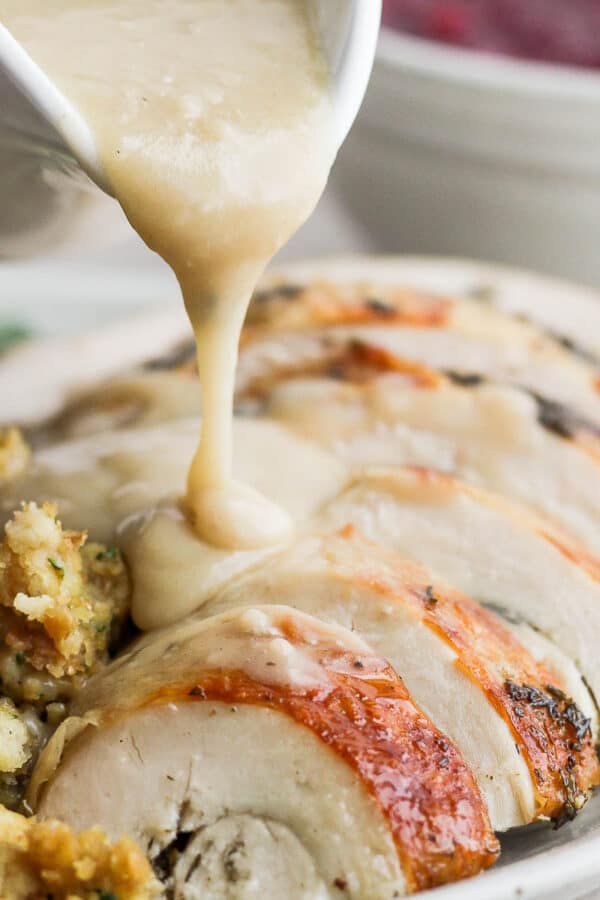
This is the fun part, y’all. We’ve seen everything from the classic neat little pool on top of yukon gold mashed potatoes, to guests filling their plate and slathering every Thanksgiving dish in this creamy turkey gravy. There’s no right way to do it, folks. Just as long as you get to experience the most flavorful gravy on your thanksgiving plate.
Make Ahead Turkey Gravy Recipe FAQs
Yes! This recipe is designed so you can make it over 3 months ahead of time if you want. Store in the freezer until you need it!
Store make ahead gravy or leftover gravy in a freezer-safe container after it has cooled, label it and freeze for 3-6 months.
Let thaw overnight in the refrigerator. Reheat slowly in a medium saucepan. Add splashes of chicken or turkey broth and whisk to revive.
We used turkey wings, but you can also use turkey thighs, the turkey neck, turkey legs, or other parts.
So glad you asked because it’s simple. Just replace the all-purpose flour with 1-to-1 gluten free flour. Enjoy!
Made this recipe and loved it?!
We would love it if you would take a minute and leave a star rating and review – it is also helpful if you made any substitutions or changes to the recipe to share that as well. THANK YOU!
Follow Us on Social
Ingredients
- 4 turkey wings
- 1-2 yellow onions, sliced
- 2-3 carrots, cut into 2 inch pieces
- 2-3 celery stalks, cut into 2 inch pieces
- olive oil
- kosher salt and ground black pepper
- 7-8 cups turkey or chicken stock, divided
- 4 tablespoons butter, sub plant-based butter
- 6 tablespoons all-purpose flour, sub 1-to-1 gluten-free flour
Instructions
- Prep: Preheat oven to 350℉.
- Roast Turkey: Place 4 turkey wings, onions, carrots and celery on a rimmed baking sheet. Drizzle with olive oil and rub all over the turkey and veggies. Season with kosher salt and ground black pepper. Pour 2 cups of stock in the pan. Place in the oven, middle rack, and let roast for 1 hour.
- Check Liquid Levels: Check periodically and add additional stock to the pan as it starts to cook down (don't let the pan dry out).
- Simmer: Remove pan from the oven. Transfer the turkey, veggies and any drippings to a 5.5qt (or bigger) dutch oven along with 4-5 cups of stock. Cover and let simmer for 60 minutes. Add additional splashes of stock if it starts to cook down. You should end up with approx. 3 cups of liquid.
- Strain Liquid: Remove the turkey and bigger pieces of veggies. Strain remaining liquid.
- Make Gravy: Bring a large, deep cast iron skillet to medium high heat. Add 4 tablespoons butter and let melt. Add 6 tablespoons all-purpose flour and whisk to combine. Slowly add strained liquid 1/4 cup at a time and then whisk to combine. Continue until all the liquid has been added. Let simmer a few minutes as it thickens.
- Adjust: Taste and add additional salt, as needed. Add additional splashes of broth or water to thin slightly. Let simmer to thicken more.
- Let Cool + Freeze: Remove from heat and let cool completely. Transfer to a freezer-safe container (make sure to leave room – the liquid will expand as it freezes) and label clearly. Freeze for 3-6 months.
- To Thaw: Remove from freezer and let sit in the refrigerator overnight. Transfer to a medium sauce pan and warm slowly over medium heat, stirring fairly continuously.
Notes
- Turkey Wing Alternatives: you can use turkey wings here OR turkey thighs, turkey neck, etc. Sometimes if we are spatchcocking our turkey I save the backbone and throw that in the mix as well.
- Gluten-Free: to make gluten-free simply sub in some 1-to-1 gluten-free flour.
- Storage + Thawing: let cool completely and store in a freezer-safe container (be sure to leave room for expansion). Store in the freezer for 3-6 months. To thaw, place in the refrigerator overnight. Then place in a saucepan and warm slowly on medium heat, stirring constantly until it is warmed through. Serve and enjoy.
- Make Ahead Mashed Potatoes: if you love make ahead holiday recipes try our Make Ahead Mashed Potatoes!





Erin says
Gamechanger! So delicious and I love that I don’t have to make it the day of Thanksgiving! Thank you!