How to Blanch Green Beans – simple, step-by-step tutorial (with photos) that teaches you how to blanch green beans for your favorite recipes!
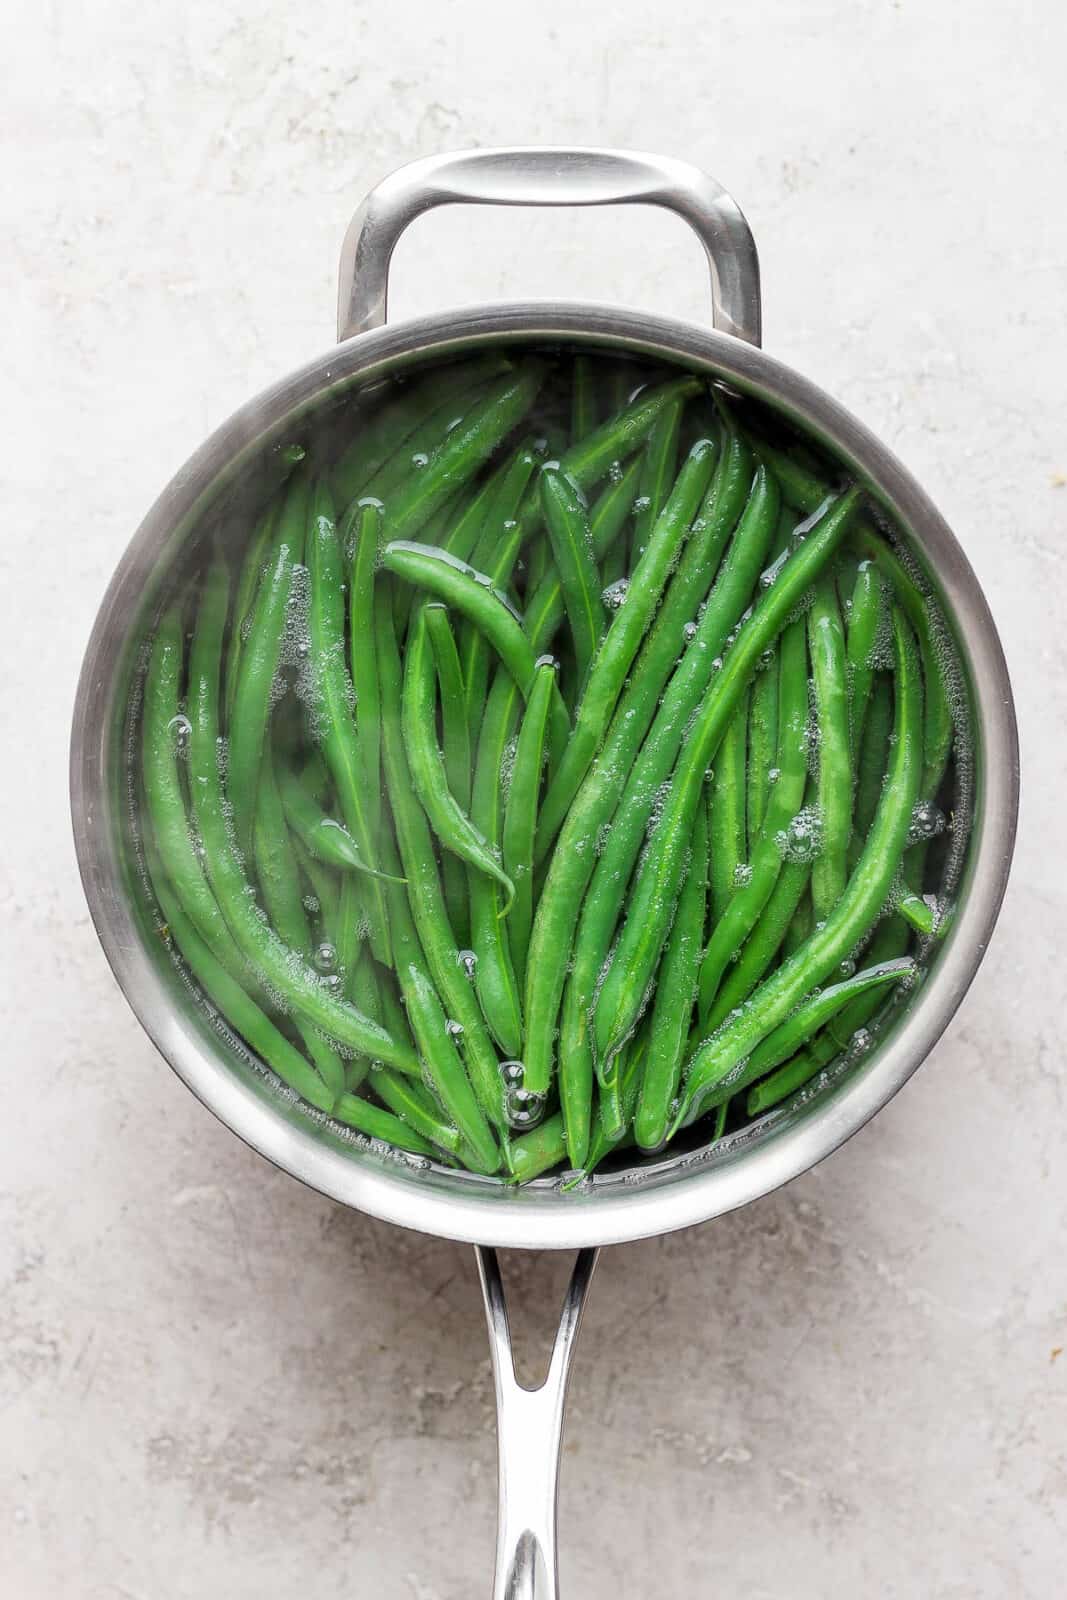
How To Blanch Green Beans 101
It is a very quick and easy process to blanch fresh green beans and below we will go through the step-by-step process so that you can easily do this at home. This process will keep your green beans in good shape until you are ready to cook them – just blanch and then store them in the fridge or freezer! So simple and it really keeps them fresh for longer!
What You Will Need
- fresh green beans – grab some fresh green beans from your local grocery store, farmer’s market, or your garden!
Why Do You Blanch Green Beans?
The blanching process helps to slightly cook and tenderize your green beans. The ice bath part of the process stops the cooking so that you can store your green beans until you are ready to fully cook them for eating and extends their shelf life.
How Long Should You Blanch Green Beans?
Only a few minutes! Depending on how big your green beans are, you will only want to boil them for about 2-4 minutes and then put them straight into the ice bath!
Is Blanching Green Beans Necessary?
Yes! You can freeze green beans without blanching but they will end up discolored and mushy and nobody wants that! The blanching process stop the enzyme actions that cause the loss of flavor, color, and texture. It also cleans the surface of the vegetable, brightens the color, and prevents loss of vitamins.
How Do You Store Blanched Green Beans?
Once the green beans have fully cooled in the ice bath you can store them in the fridge for 3-5 days before cooking or adding to your favorite green bean recipe. After blanching you can also store them in the freezer for 8-10 months!! That’s really extending the life or your green beans! We love these freezer safe storage bags for keeping our green beans fresh.
How To Blanch Green Beans
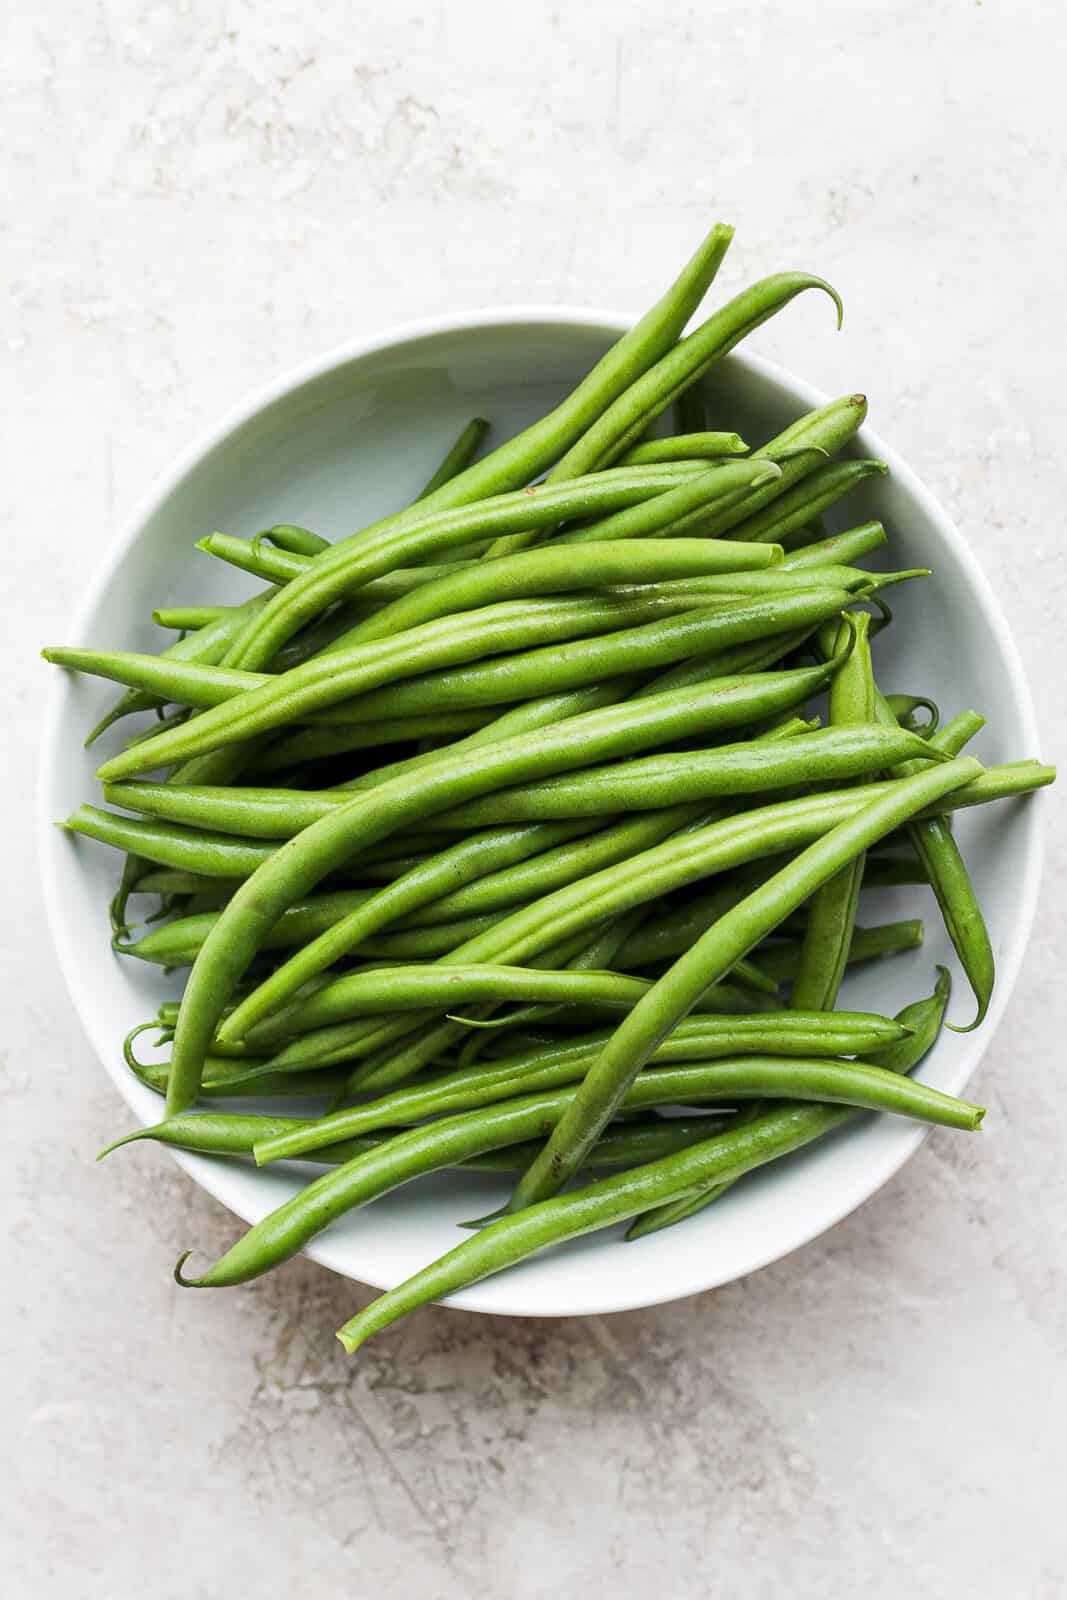
Wash your green beans and trim the ends.
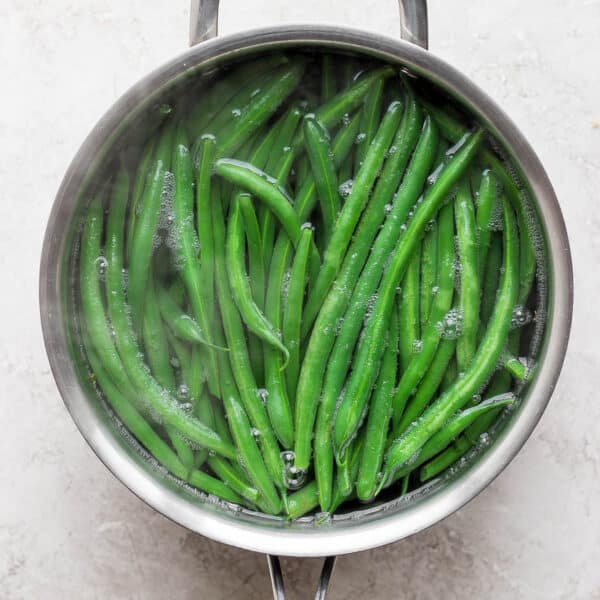
Place green beans in simmering water for about 2-4 minutes.

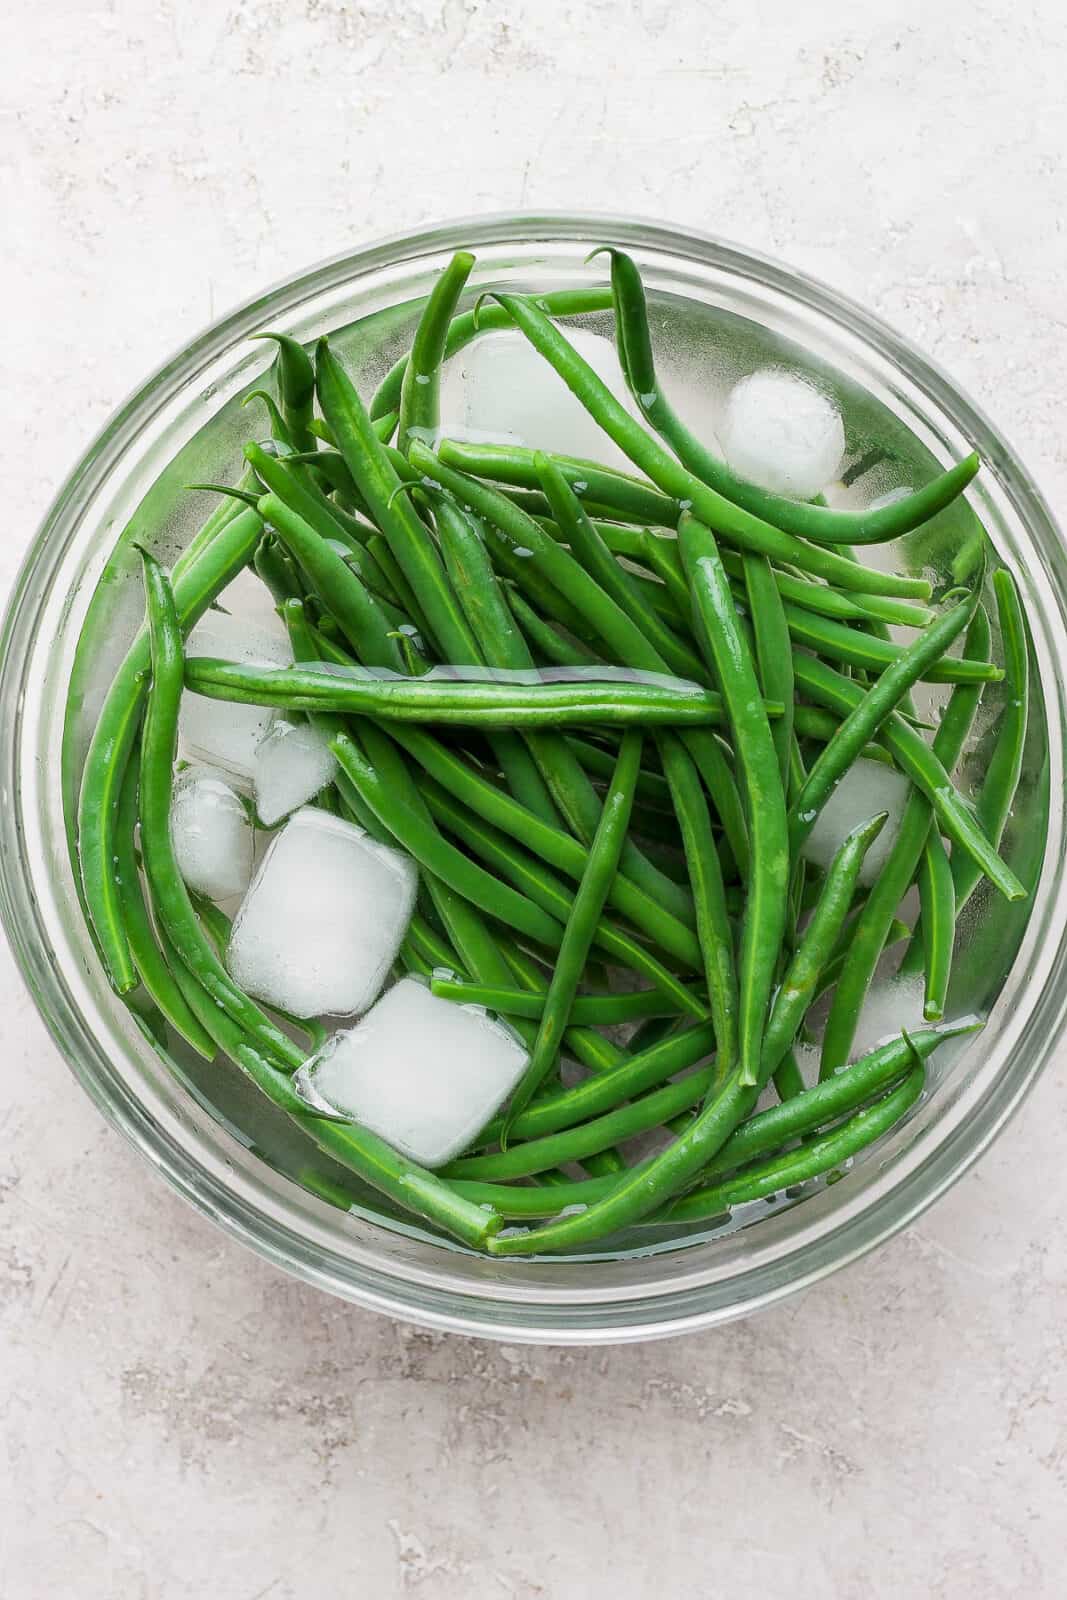
Quickly use tongs to move your green beans to an ice bath.
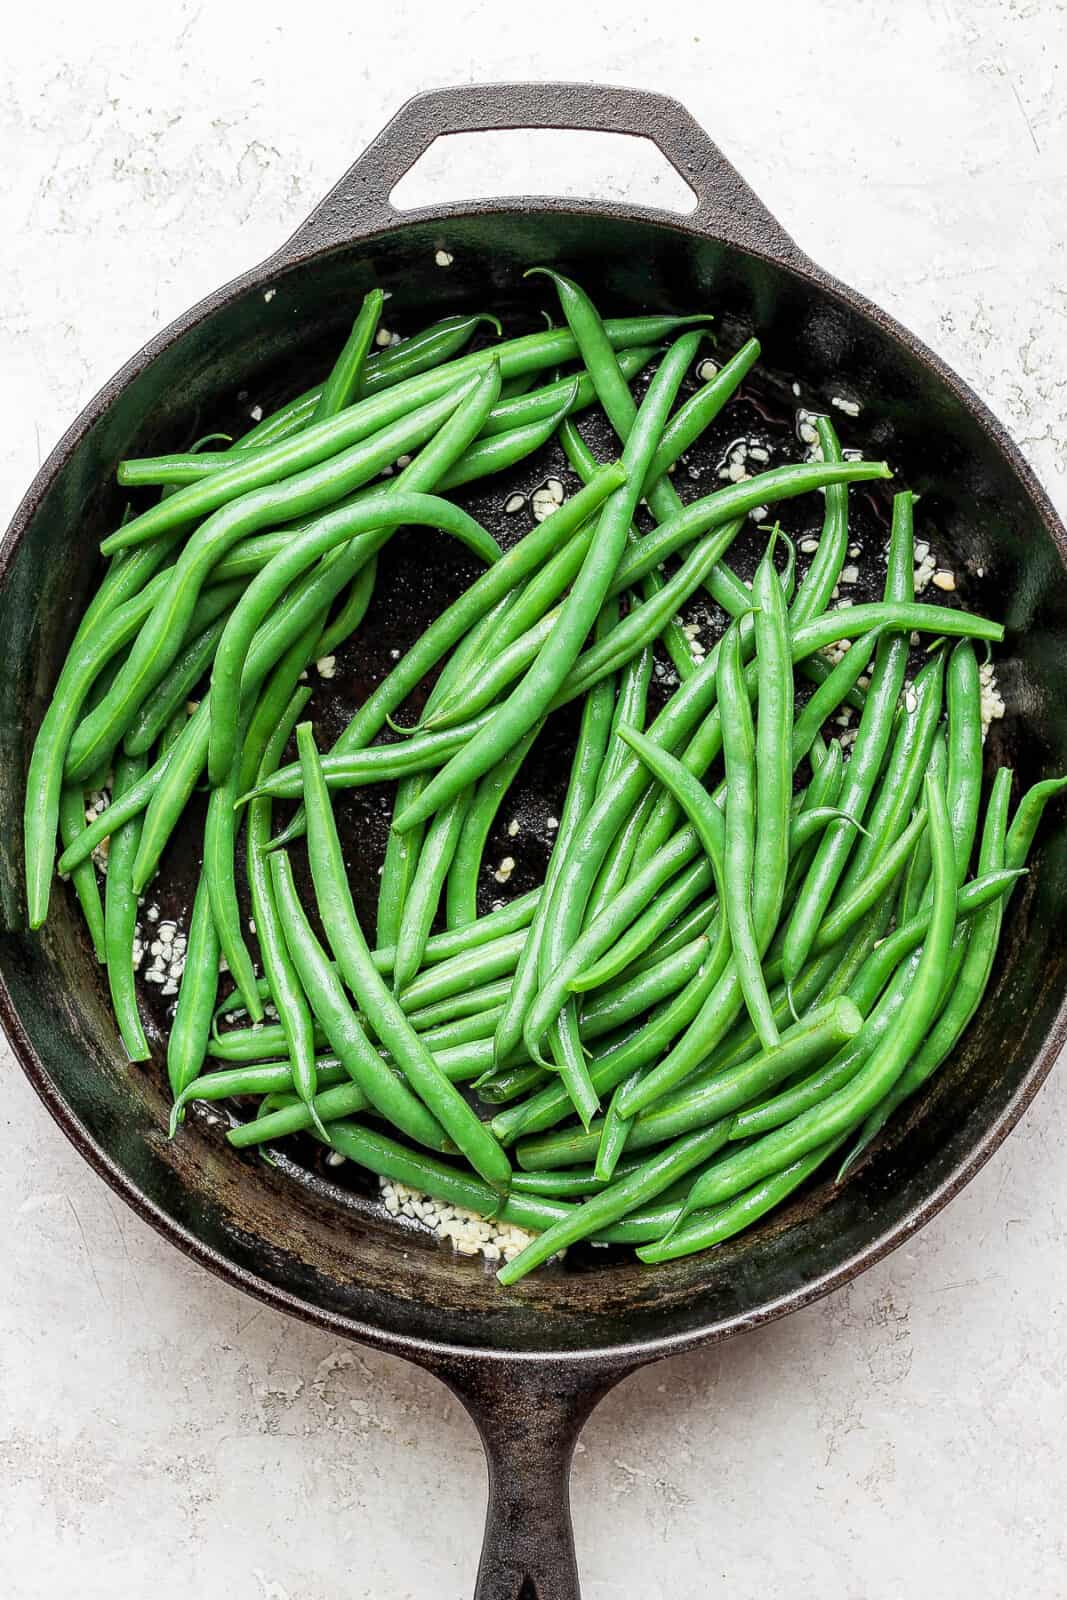
Finish cooking your green beans any way you want or add to your favorite recipe.

Made this recipe and loved it?! We would love it if you would take a minute and leave a star rating and review – it is also helpful if you made any substitutions or changes to the recipe to share that as well. THANK YOU!
Don’t forget to check out my Instagram account for some behind-the-scenes action! Or give me a follow on Facebook or see what I am pinning on Pinterest!
Other Recipes You Might Like
Simple Steamed Green Beans
Dairy Free Green Bean Casserole
Winter Vegetable Soup
Healthy Homemade Salisbury Steak

Ingredients
- 1 lb fresh green beans
- water
Instructions
- Wash green beans and and trim ends, if needed.
- Fill a medium saucepan 3/4 full of water.
- Bring to a simmer.
- Meanwhile, take a large bowl and fill 3/4 of the way with water. Add ice to create an ice bath. Set aside.
- Add green beans to the simmering water. Let cook 2-4 minutes.
- Using a pair of tongs, carefully remove the green beans from the simmering water and place them directly into the ice bath.
- Let sit for 5 minutes or until fully cooled.
- Use in your favorite recipes or serve as-is for a simple side dish!
Notes
- Amount of green beans: this can be used for however many green beans you want.
- Simmering time: simmer only 2 minutes for crisp green beans; simmer 4 minutes or longer for softer green beans.
- Recipes: we love using blanched green beans to make Green Bean Almondine!



Leave a Rating & Comment