

Quick Look at How to Make Sushi Rolls
- Ready In: 45 minutes!
- Serves: 4
- Main Ingredients: sushi rice, rice seasoning, nori sheets, and fillings of choice!
- Tools/Equipment: bamboo mat for rolling, sharp knife, chopsticks
- Dietary Info: Dairy-Free and Gluten-Free
Share and summarize this recipe:
Why You’ll Love This Recipe

- Make restaurant-quality sushi rolls right at home!
- An Americanized version of sushi-making from someone making them for over 10+ years.
- Get creative and make a variety of different combinations.
- Add a Sauce – any roll would be delicious with our simple spicy mayo or homemade wasabi mayo.
- Host a sushi party – so fun to do with family and friends. Even our kids love to make their own rolls!
What is Sushi?
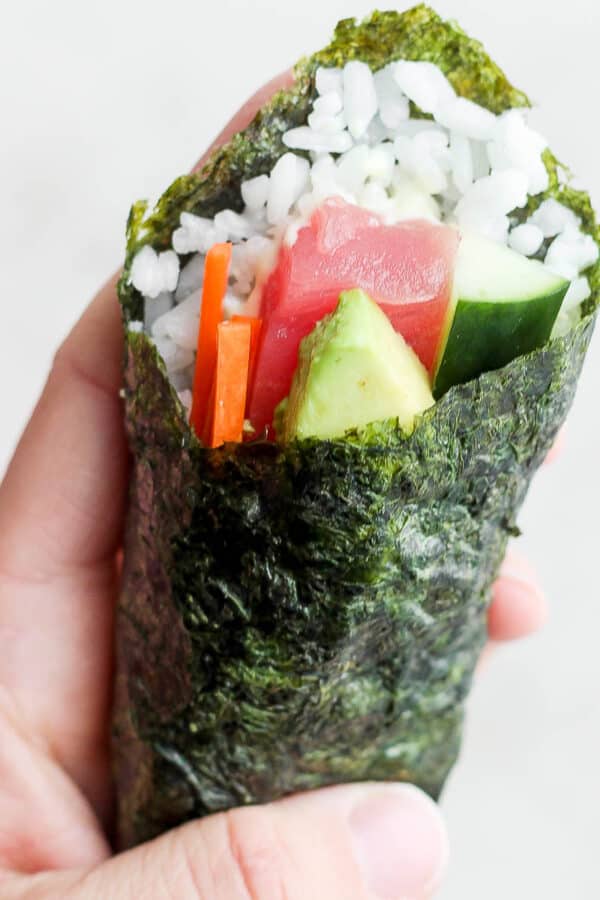
Sushi is a traditional Japanese dish that includes seasoned rice and some combination of seafood, vegetables, etc. There are a variety of ways to eat sushi – maki rolls, nigiri, hand rolls, to name a few. Sushi rolls (also known as maki rolls) are made by spreading rice on a seaweed sheet, adding fillings, and rolling it up with the rice on the inside or outside. Nigiri is a small mound or ice with a slice of fresh, raw fish on top. A sushi hand roll is a small piece of seaweed with filling added, rolled up (in a cone-shape), and you use your hand to eat it.
History of Sushi
Want to dig a little more into the history of sushi – here is a great article!
Key Ingredients + Substitutions
Be sure to see the recipe card below for a full listing of ingredients, instructions, and estimated nutritional information.
- Sushi Rice – check your local grocery store for short grain sushi rice. Make as instructed in the recipe card or we also have an Instant Pot sushi rice recipe.
- Nori Sheets – also known as seaweed sheets, they help hold it all together!
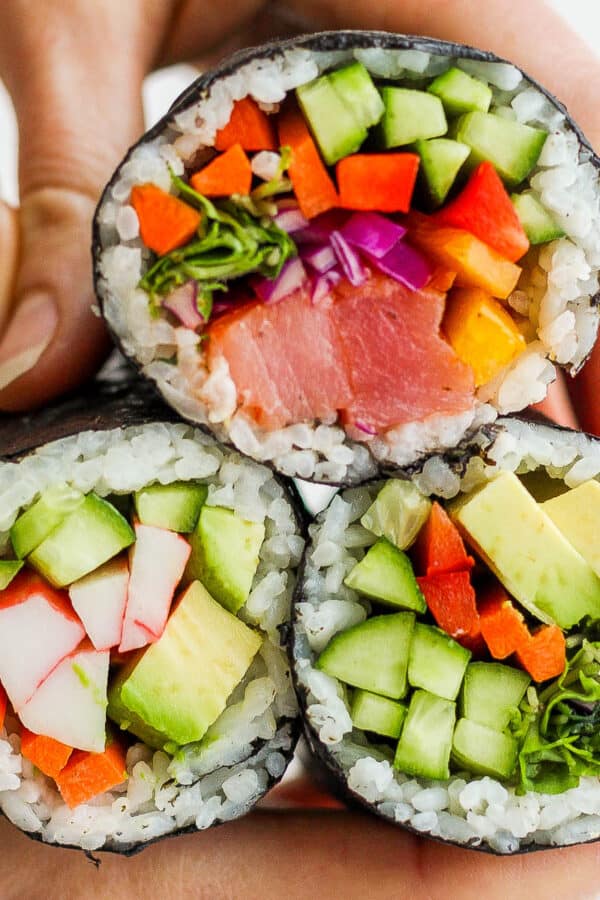
- Fillings – feel free to use imitation crab, avocado, cucumber, carrots, or even raw tuna or salmon (go to a high-quality fish market and ask about sushi-grade fish).
How To Make Homemade Sushi Rolls
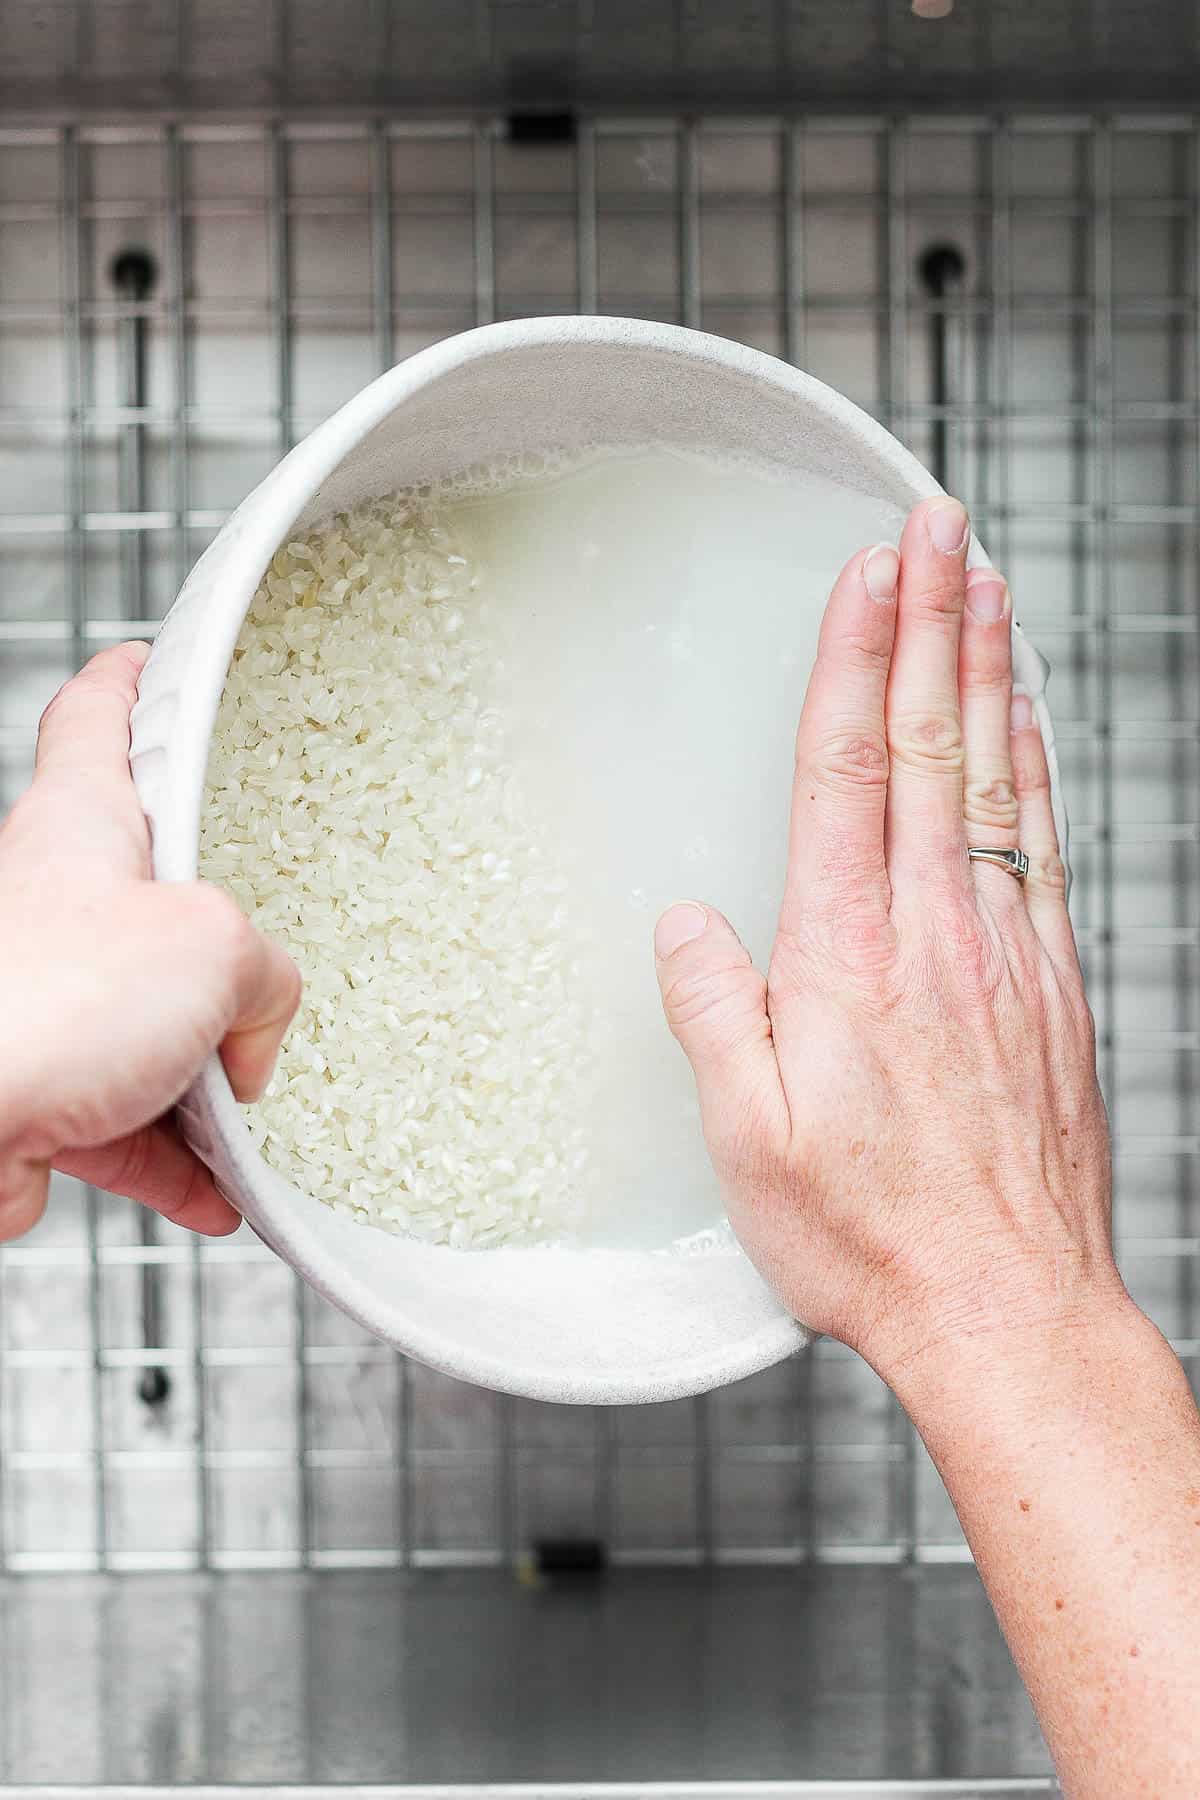
Step 1 – Rinse the uncooked rice until the water runs clear.
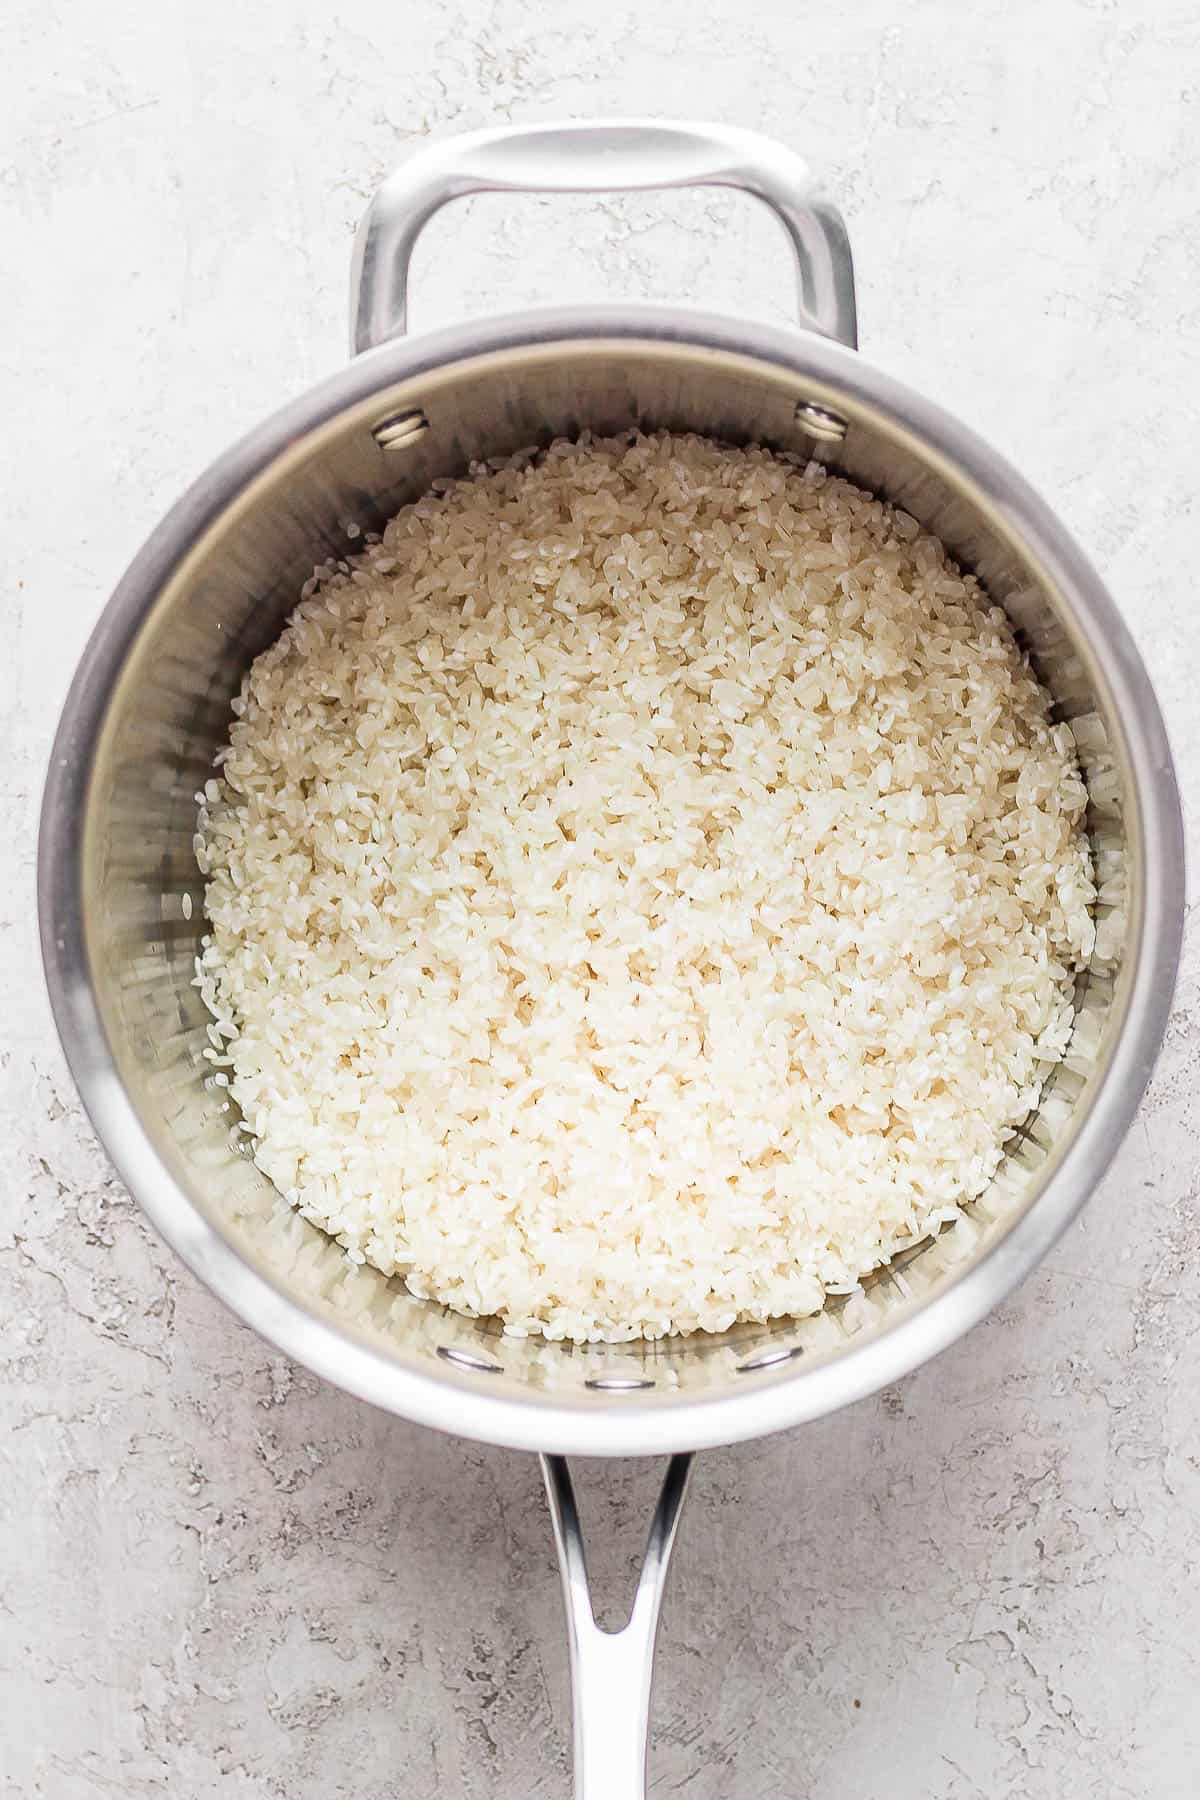
Step 2 – Cook rice in a saucepan, covered, for 12-15 minutes and then off the heat, covered for 10-15 minutes.
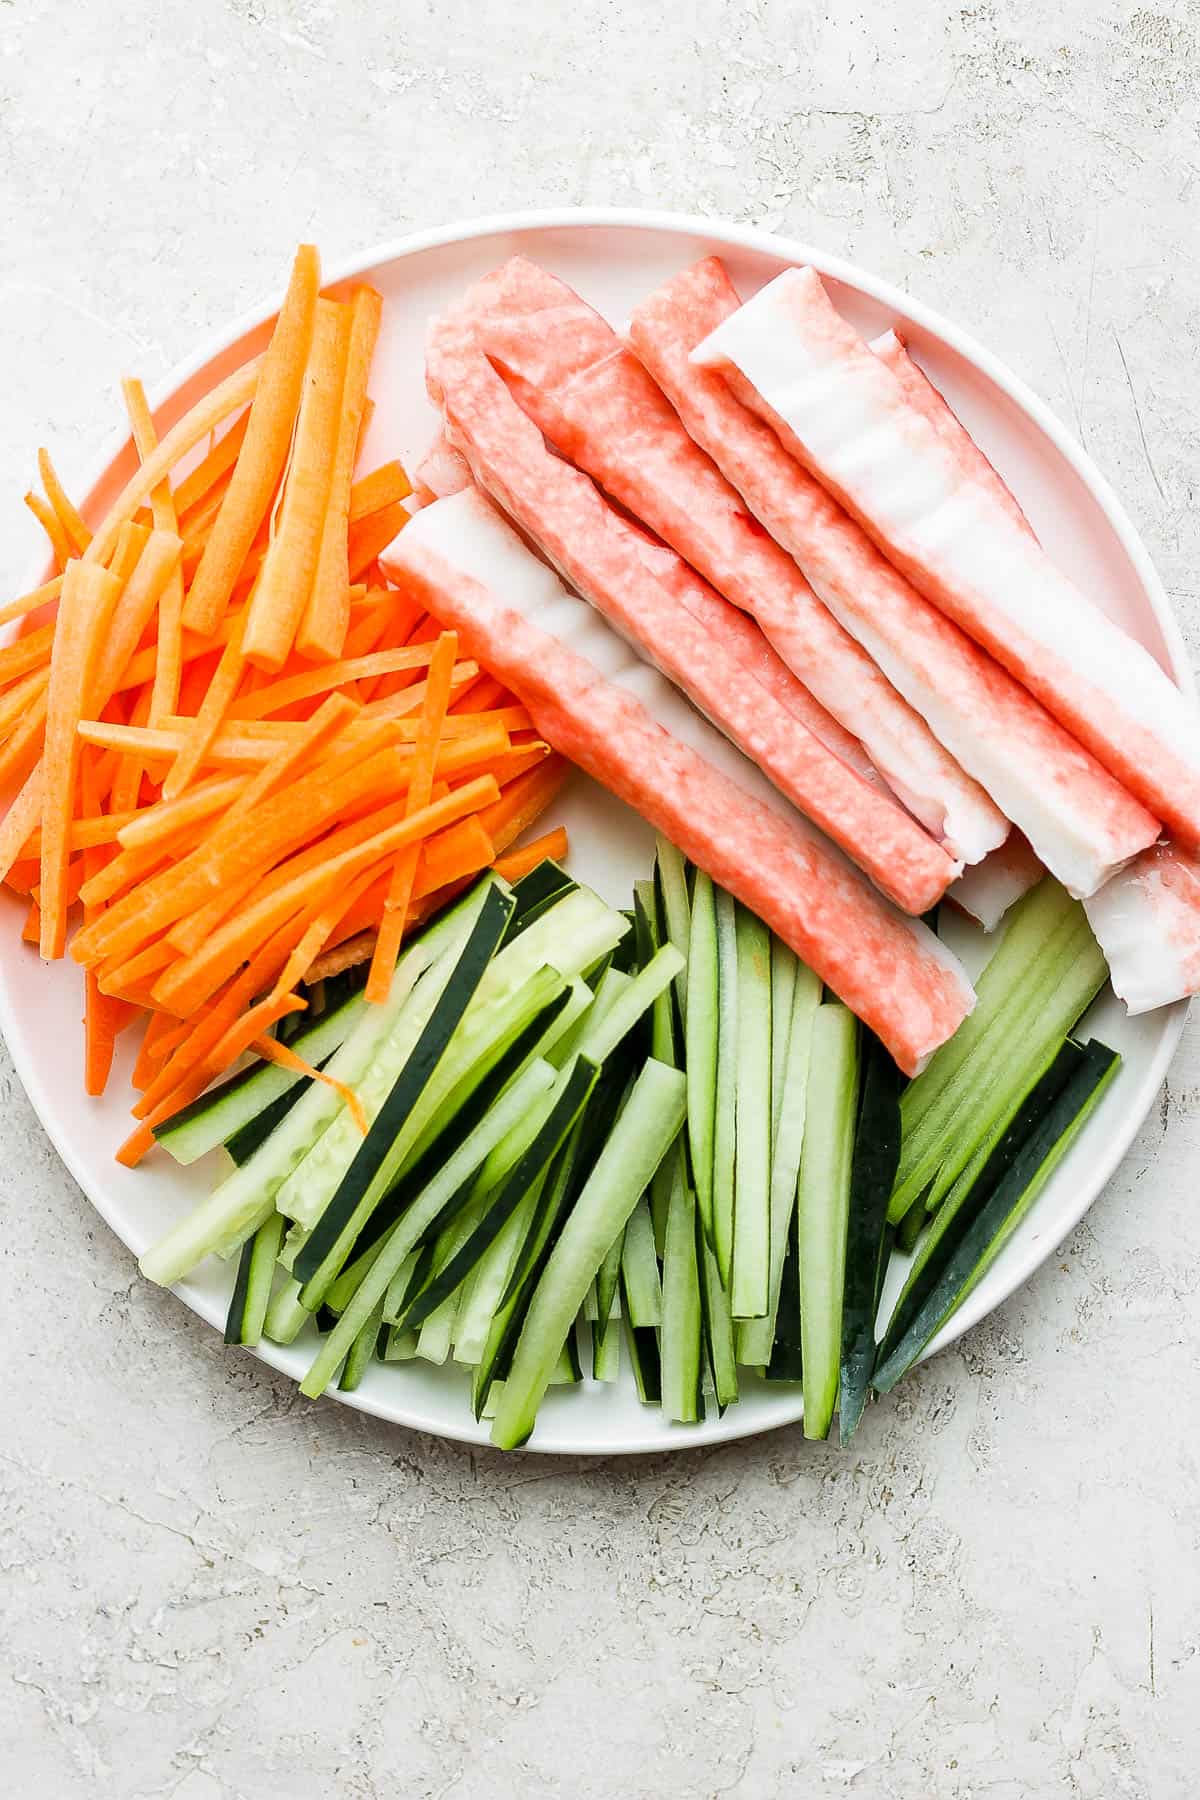
Prep Filling Ingredients
The perfect time to prep the filling ingredients is while the rice cooks! Simply grab a cutting board and start cutting long strips of any filling ingredients that you plan to use with a sharp knife.
Feel free to grab some matchstick carrots or pre-shredded veggies to cut down on the chopping.
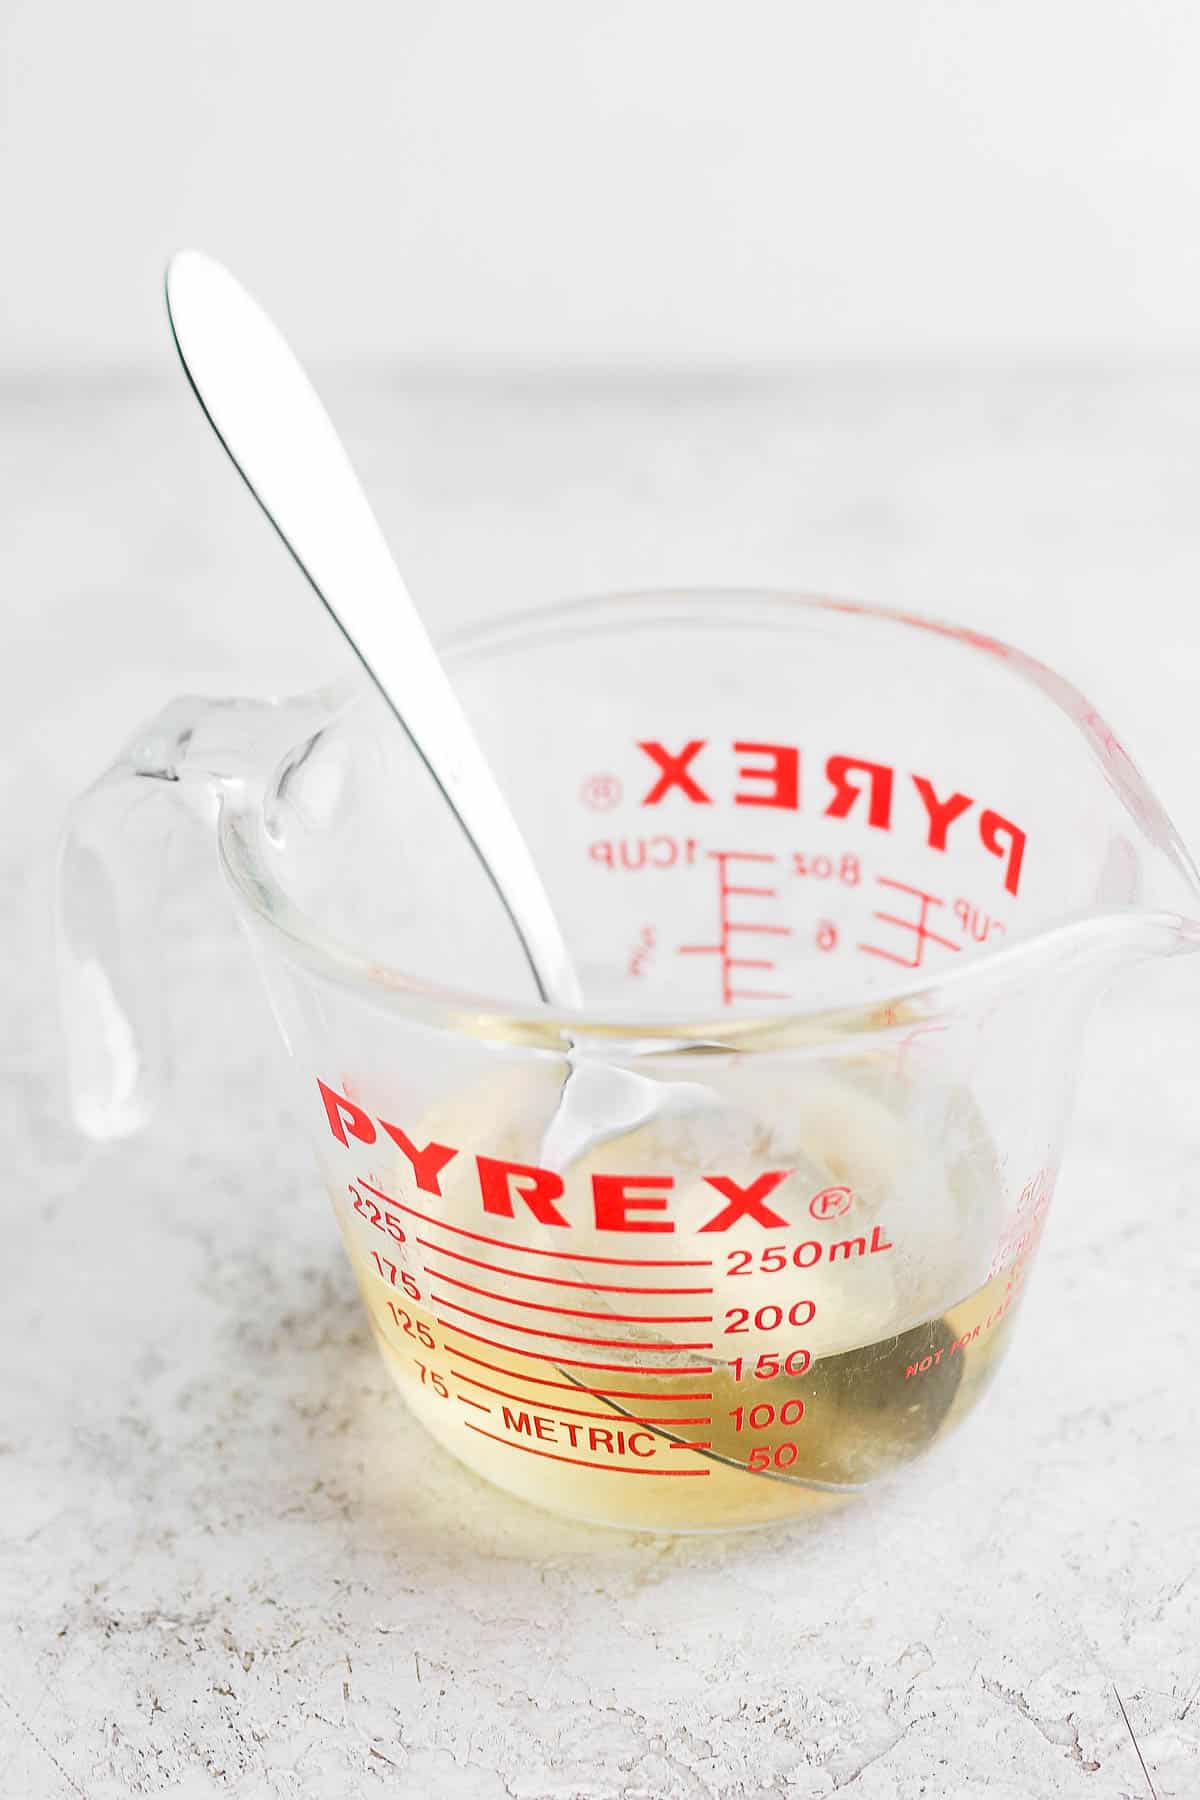
Step 3 – Mix up the rice vinegar, sugar, and salt.
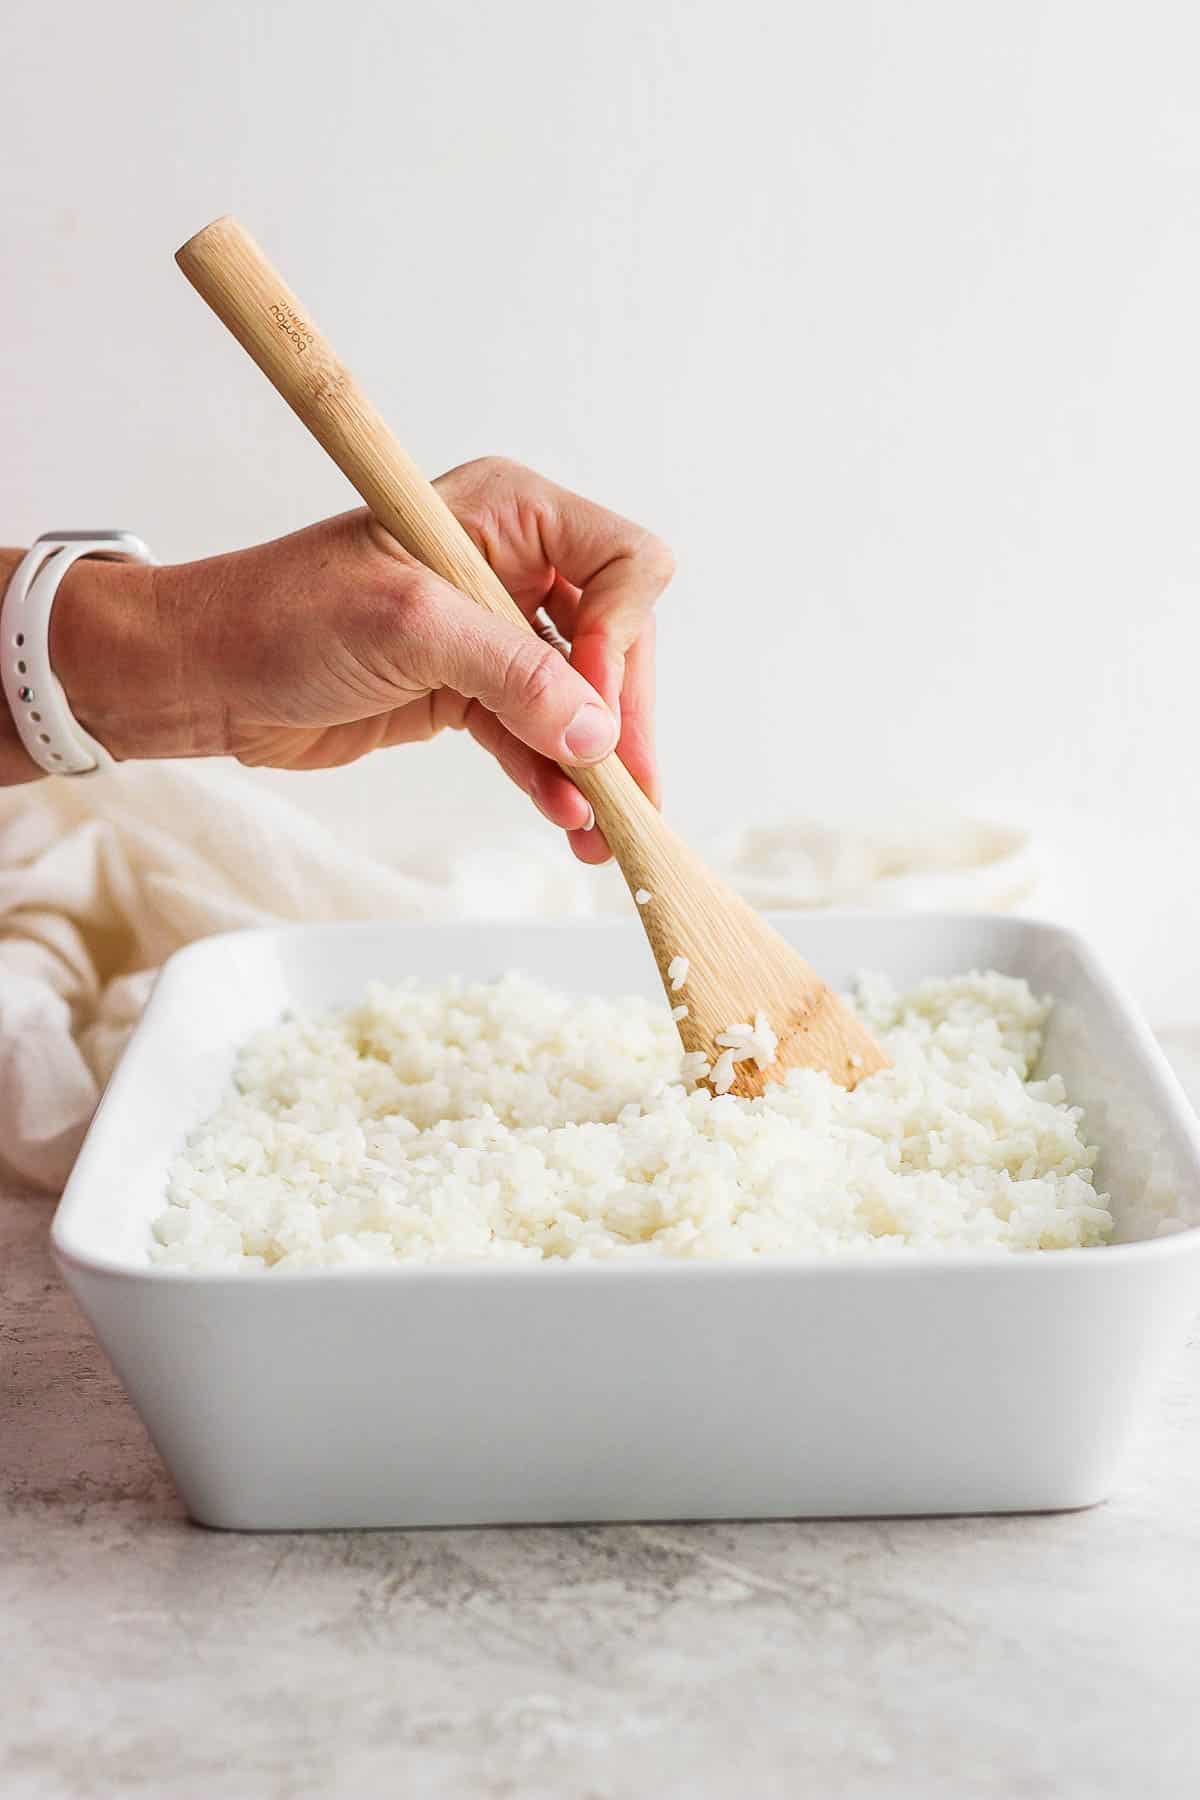
Step 4 – Carefully combine the vinegar mixture in a baking dish with the cooked rice.
Pro Tip
Cover the finished rice with a damp kitchen towel to prevent the rice from drying out in between making rolls.
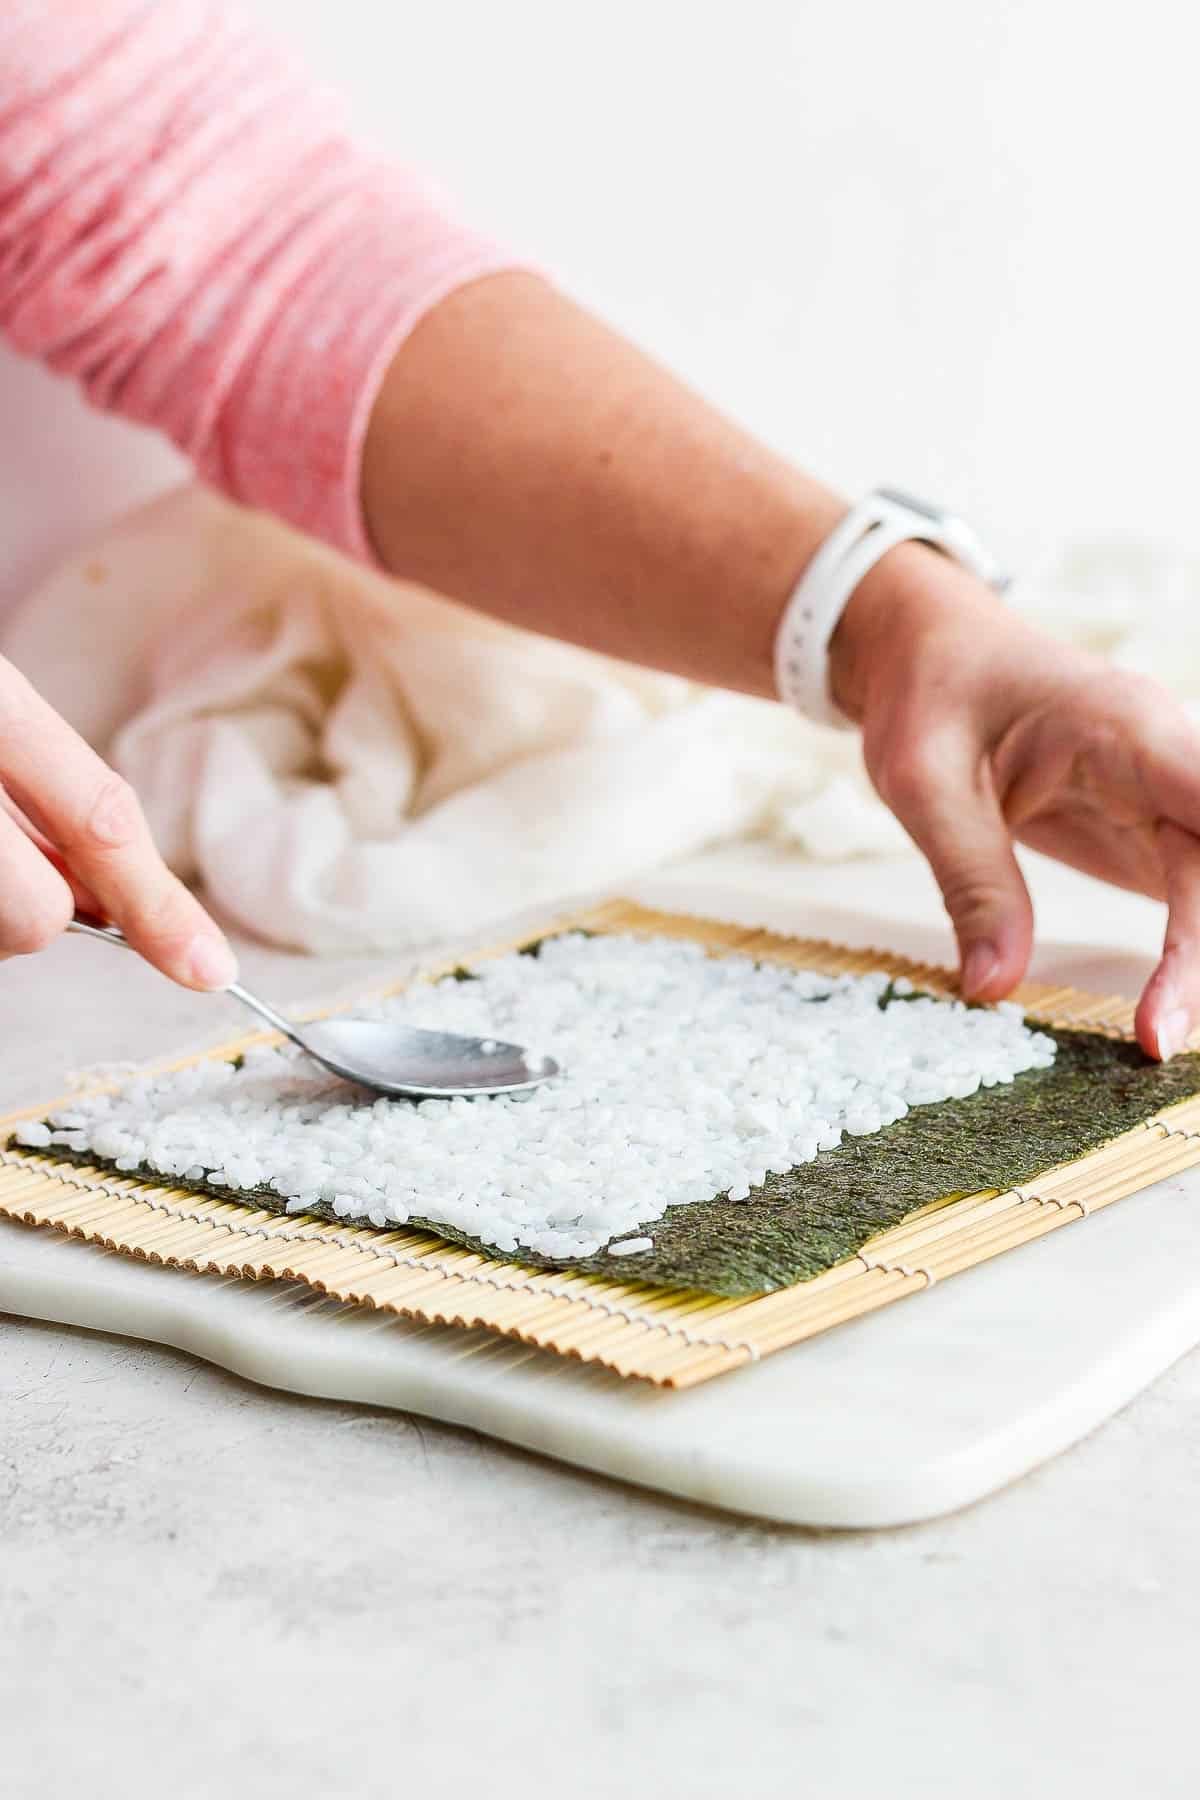
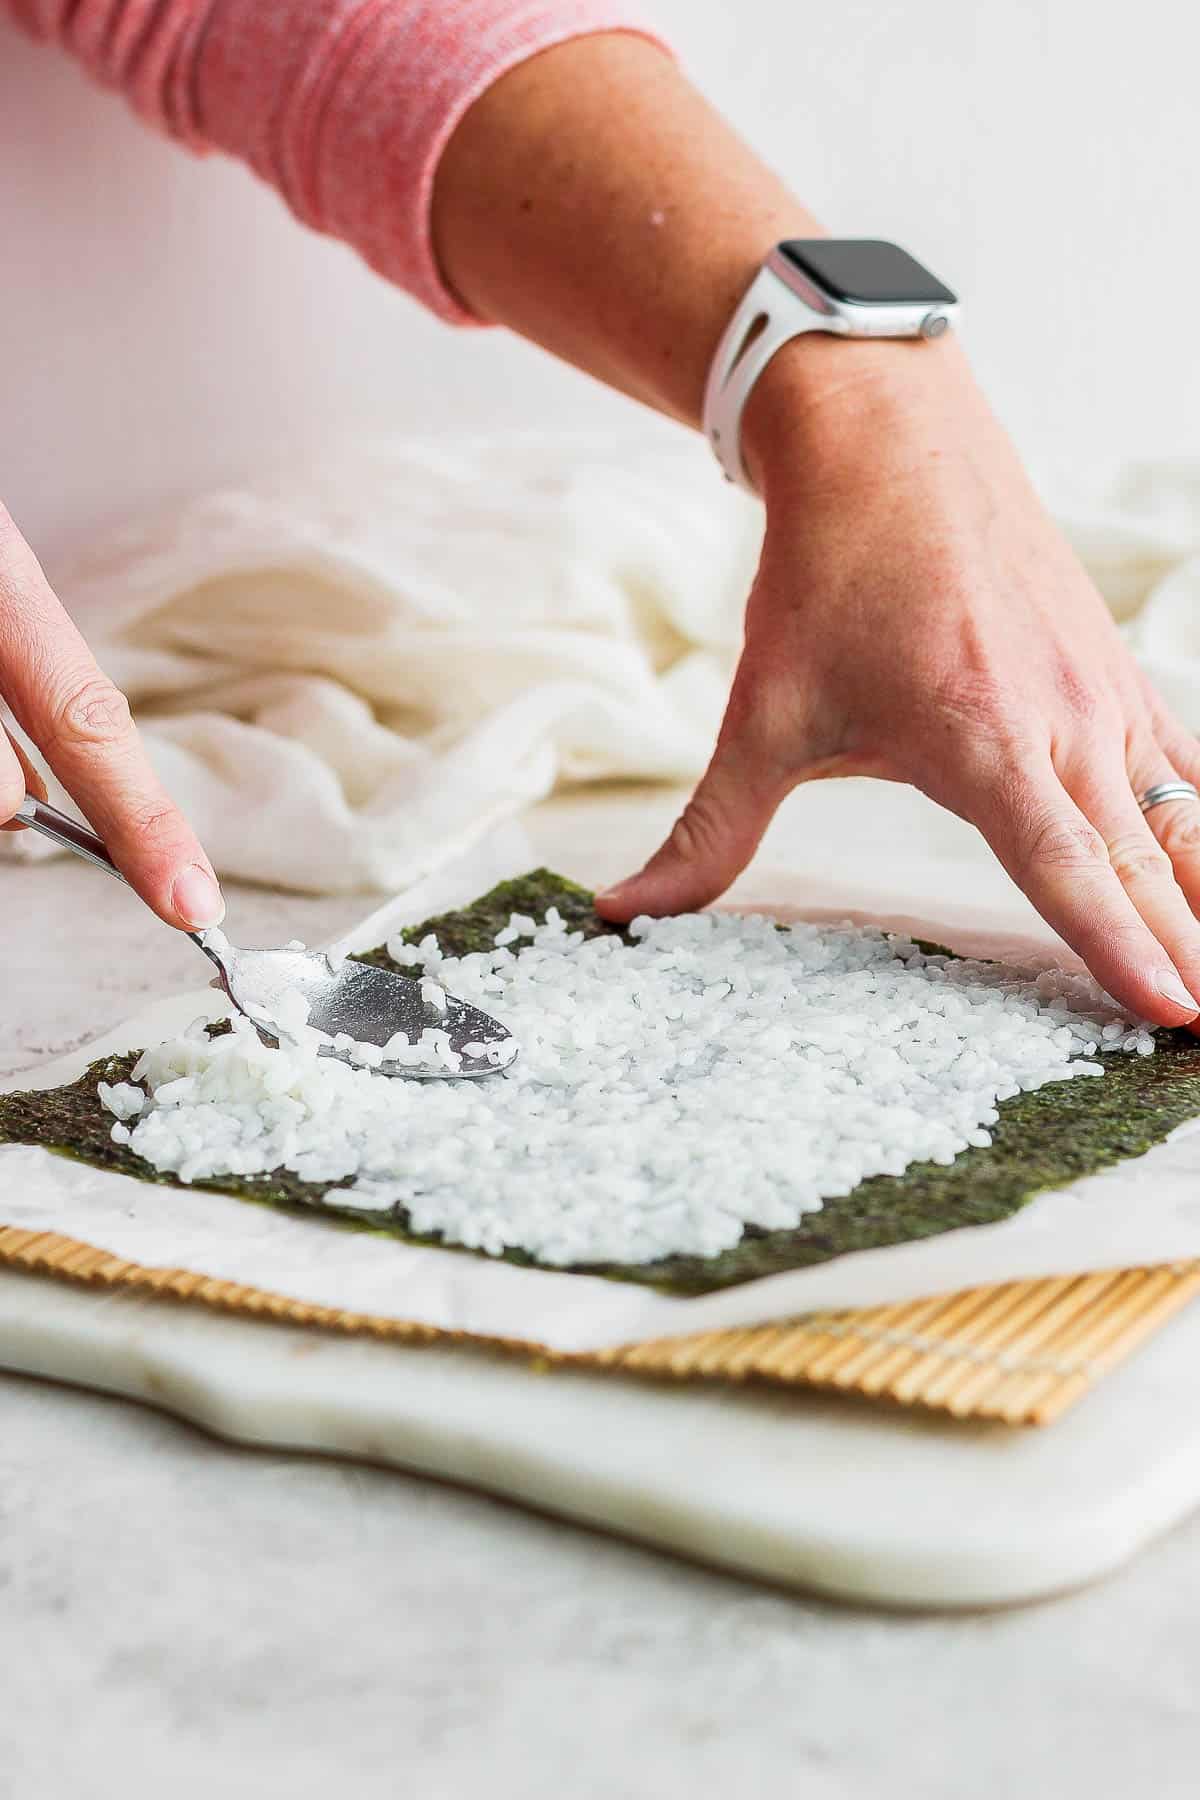
Step 5 – Put a nori sheet on the bamboo mat and spread a thin layer of sushi rice on the bottom 3/4 of the sheet.

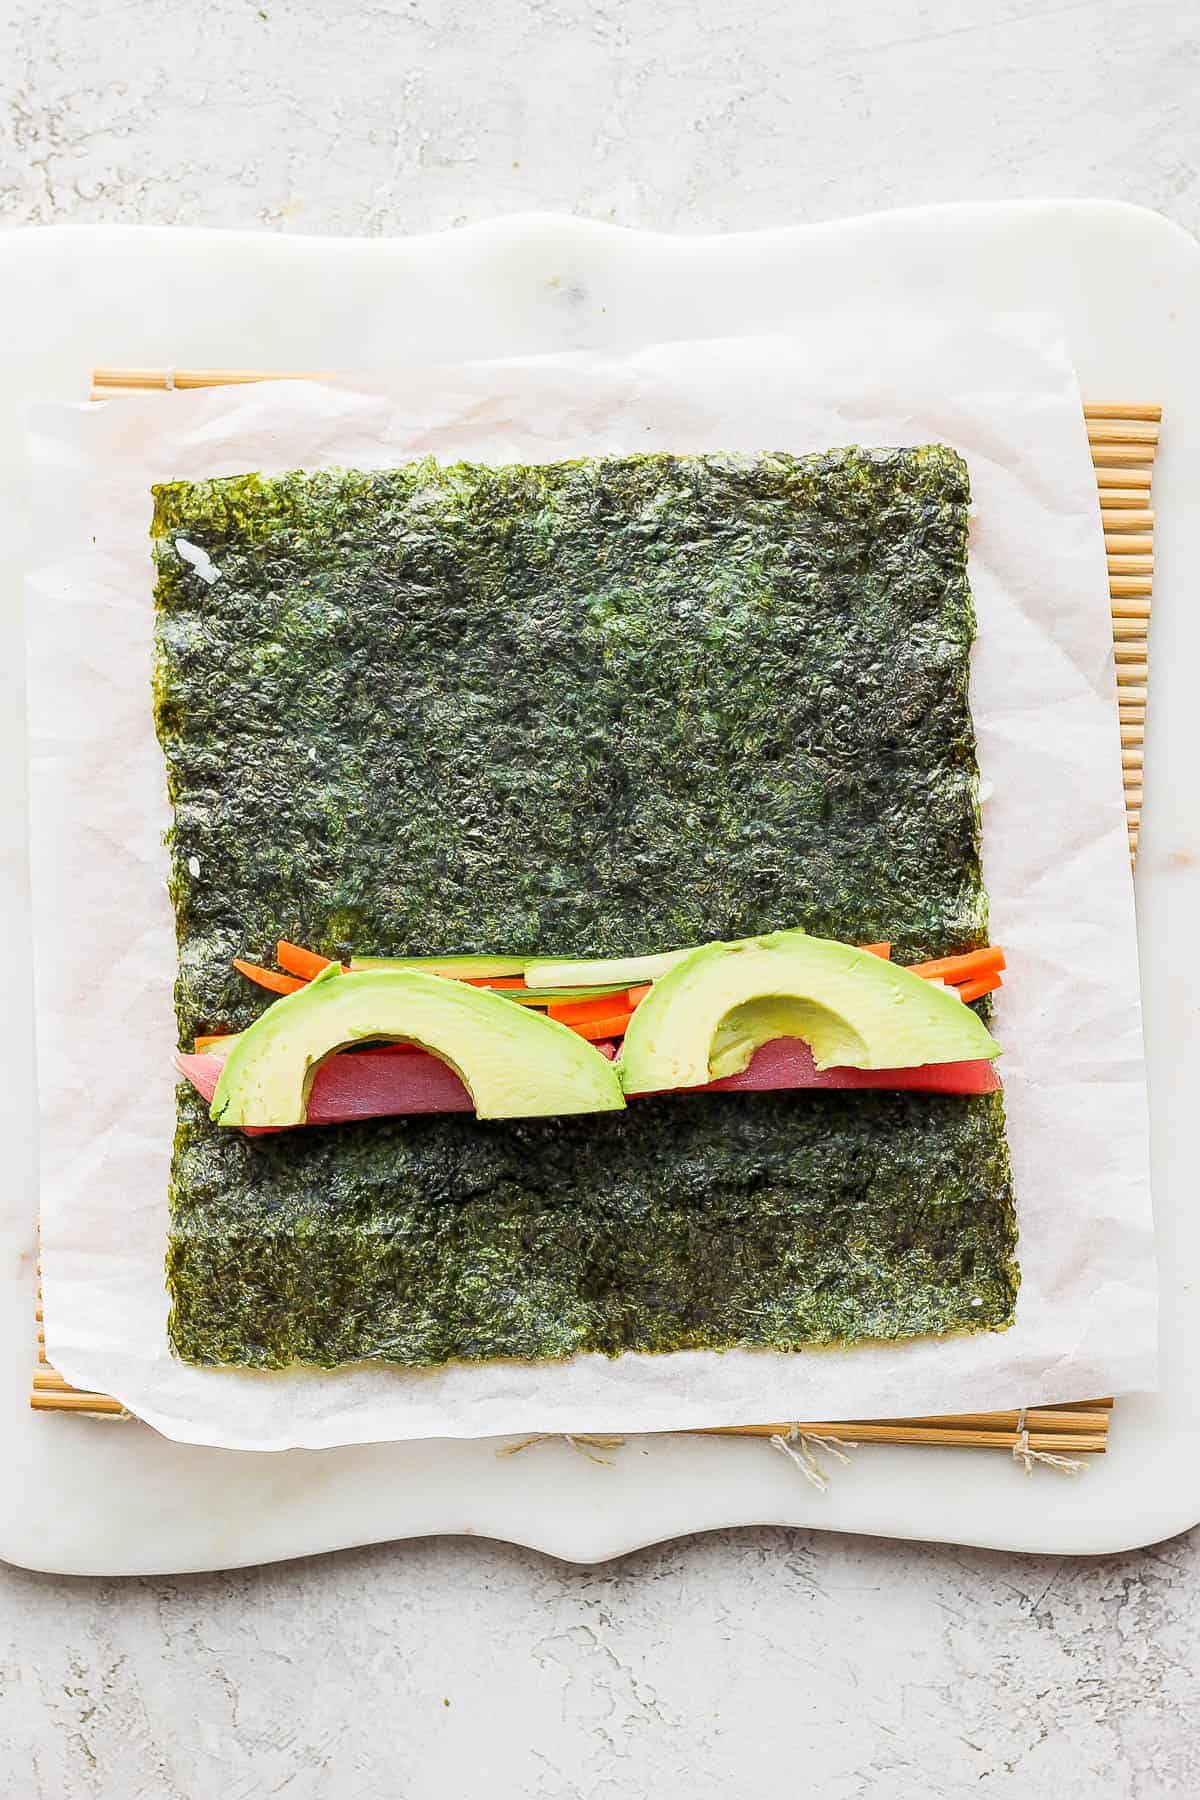
Step 6 – Add desired fillings to the middle of the rice section.
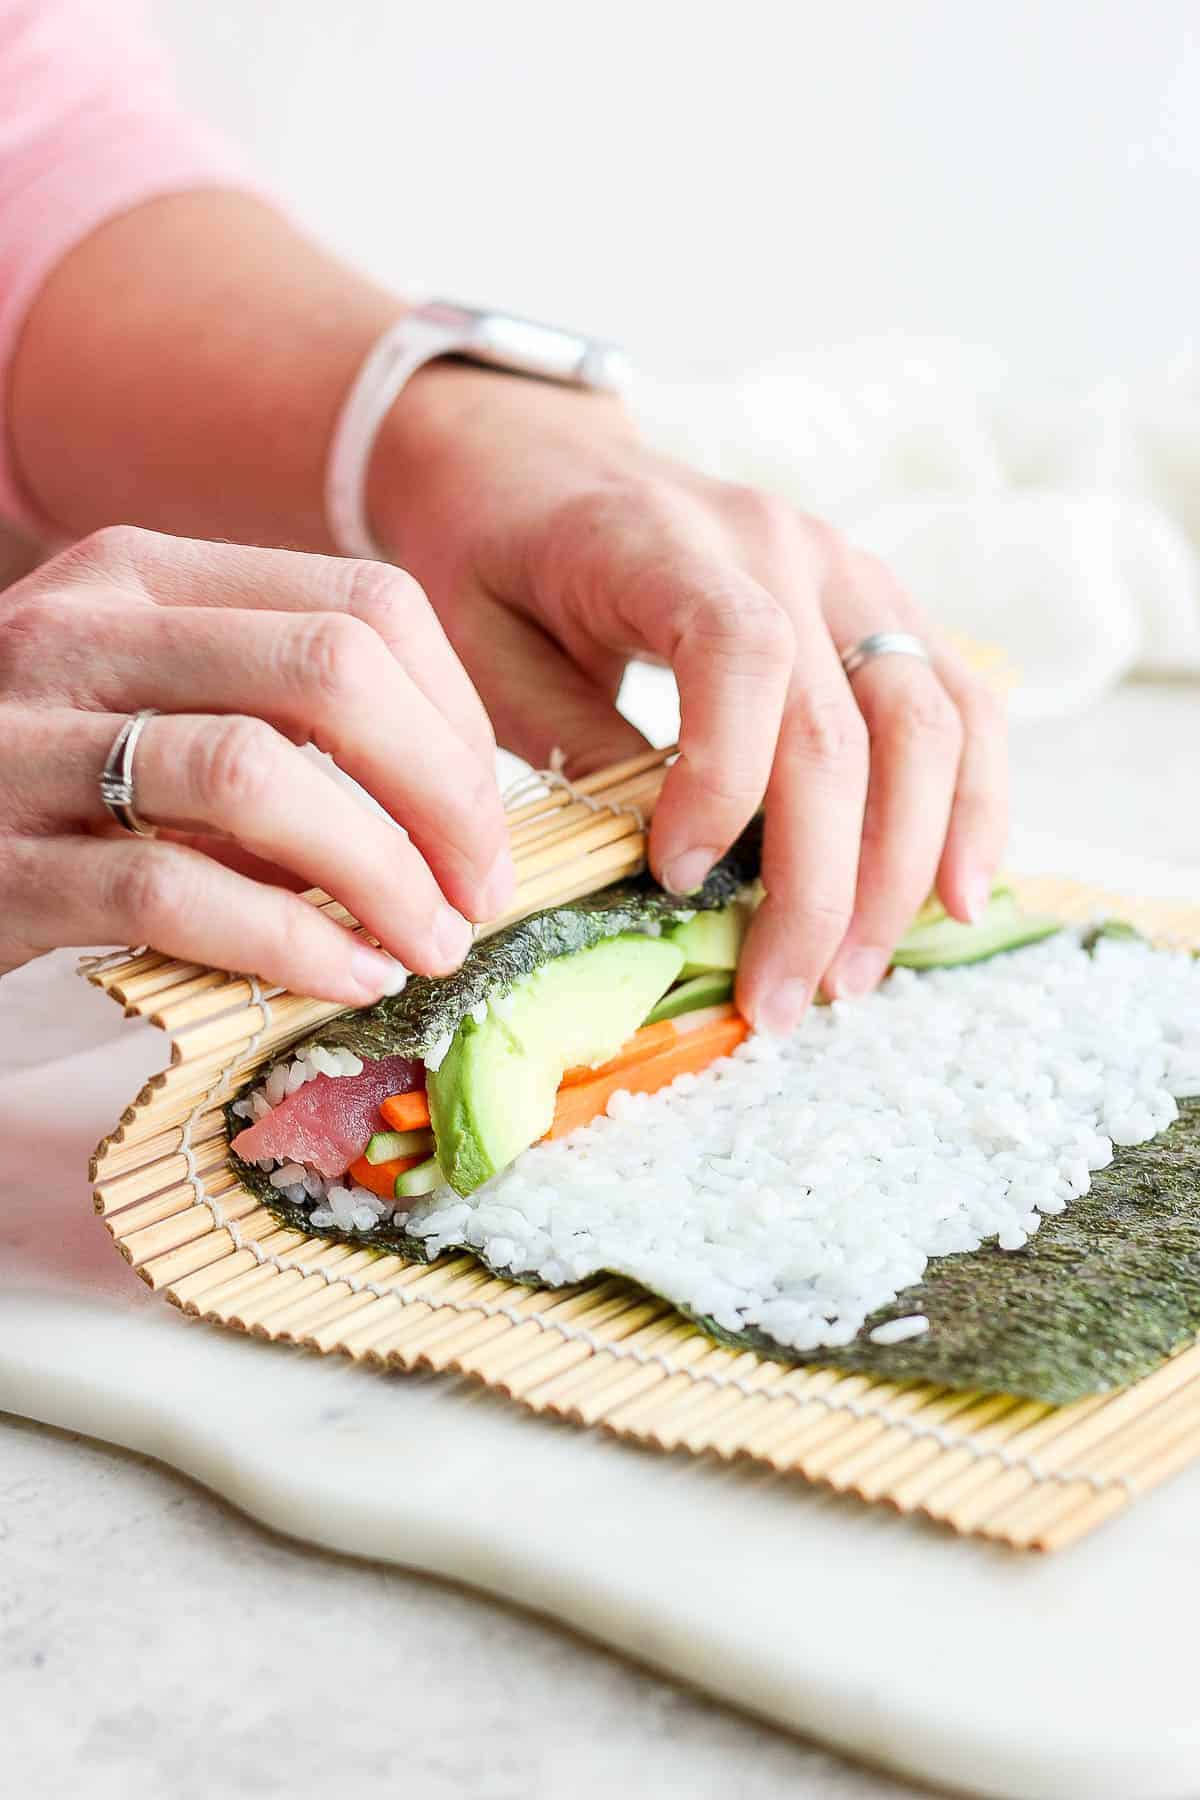
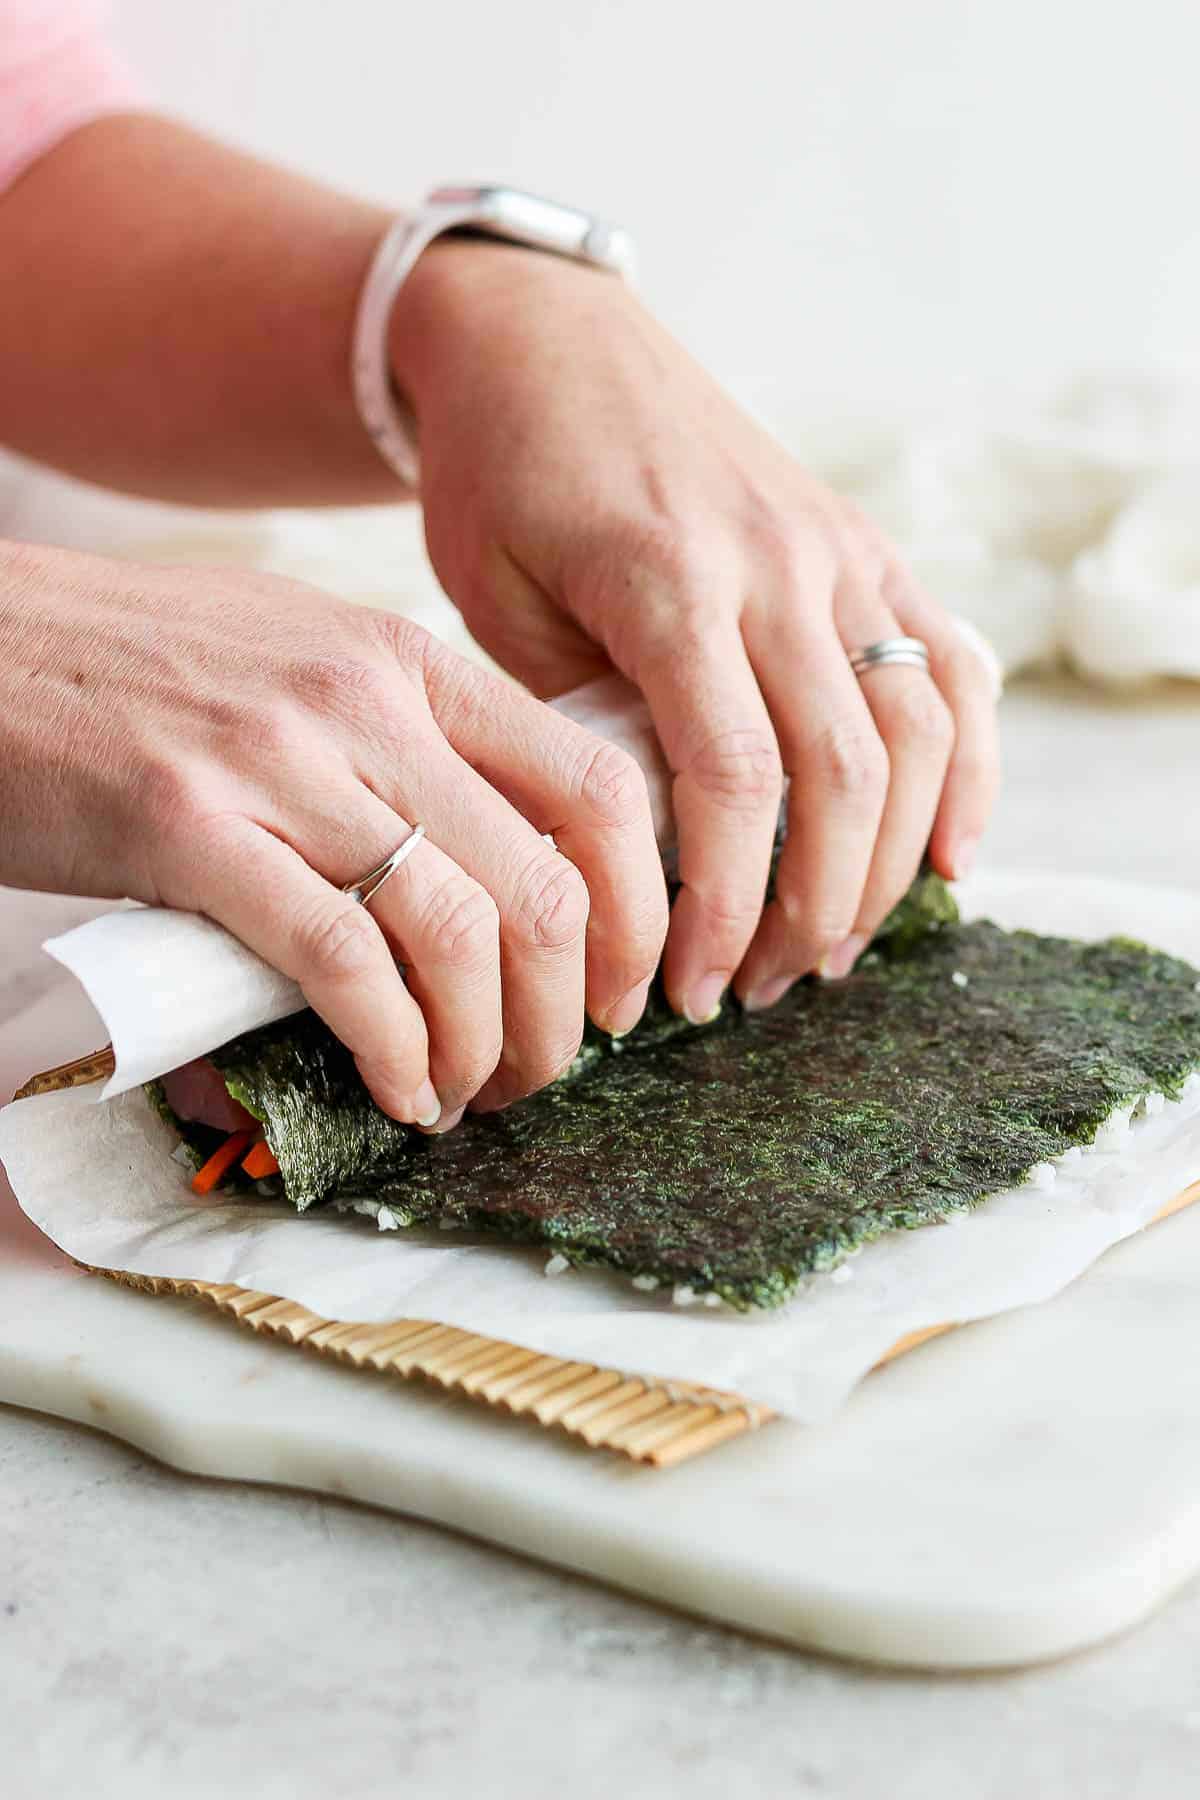
Step 7 – Bring the edge of the nori sheet and bamboo mat up over the fillings.
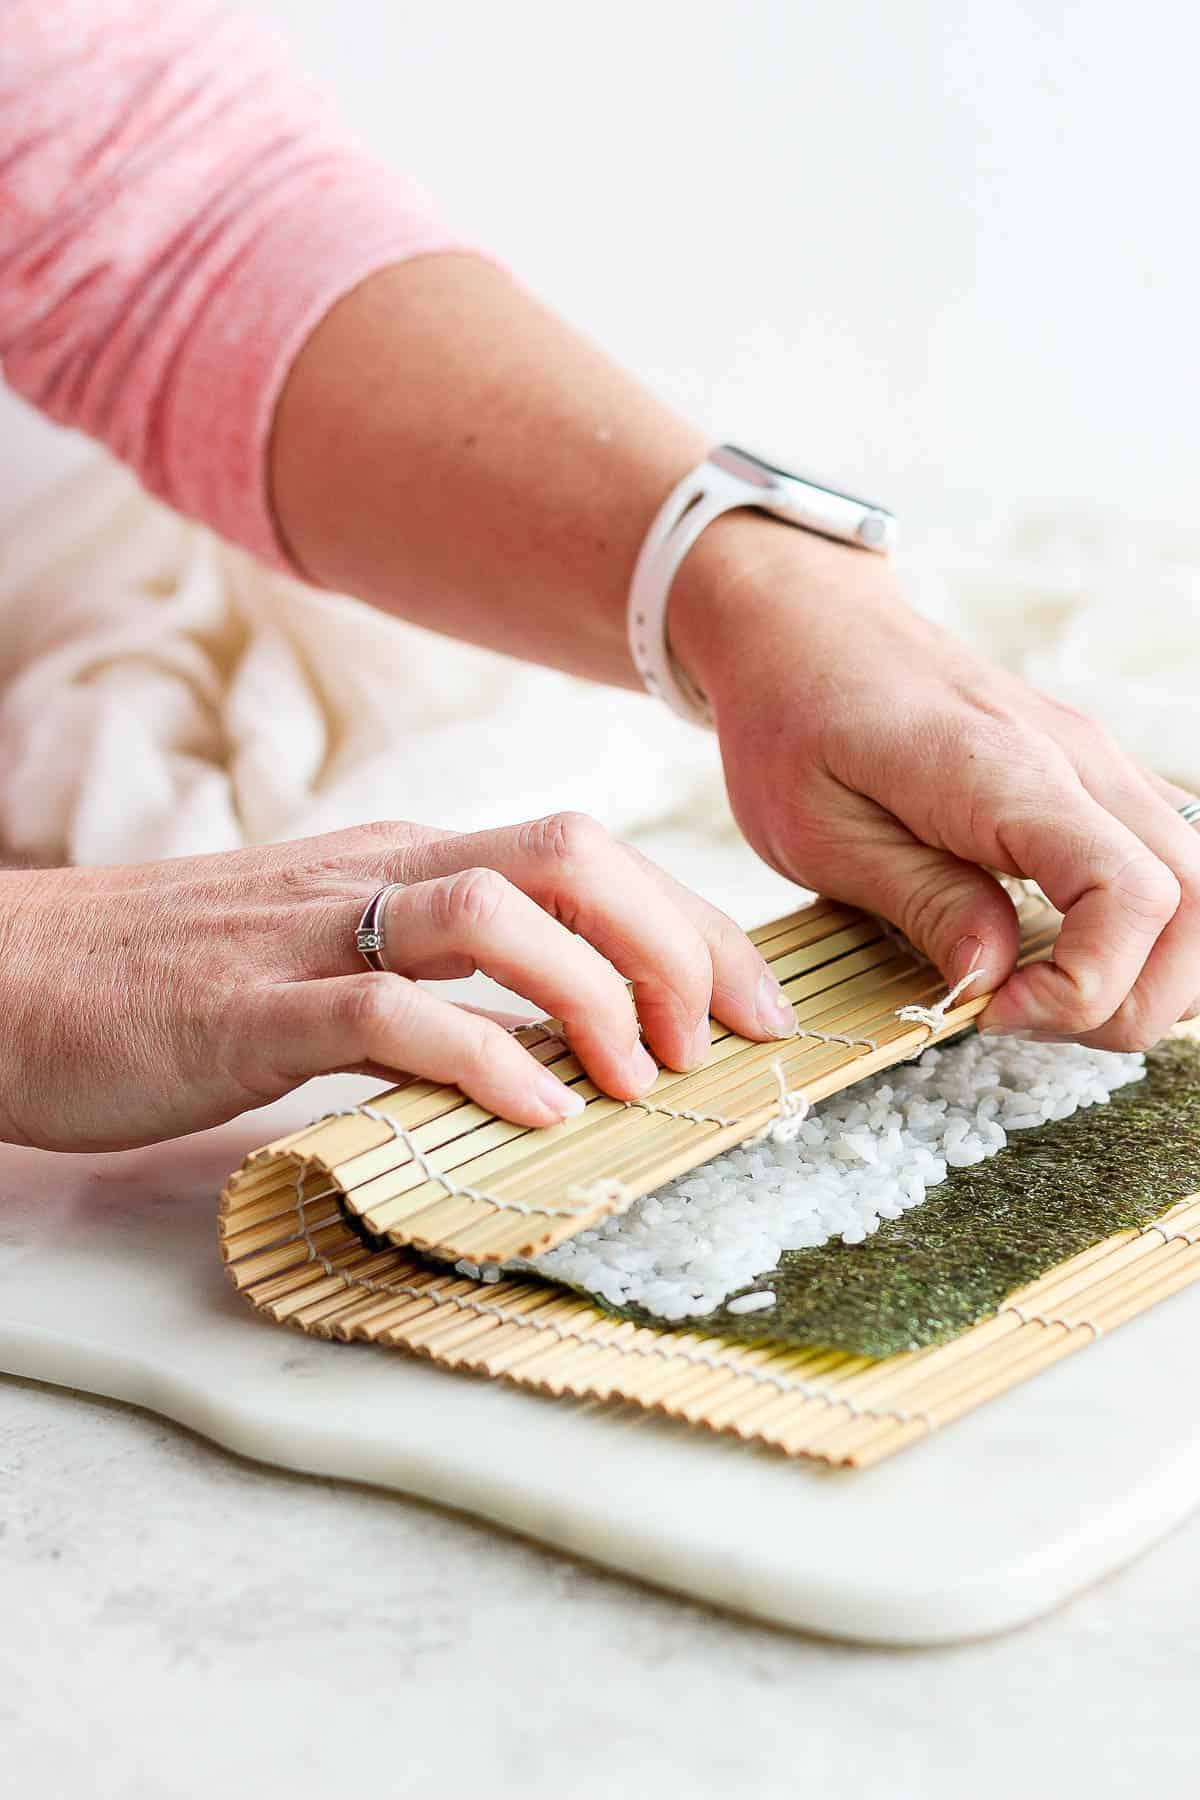
Step 8 – Carefully fold over the sushi roll fillings.
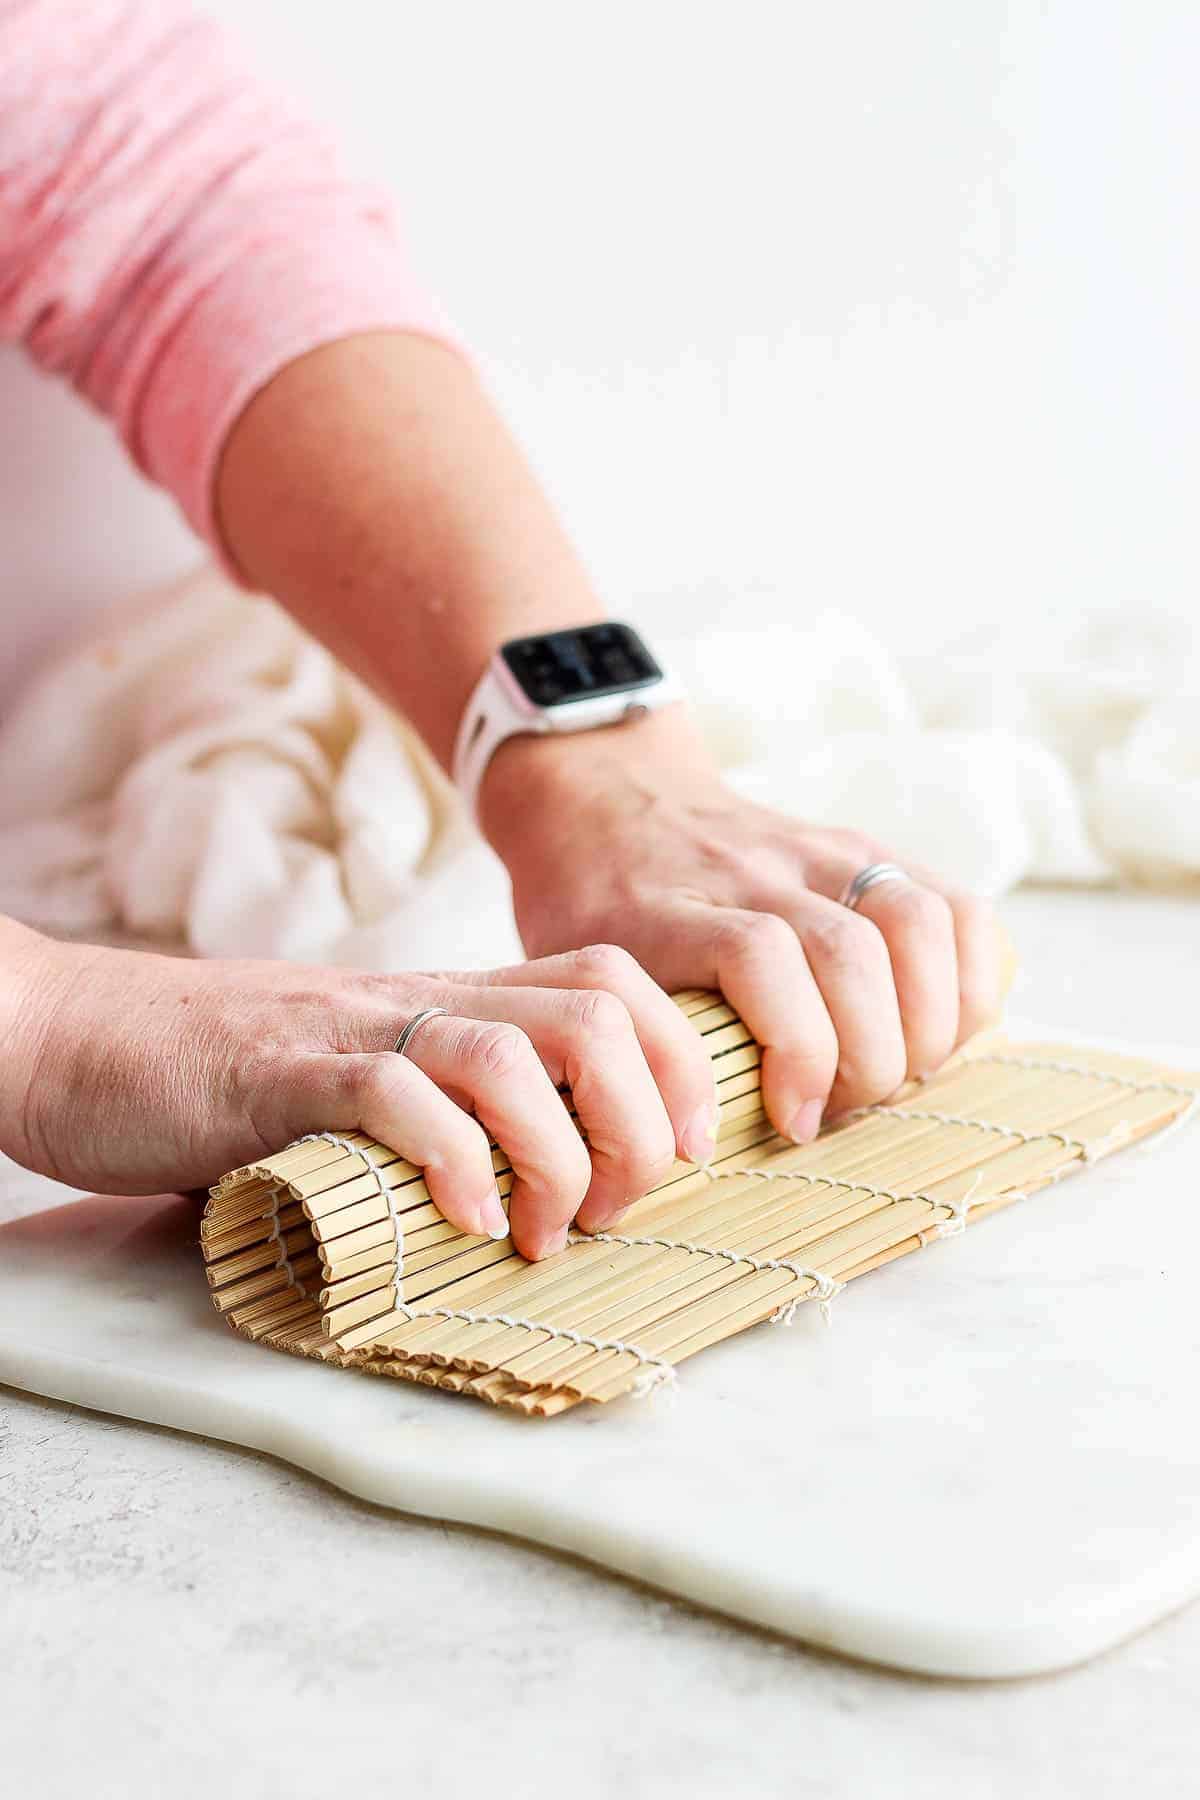
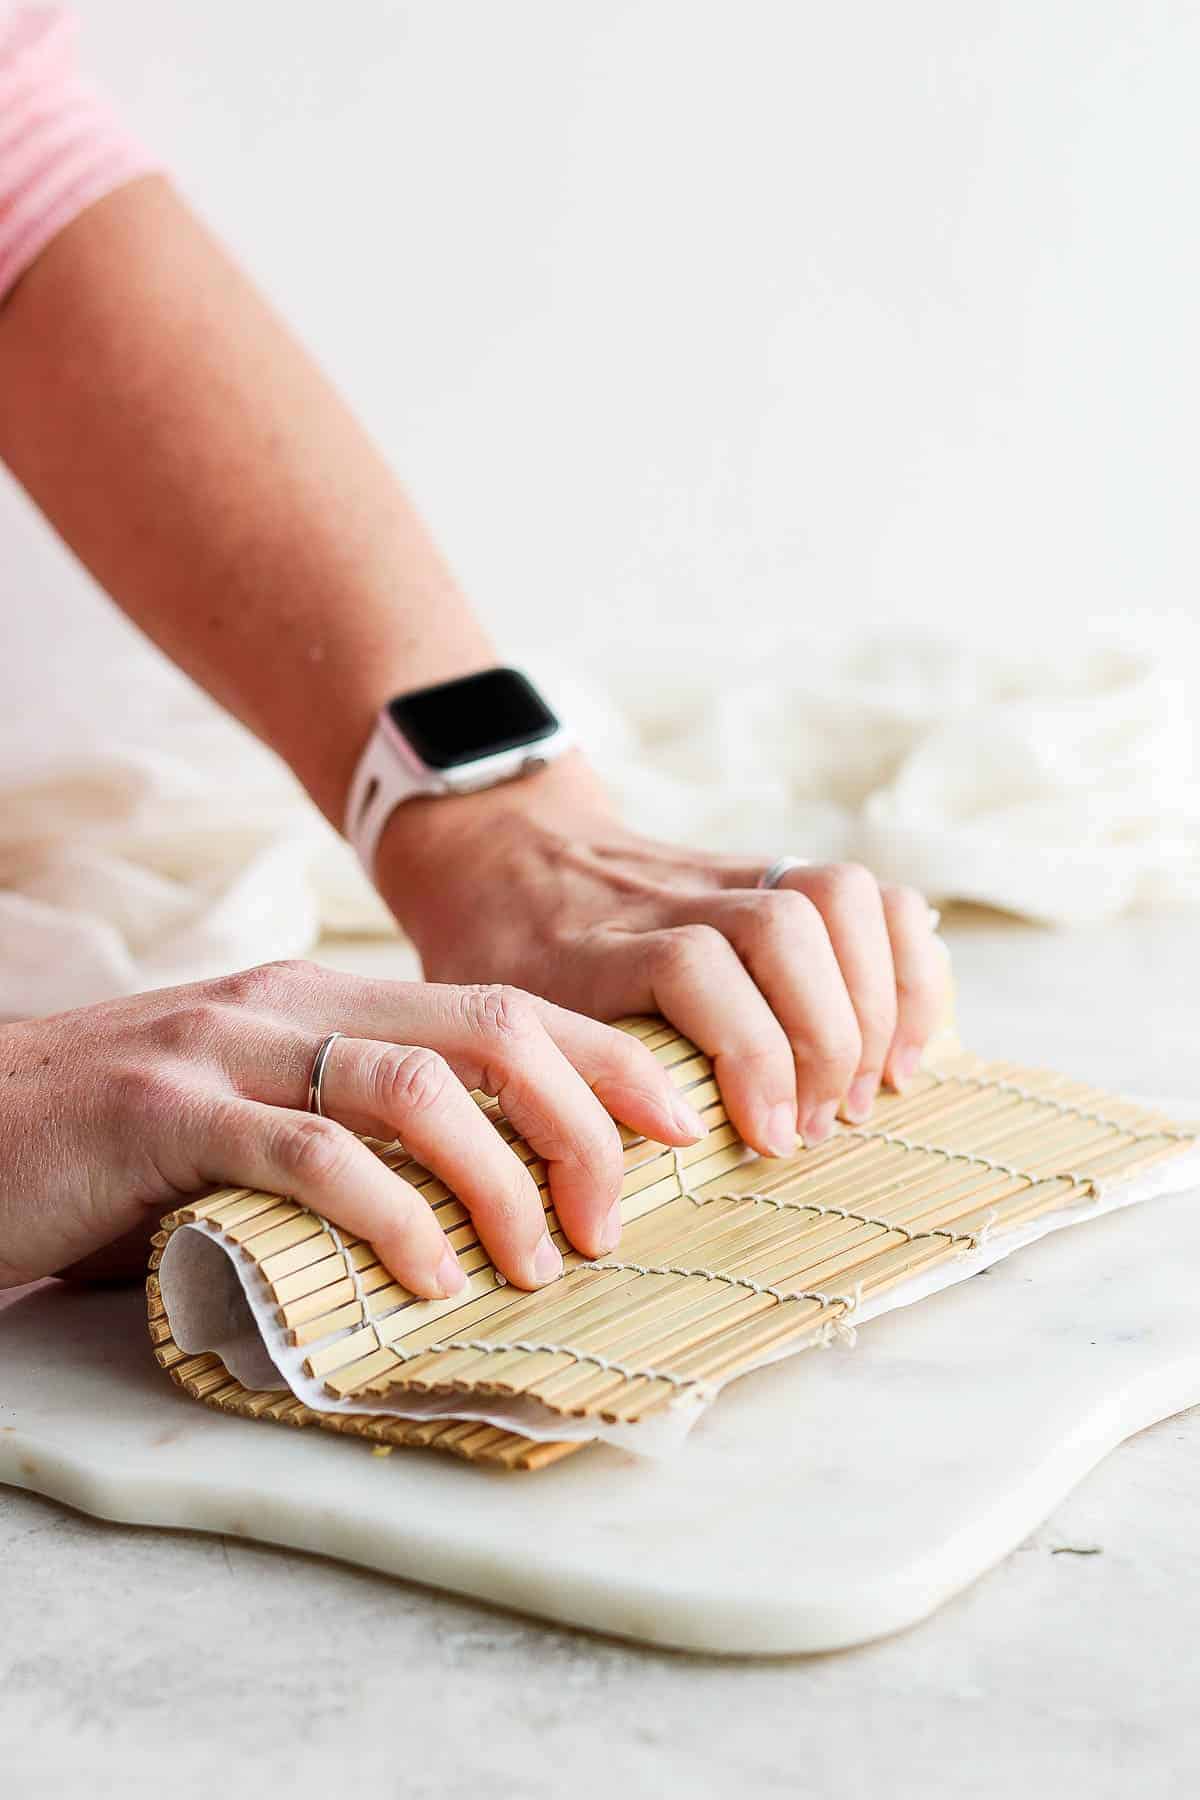
Step 9 – Give the roll a slight squeeze to keep it tight but not so hard that it pops out the ends.
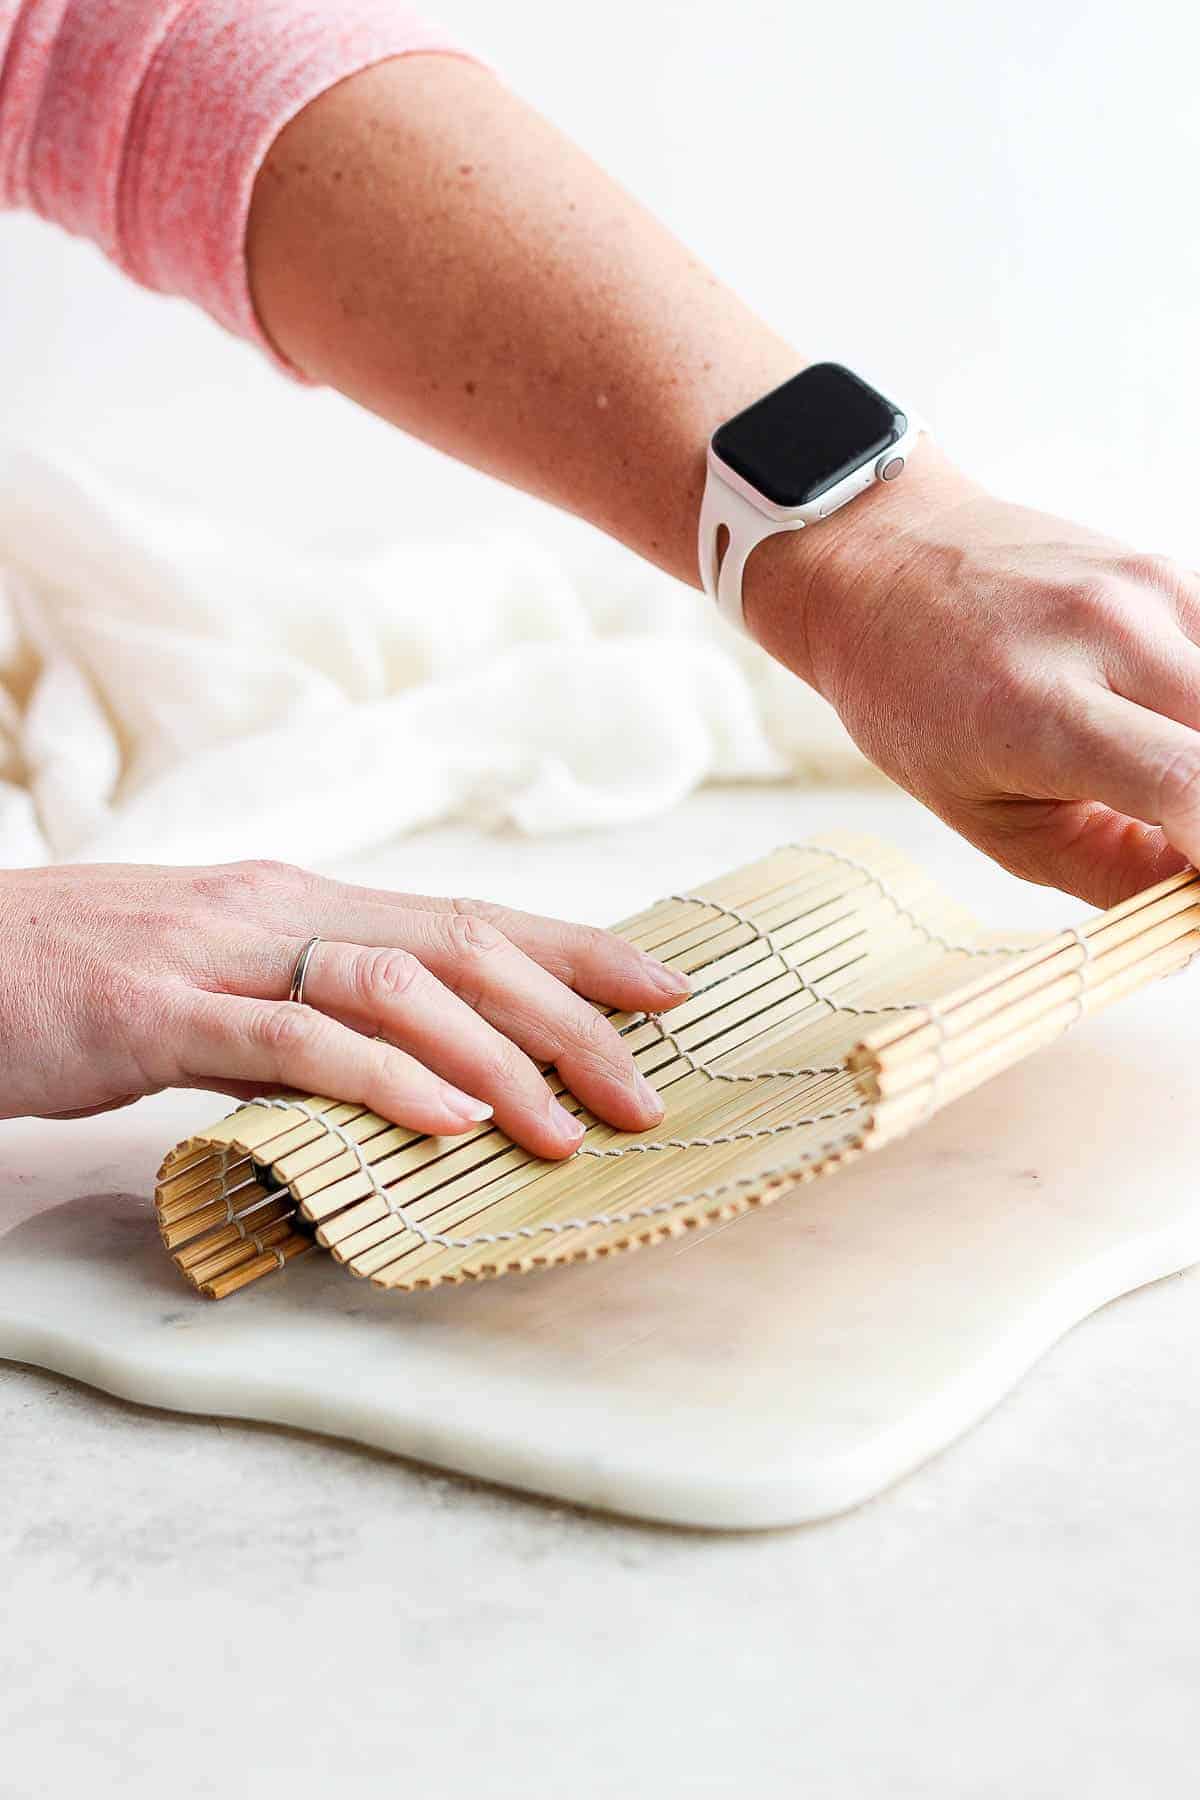
Step 10 – Continue to roll and squeeze the sushi roll away from you, pulling the bamboo mat as you go.
Pro Tip
Use a very sharp knife to cut sushi rolls and place the knife in a tall glass of water in between rolls. Sushi rice is very sticky, so putting the knife in water between cuts and rolls helps to cut down on the stickiness.
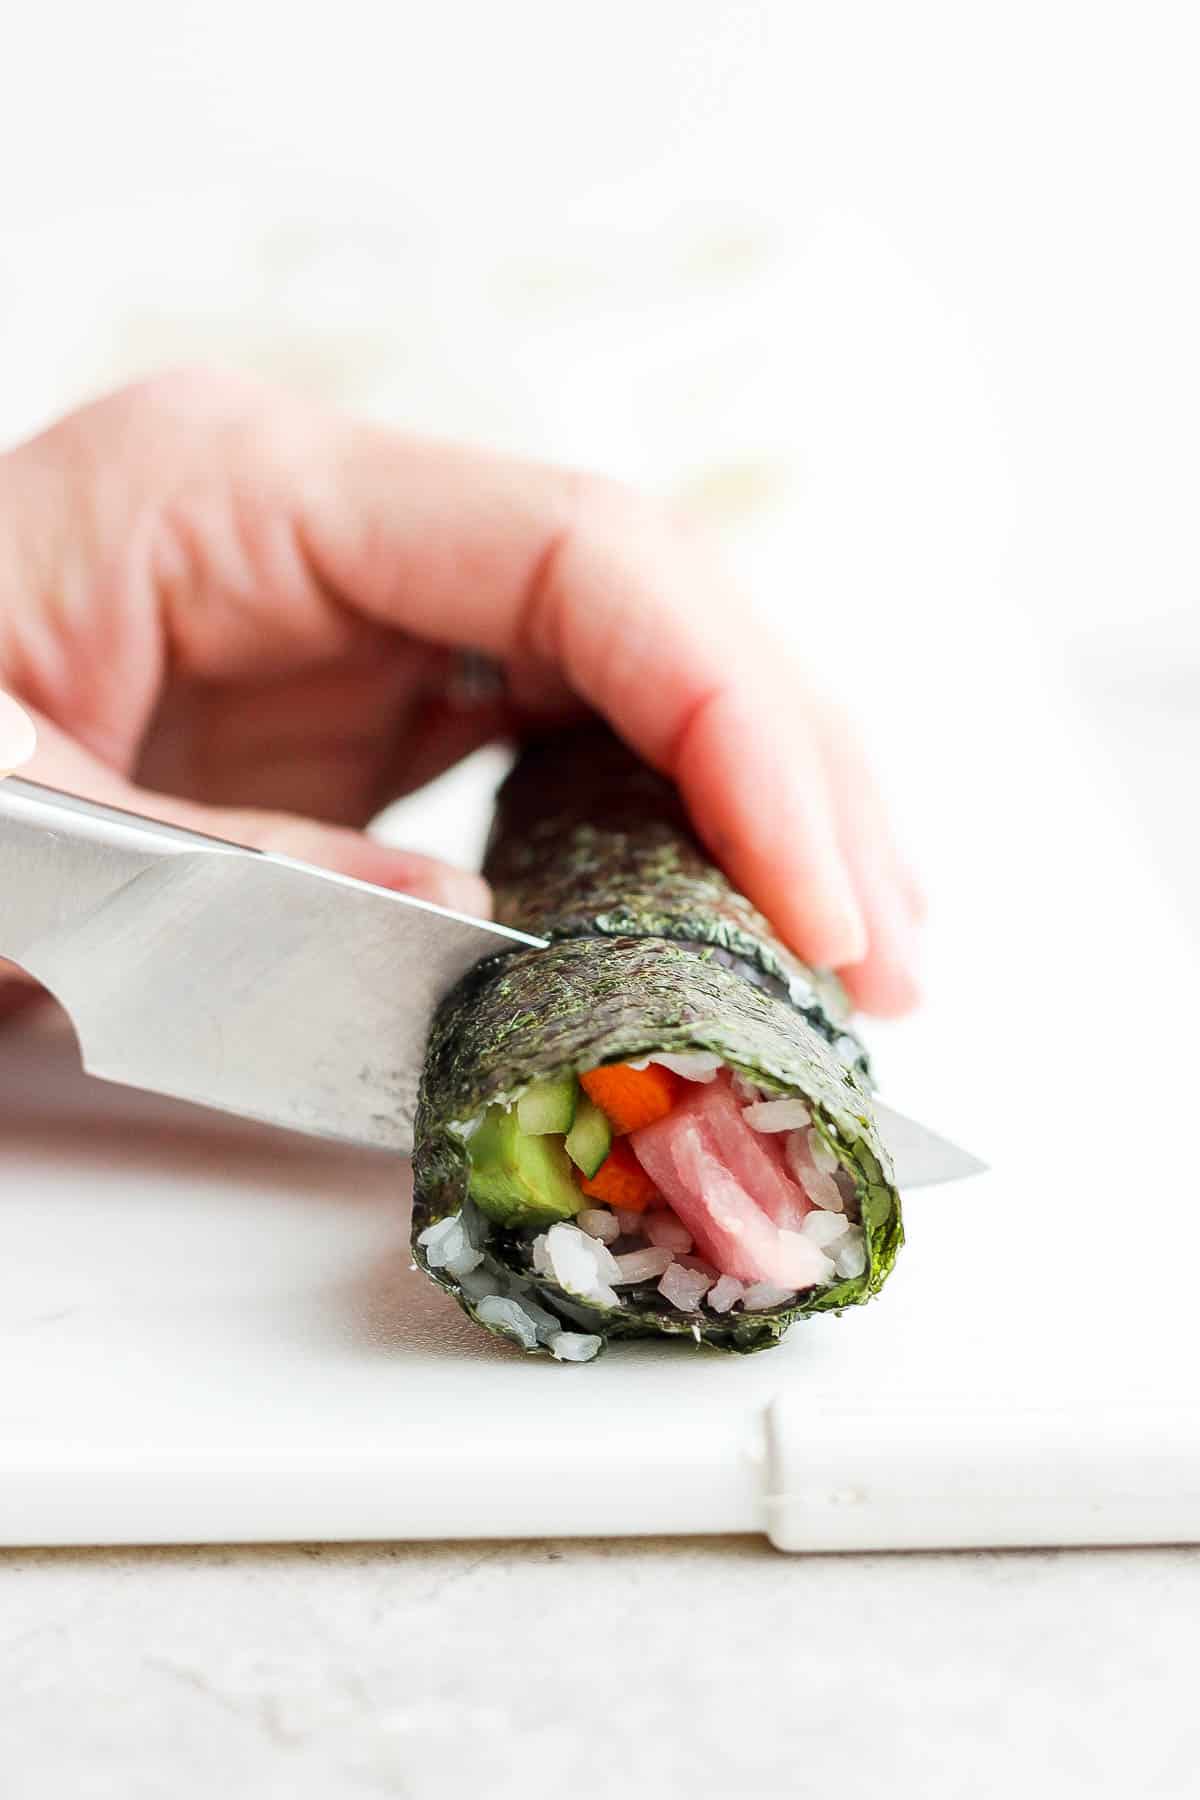
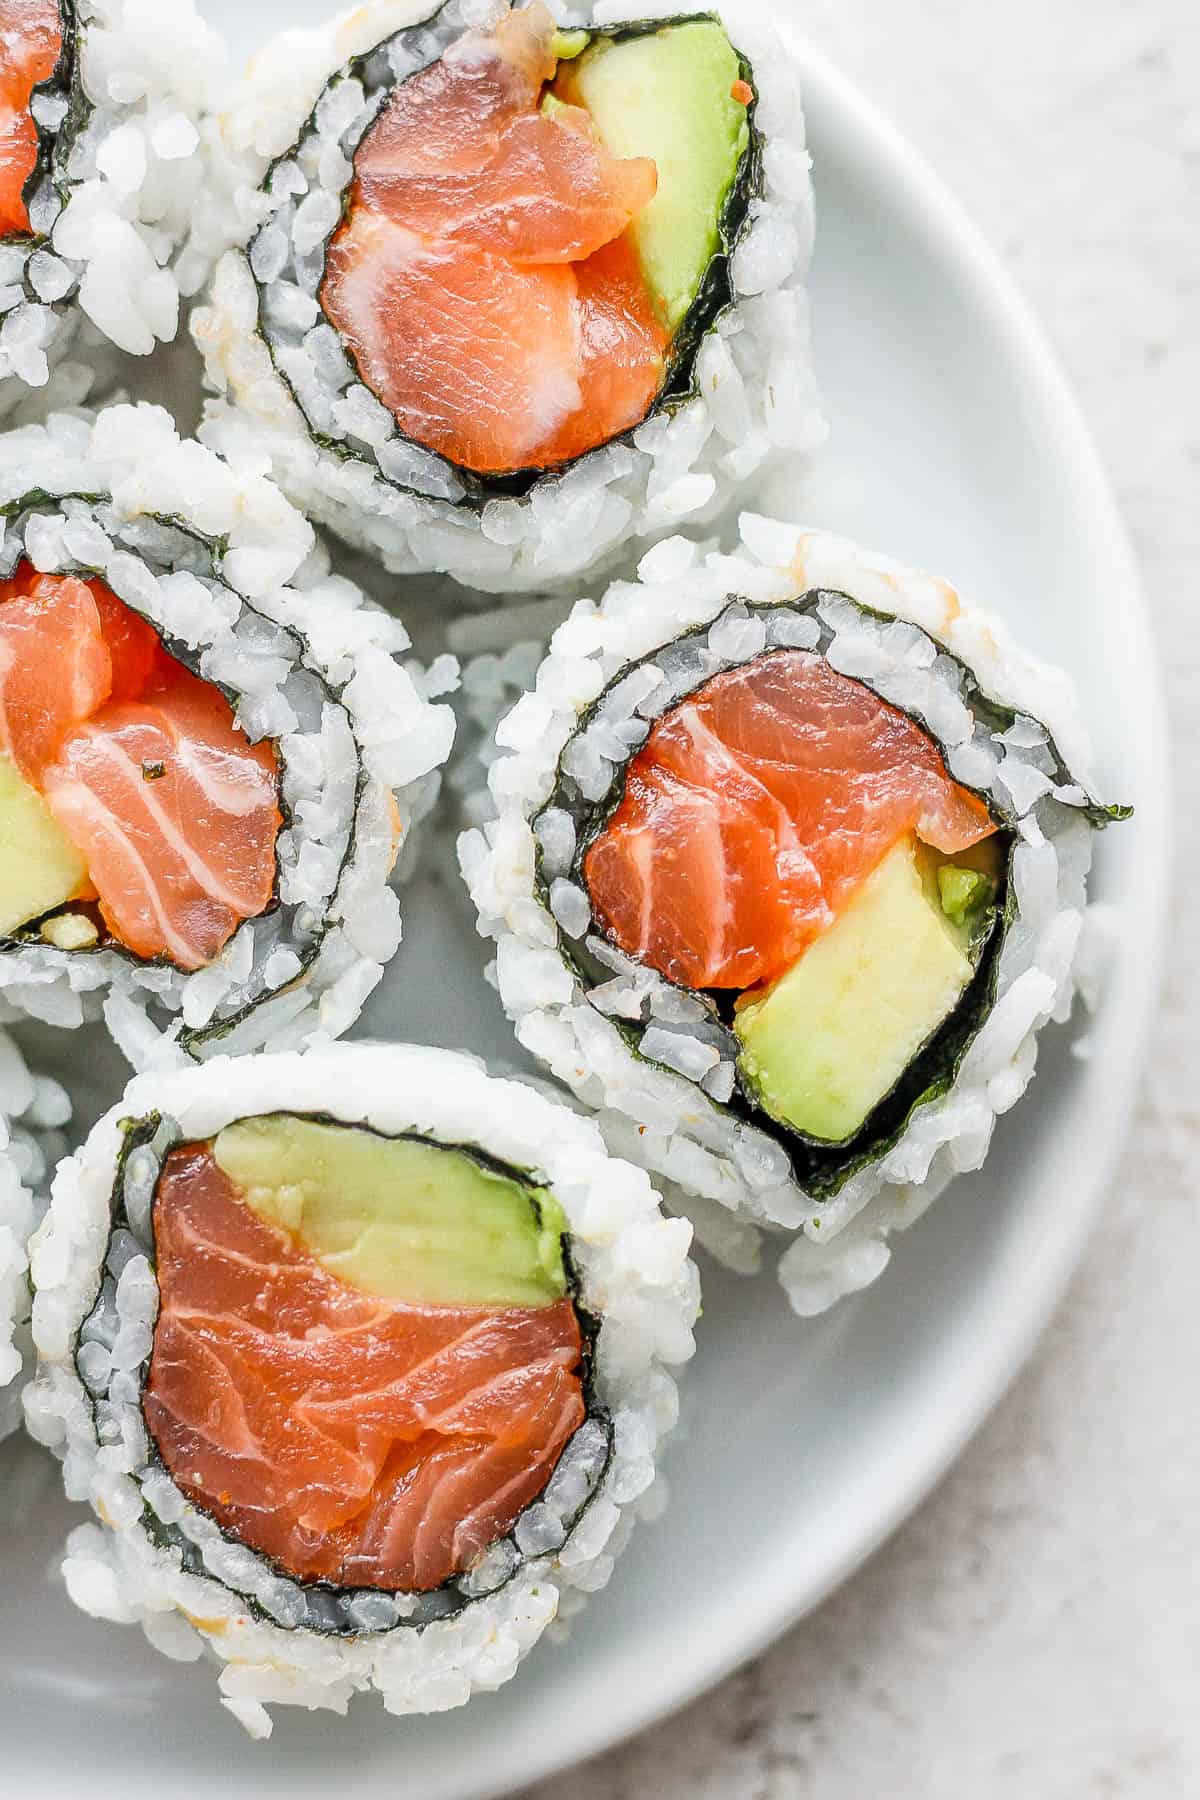
Step 11 – Cut the finished roll into bite-sized pieces with a sharp knife.
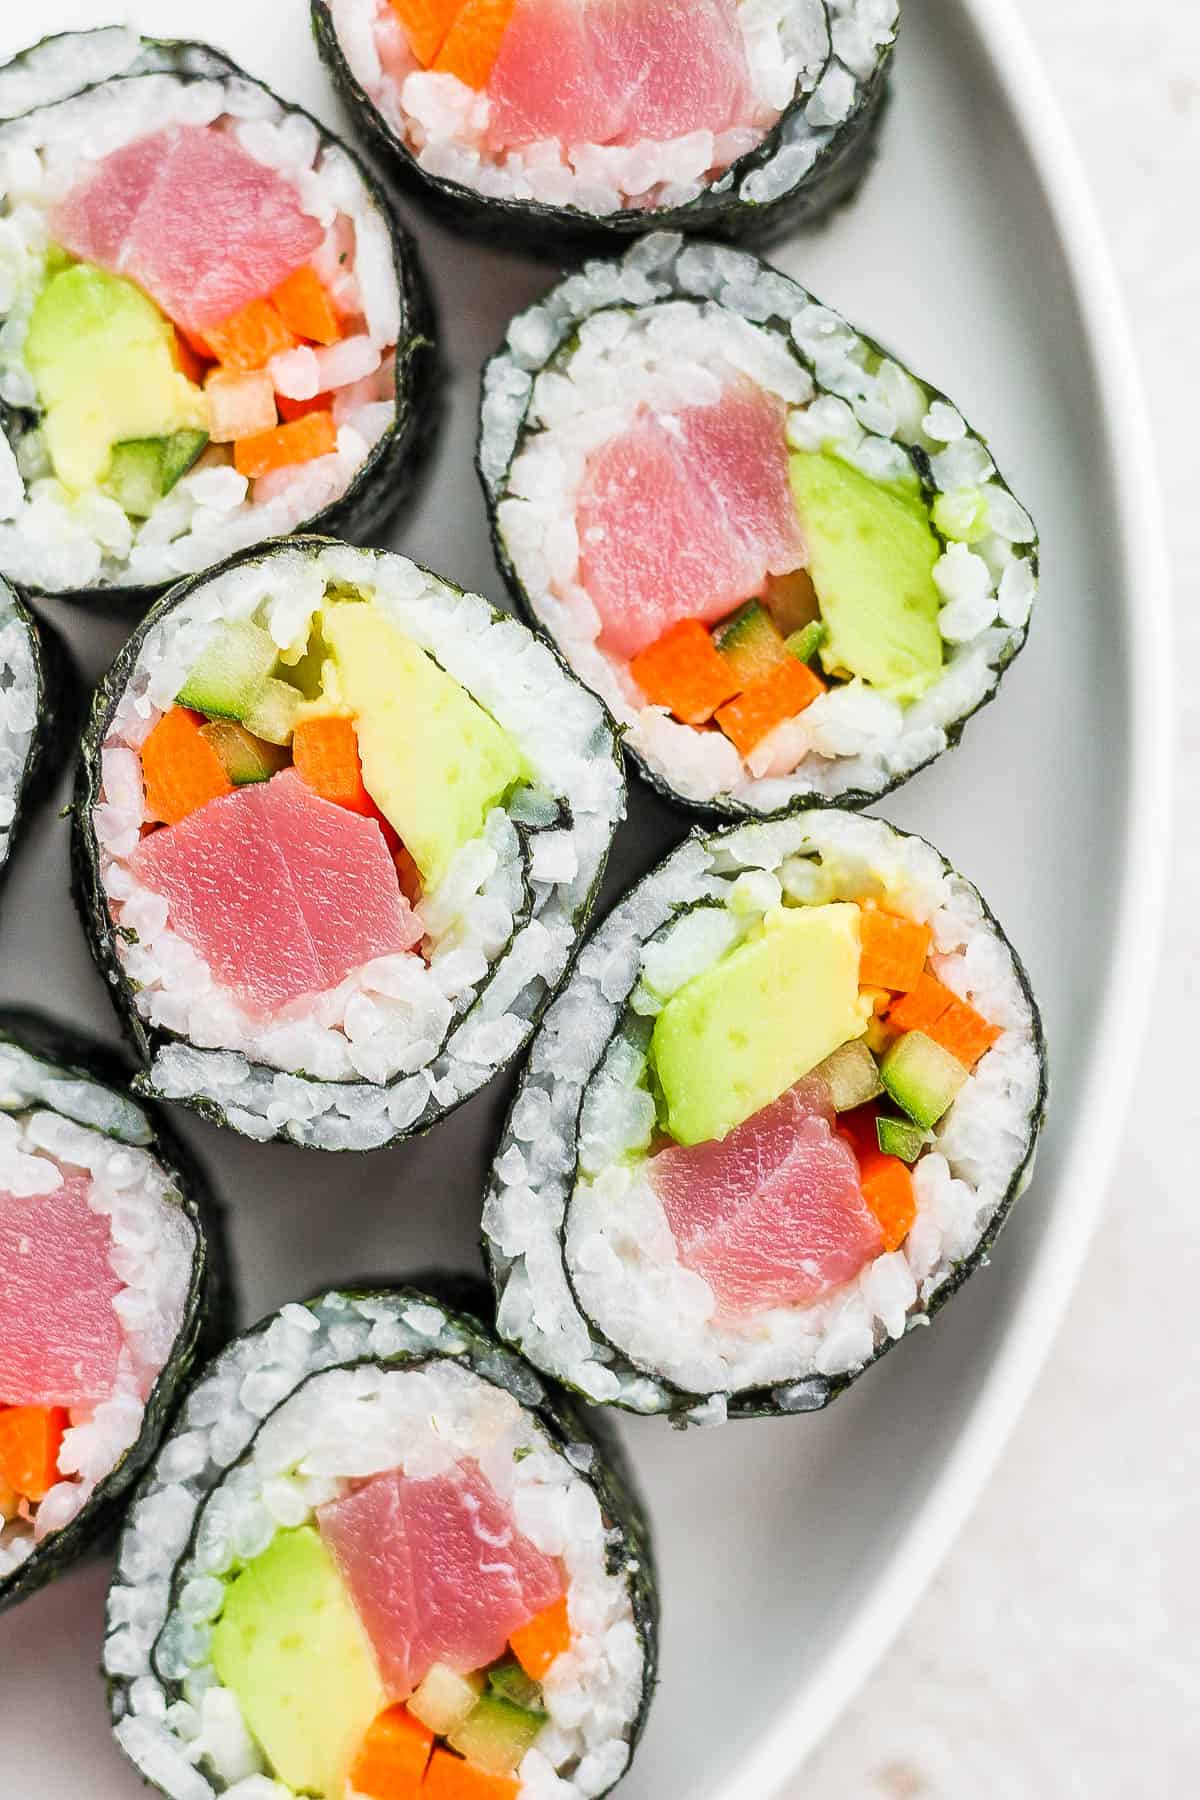
Step 12 – Serve any way you want!
How To Make Inside Out Sushi Rolls (rice on the outside)
Step 1 – Make the seasoned sushi rice and spread on 3/4 of a nori sheet that is on a parchment paper-lined bamboo mat.
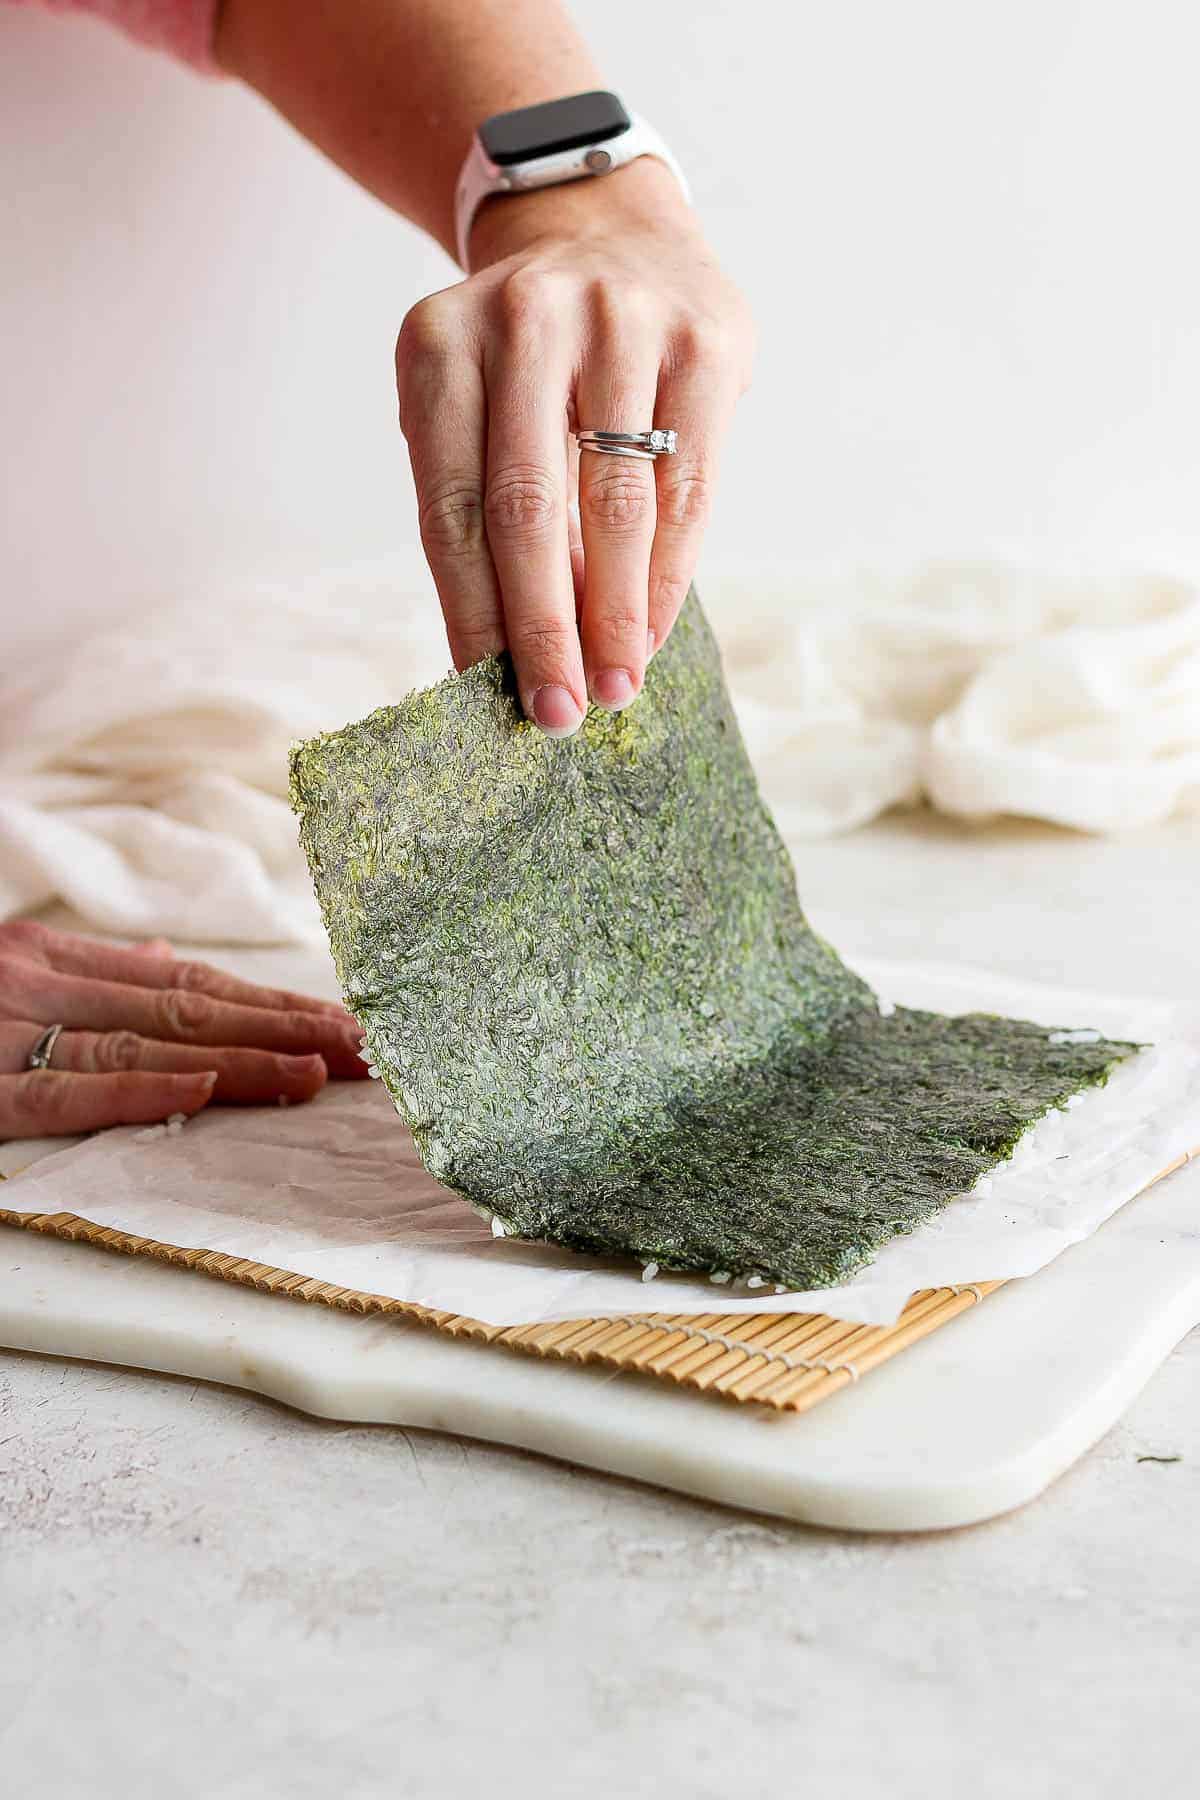
Step 2 – Flip the rice-covered nori sheet over with the non-rice section closest to you.
Step 3 – Add your desired fillings to the middle of the nori sheet.
Step 4 – Fold the edge of the nori sheet over the fillings and bring the parchment paper and bamboo mat with you.
Step 5 – Give the roll a slight squeeze to keep it all together.
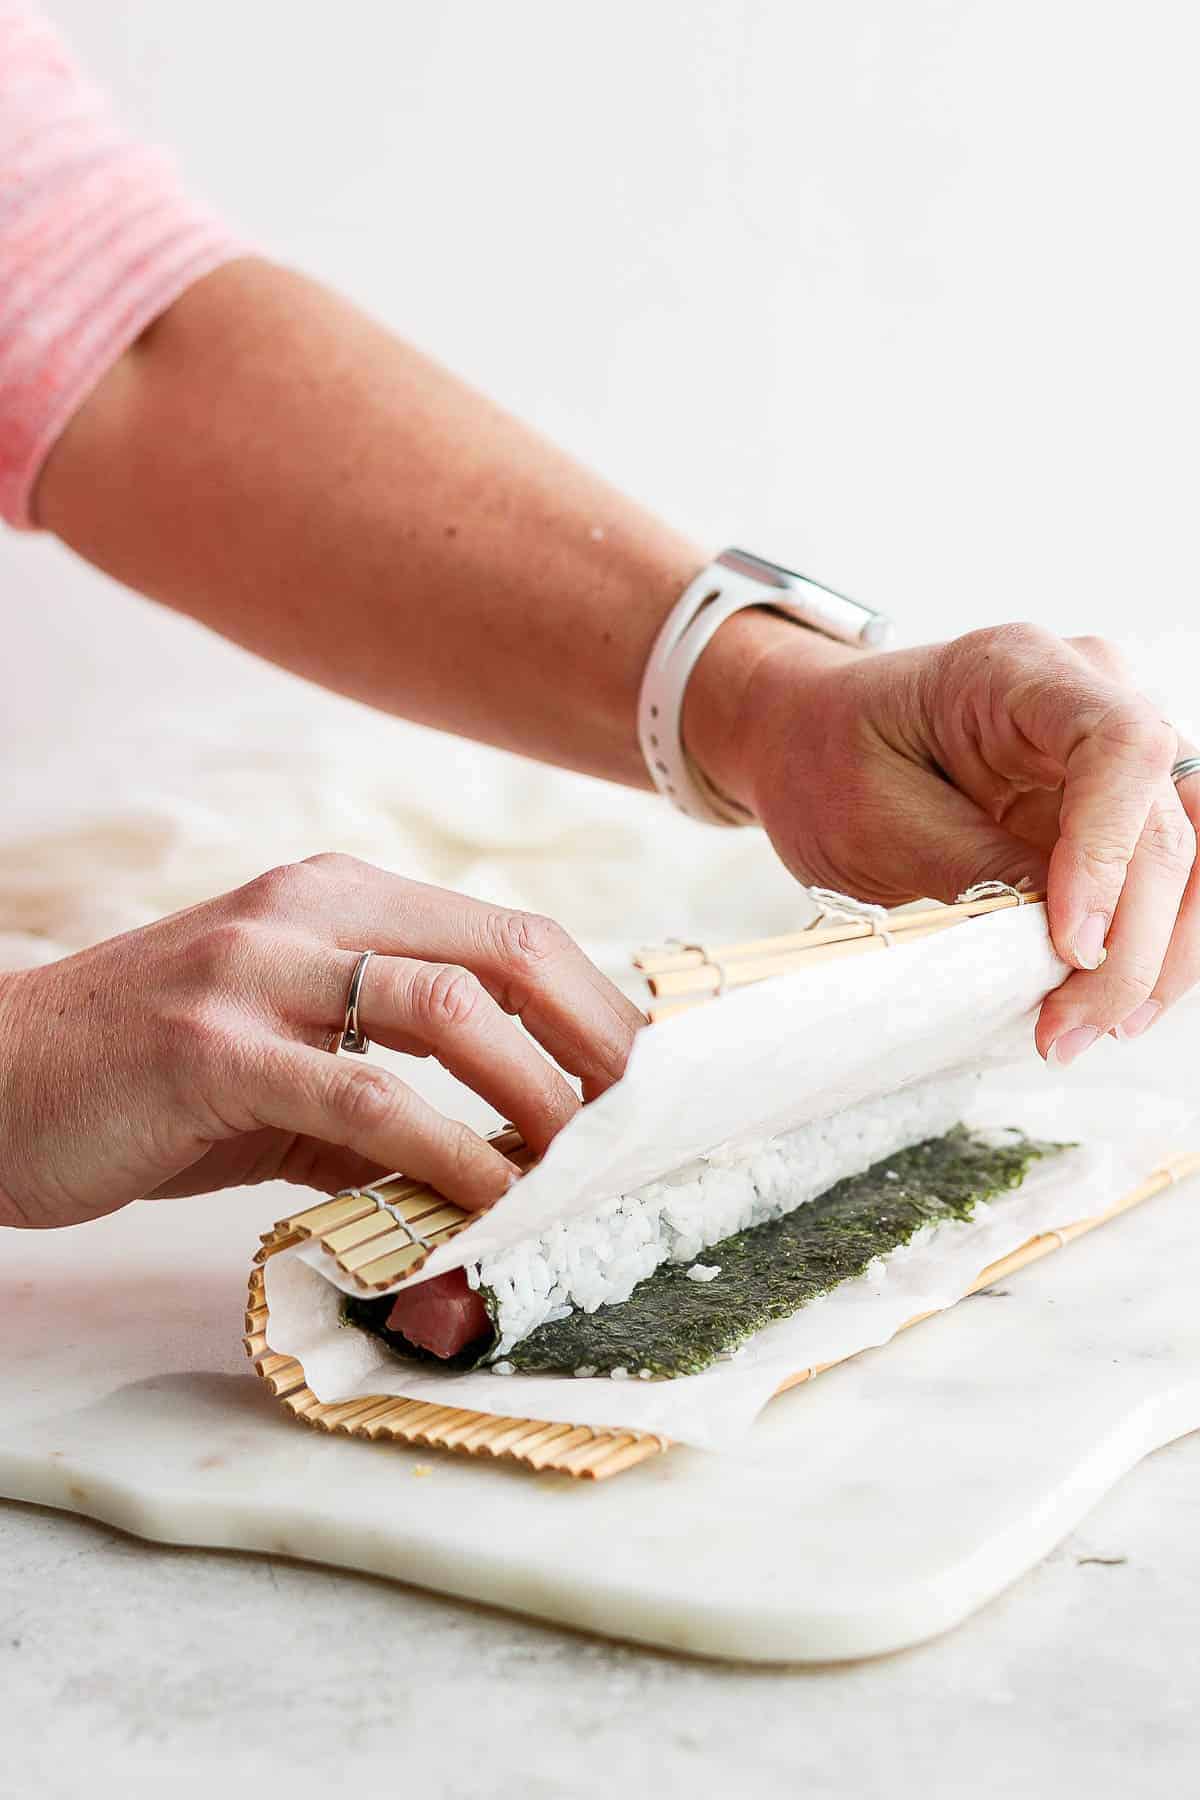
Step 6 – Pull the parchment and bamboo mat out as you go to prevent it from getting stuck in your sushi roll.
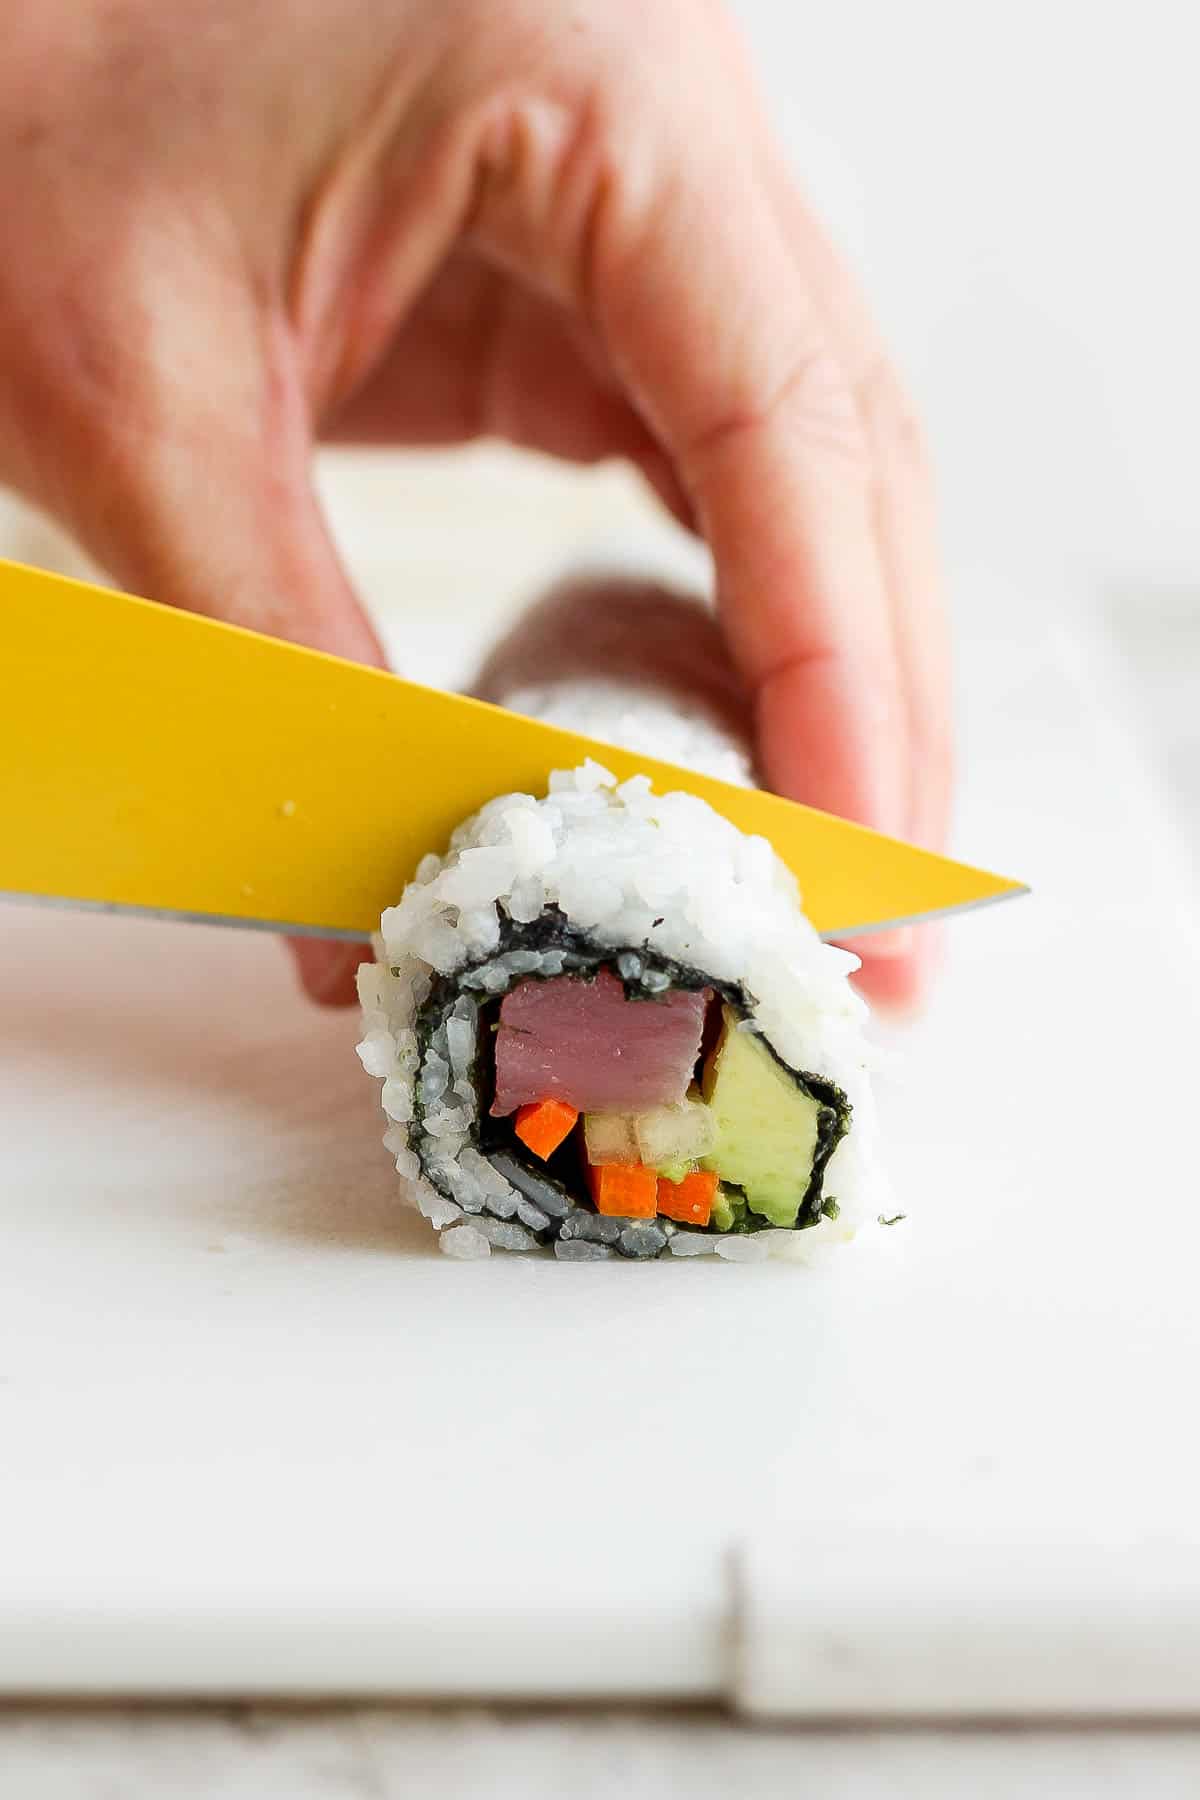
Step 7 – Cut the finished sushi roll into 1-inch pieces
Step 8 – Enjoy right away!
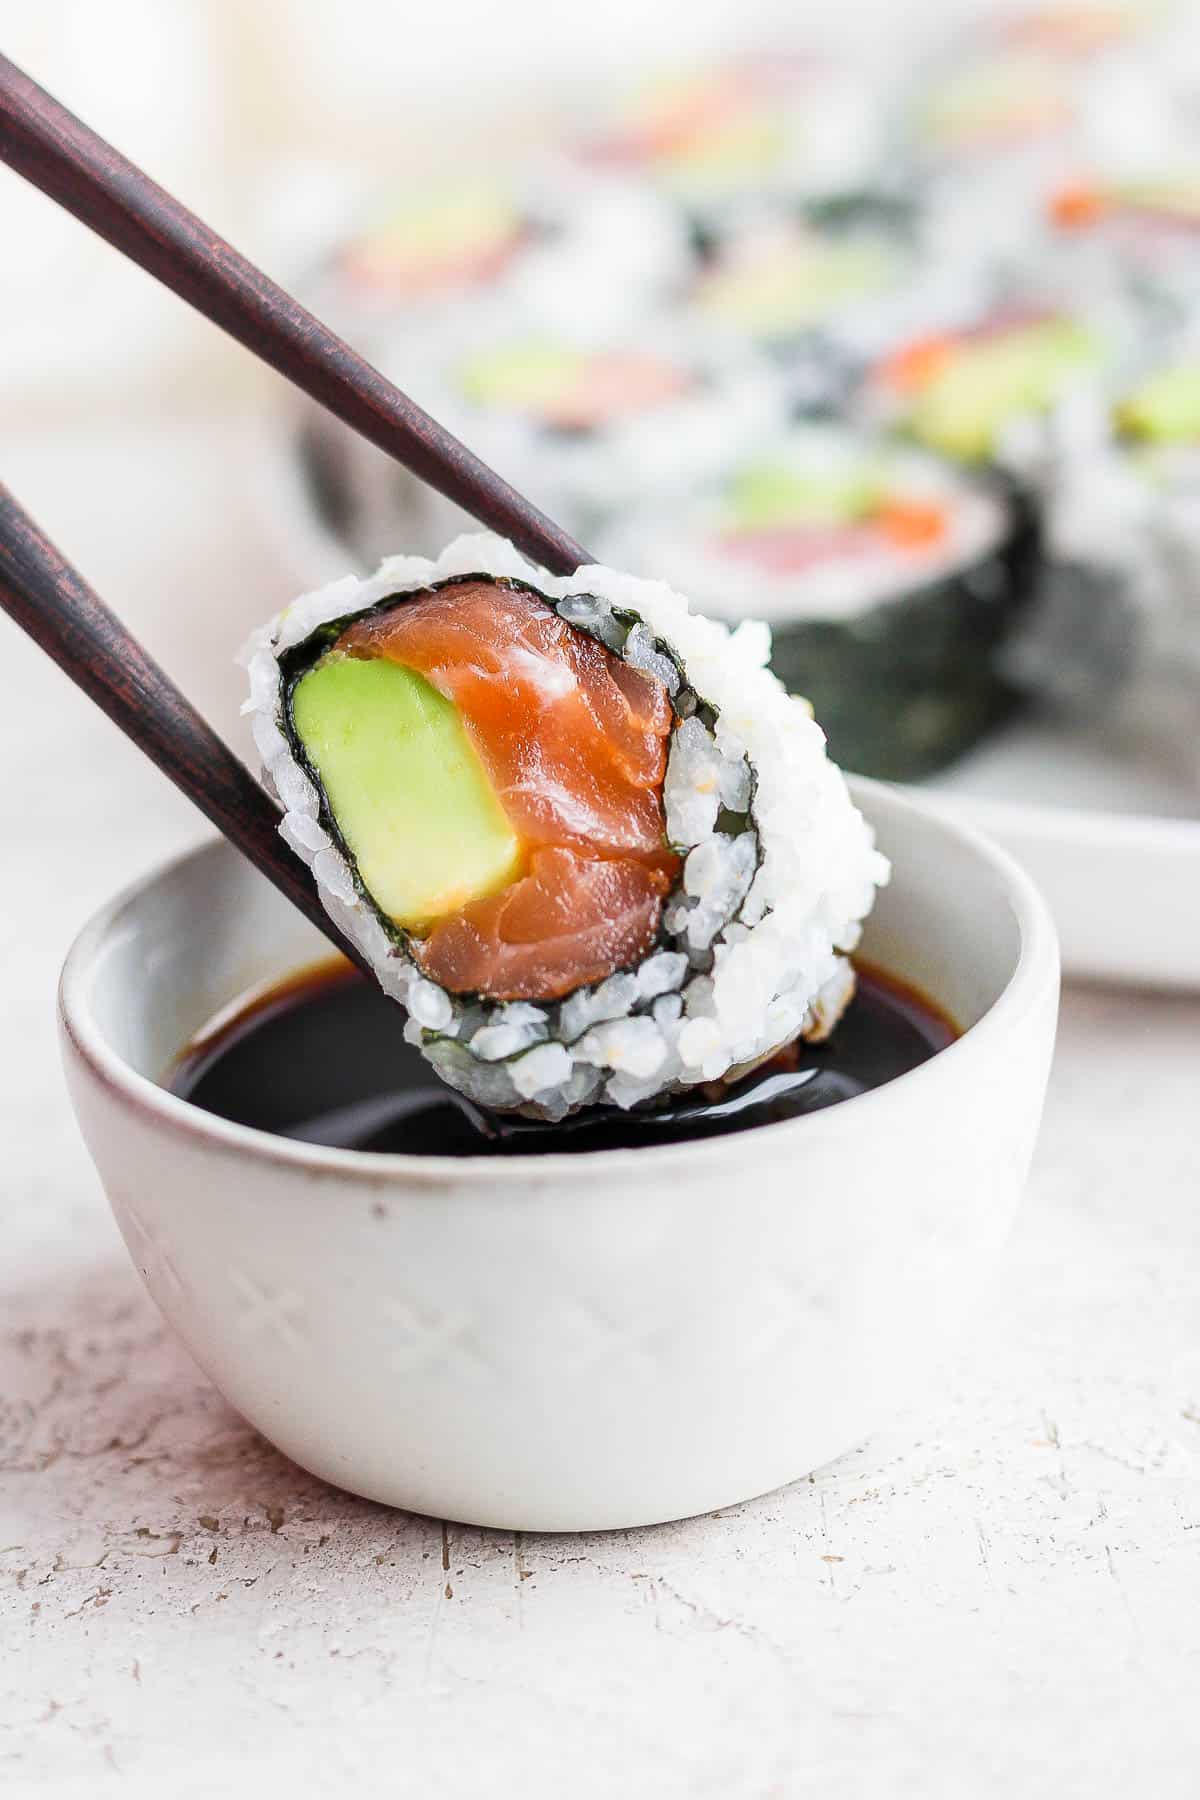
Best Way To Serve Sushi Rolls
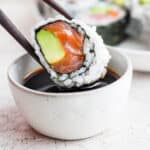
A small dish of soy sauce is always a must for dipping the finished pieces. If you like adding a little bit of heat to your sushi, feel free to serve with some simple spicy mayo or easy wasabi mayo on top. And don’t forget those traditional sides of pickled ginger and wasabi!
How to Make Sushi FAQs
Highly recommend using a premium short grain white rice that is labeled as sushi rice. Our all-time favorite is Rice Select Sushi Rice!
Yes, please go to a high-quality fish market or whole foods and talk to the seafood counter about sushi-grade fish. It is fresh fish that was deemed safe for raw consumption by the seller. As always, consuming raw fish is at your own risk.
Absolutely! Feel free to use imitation crab, cooked shrimp, smoked salmon slices, or any variety of vegetables.
Homemade sushi is best when enjoyed right away. It is not recommended to store for later.
Other Homemade Sushi Recipes You Might Like
Made this recipe and loved it?!
We would love it if you would take a minute and leave a star rating and review – it is also helpful if you made any substitutions or changes to the recipe to share that as well. THANK YOU!
Follow Us on Social
Video
Equipment
Ingredients
- 1 ½ cups short grain sushi rice, uncooked
- 1 ½ cups water, plus enough to rinse the rice
- 3 tablespoons rice vinegar, unflavored
- 2 tablespoons granulated sugar
- ¼ teaspoon kosher salt
- 4 nori sheets
- 4-6 ounces sushi grade tuna, or salmon
- 1 avocado, sliced
Serving Suggestions:
- soy sauce
- wasabi
- pickled ginger
- simple spicy mayo
- wasabi mayo
Instructions
- Rinse Rice: Put 1 ½ cups short grain sushi rice in a medium-sized bowl. Fill with enough water to cover the rice. Use your hand to move the rice around until the water becomes cloudy. Drain and continue to repeat this process until the water becomes clear (it takes a bit of time and the water doesn't need to be 100% clear).
- Boil Rice: Place drained rice in a saucepan. Add 1 ½ cups water. Bring to a boil and then reduce heat to simmer and cover. Let simmer until water is fully absorbed, about 12-15 minutes. Remove from heat and let stand, covered, 10-15 minutes.
- Sushi Vinegar: Meanwhile, in a mixing bowl or large measuring cup with a spout add 3 tablespoons rice vinegar, 2 tablespoons granulated sugar, and ¼ teaspoon kosher salt; mix and set aside.
- Combine: Pour cooked rice into a deep baking sheet. Using a rice paddle or wooden spoon begin slicing through and gently folding in the sushi vinegar as you slowly pour it evenly over the sushi rice. Continue gently folding the rice (you don't want to mix or stir it in as it can squash the grains) until the sushi vinegar is combined. Let it cool to room temperature; do not refrigerate before use. To keep the rice moist, cover with a damp cloth.
- Add Rice to Nori Sheet: Place a nori sheet on top of a bamboo mat, shiny side down. Using the back of a spoon, spread approx. ½ cup + 2 tablespoons of sushi rice across the nori sheet leaving the top inch or so empty. The rice should be pretty flattened.
- Add Filling Ingredients: Place the filling ingredients of choice (salmon, avocado, cucumber, etc.) in the middle of the nori sheet. Don't go too crazy with the fillings or it will pop out the ends. Option to add a bit of spicy mayo, sriracha mayo or plain wasabi inside the roll.
- Roll the Sushi: Using both hands, pick up the edge of the nori sheet closest to you and fold over the filling ingredients; tucking the nori sheet over the ingredients. Lift the same end of the bamboo mat and fold that over as well (but don't tuck all the way around). While firmly holding the sushi roll, pull the bamboo mat away from your body, tuck and roll the sushi. Then stop and wrap your hands around the roll pressing down firmly to create a solid roll. Pull away from your body again with the bamboo mat, then stop again and press down. Continue doing this until you have a fully formed roll. See pictures above.
- Cut + Make More Rolls: Using a very sharp knife, cut the roll into 1 inch thick pieces. Create 3 more rolls using the same technique – see notes below for instructions on an Inside Out Roll (where the rice is on the outside of the roll instead of the inside).
- Serve: Enjoy with soy sauce, wasabi or pickled ginger.
Notes
- Inside Out Rolls: place a piece of parchment paper on a bamboo mat and the nori sheet on top of that. Cover with rice leaving the top inch empty (as directed above). Carefully pick up the rice-covered nori sheet and flip it over so that the rice-free section is now closest to you (with the rice underneath). Place filling ingredients towards the center of the nori sheet. Lift up the edge of the nori sheet closest to you and lift over the fillings. Lift up the bamboo mat and fold over as well. Start pulling the bamboo and parchment paper away from your body as the nori sheet rolls over the ingredients. Then stop and apply gentle pressure to create a roll. Continue pulling/rolling with the bamboo mat until you have a fully formed sushi roll. Cut into 1-inch pieces with a very sharp knife. (See photos above for step-by-step photos).
- Filling Ideas (protein): other than raw fish, you can add smoked salmon slices, cooked shrimp or imitation crab!
- Filling Ideas (non-protein): avocado, carrots, cucumber, lettuce, etc.
- Can you store homemade sushi? No, it isn’t recommended to store sushi overnight as it increases the risk for bacteria to develop.
- Can you make a fish-free sushi roll? Yes, you can make a California Sushi Roll or other veggie-focused roll, if you want – get creative!
- Where to find fish for sushi? Head to your local fish monger (someone who specializes in selling fish) to ask about what they would recommend for making sushi. I have also had good luck at Whole Foods.
- Raw Food: consume raw fish at your own risk.
- Yield: this makes approx. 4 sushi rolls.


Bridget says
My whole family (kids included) request this recipe all the time! And we always make some for NYE!