
Easy Homemade Lox
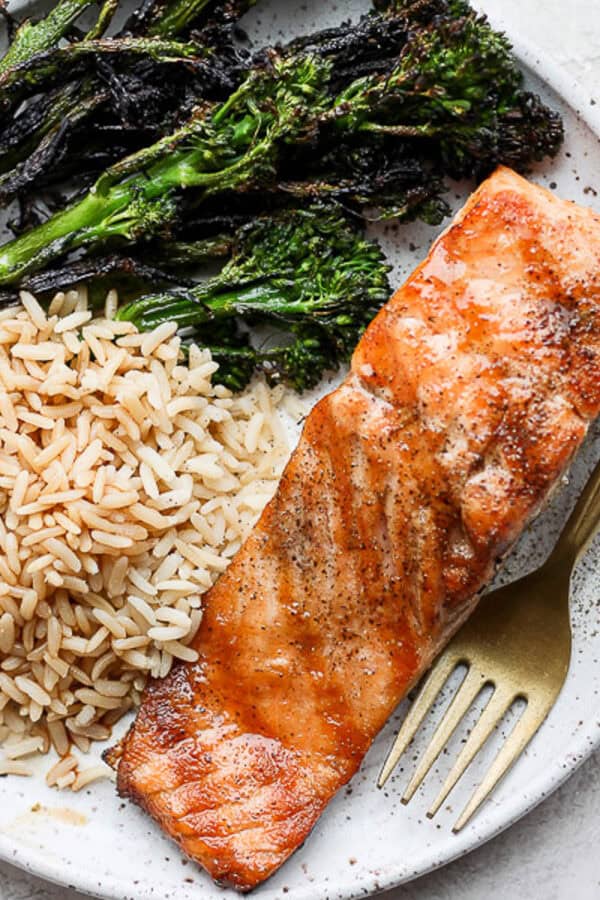
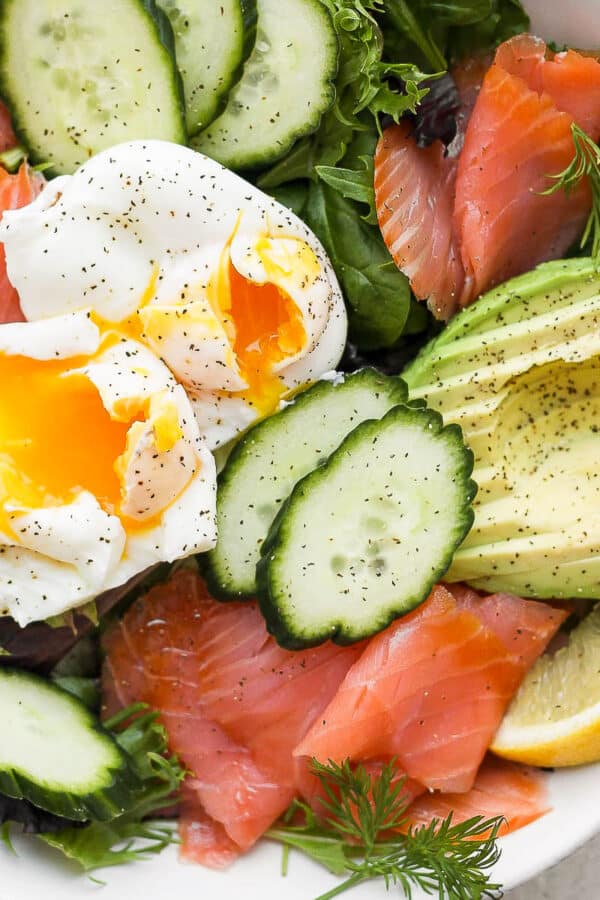
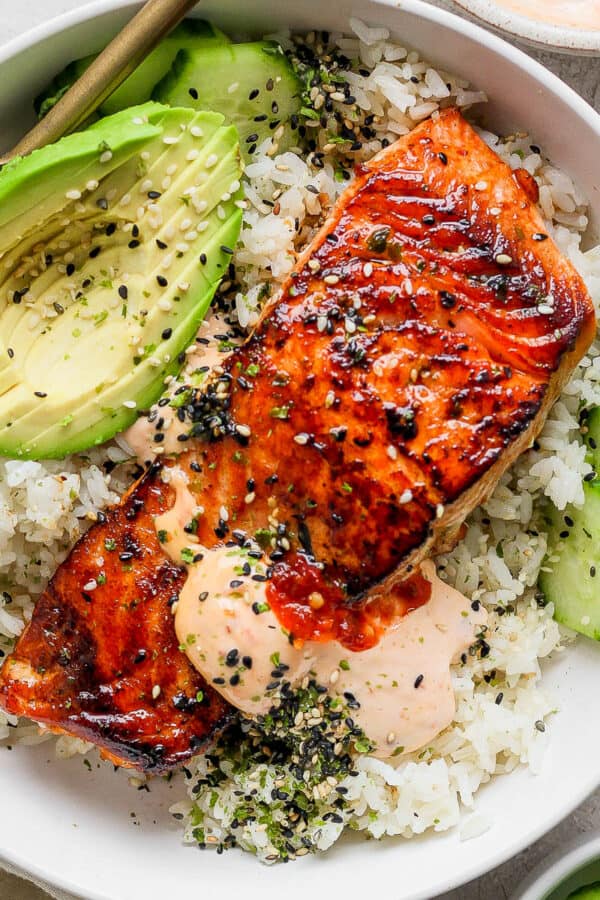
We love a good salmon recipe here at The Wooden Skillet (this Grilled Salmon Salad is on constant rotation and so is this Salmon Poke Bowl) and homemade lox just always hits the spot – especially when it is on an epic Lox Bagel Recipe! This recipe is easier than you think with options for additional add-ins besides the basic salmon + salt combo. I prefer to keep it simple, but do whatever you wish!
Key Ingredients
Be sure to see the recipe card below for a full listing of ingredients, instructions, and estimated nutritional information.
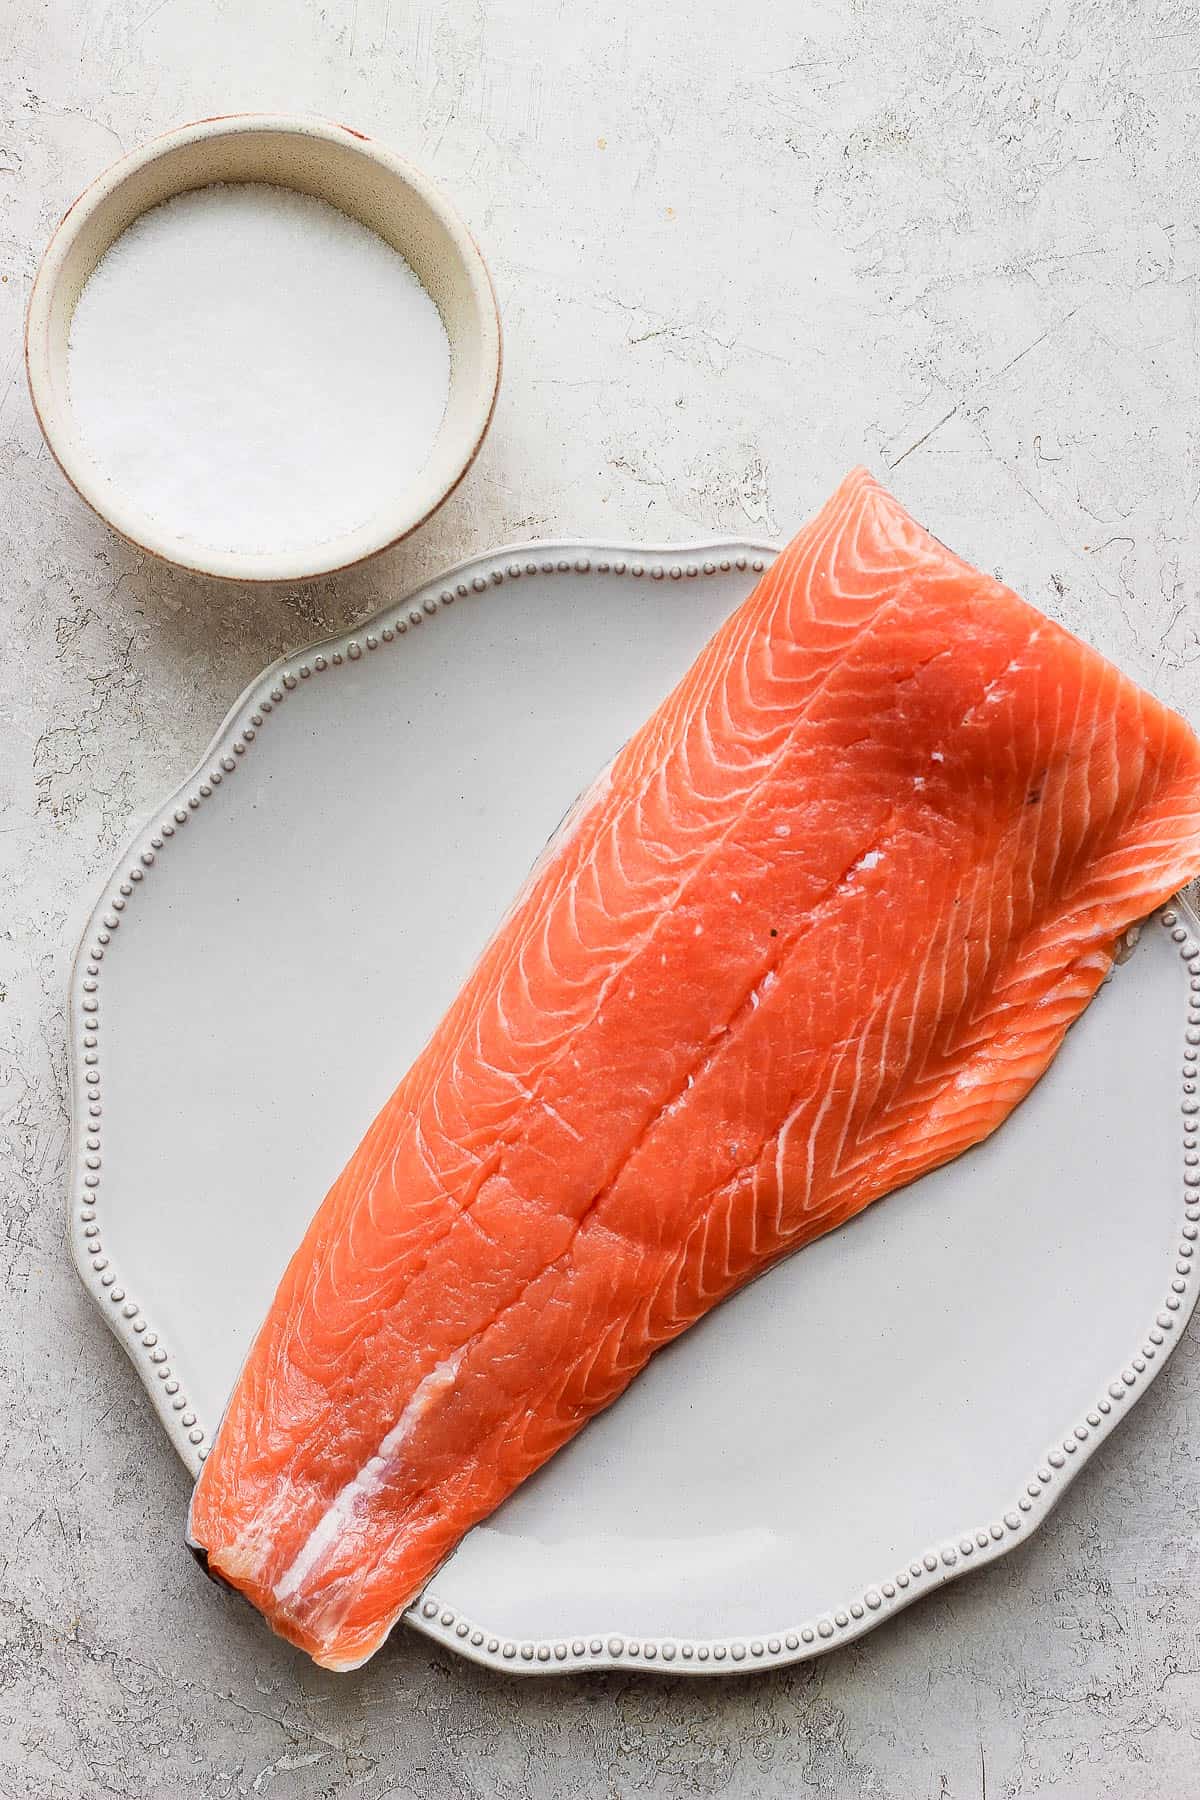
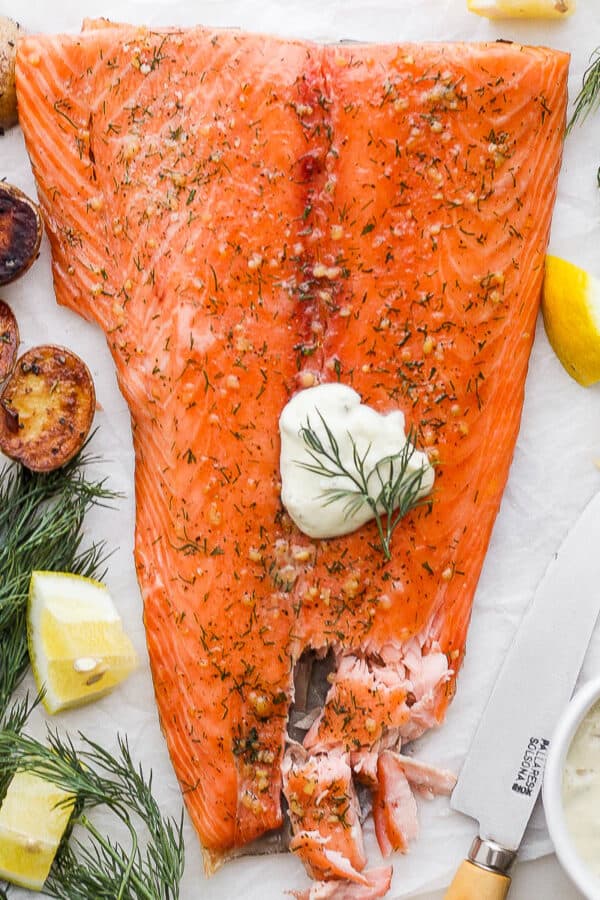
- sushi-grade salmon fillet: it is important that you use high-quality sushi-grade salmon as the fish is never fully cooked in this recipe.
- coarse kosher salt (more if needed): the salt is what preserves the fish so quite a bit is needed! Do no substitute table salt!
- (optional) fresh dill: some people like adding in some dill – you can even add more than is called for in the recipe card – feel free to add it if you like.
- (optional) white pepper: you can also add just a bit of pepper if you want! I prefer using white pepper here.
How to Make Homemade Lox
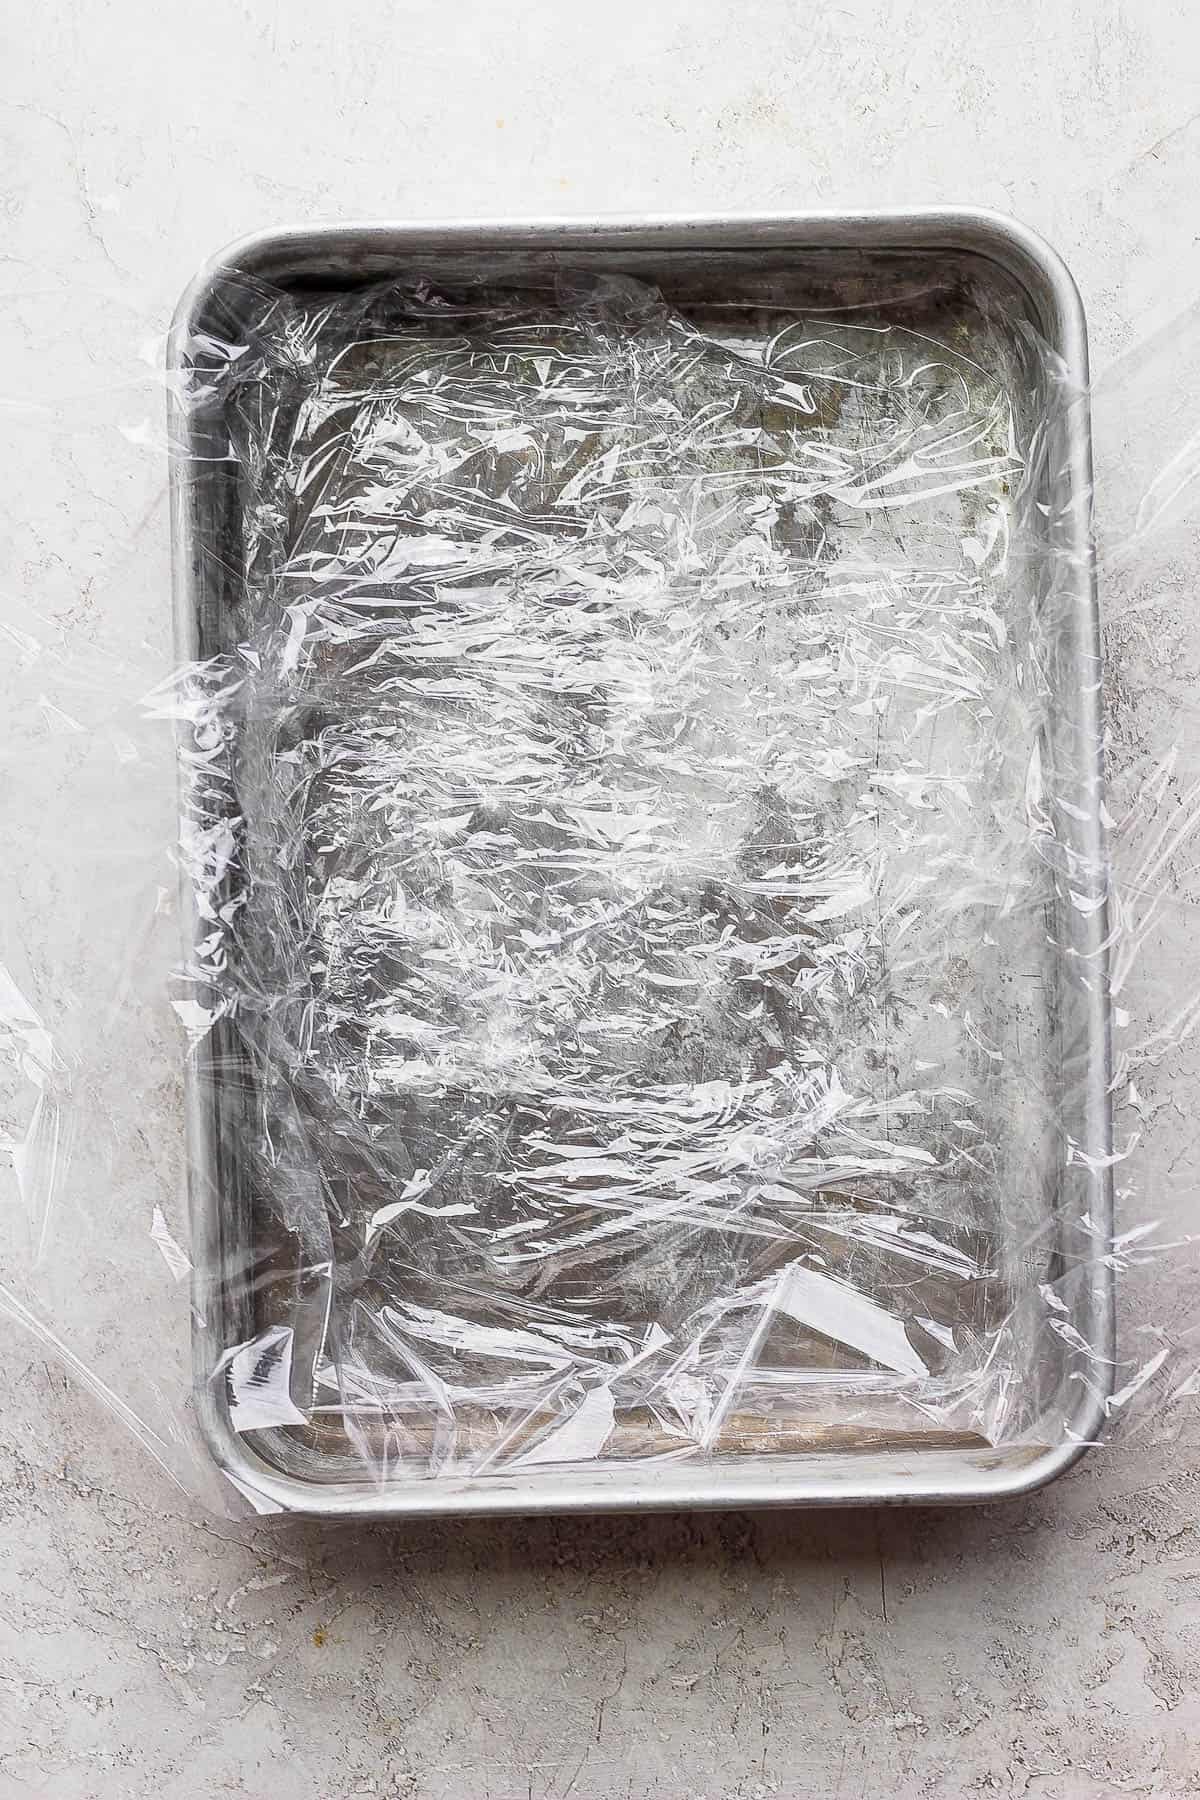
Step 1: Choose a baking dish and lay plastic wrap across it.
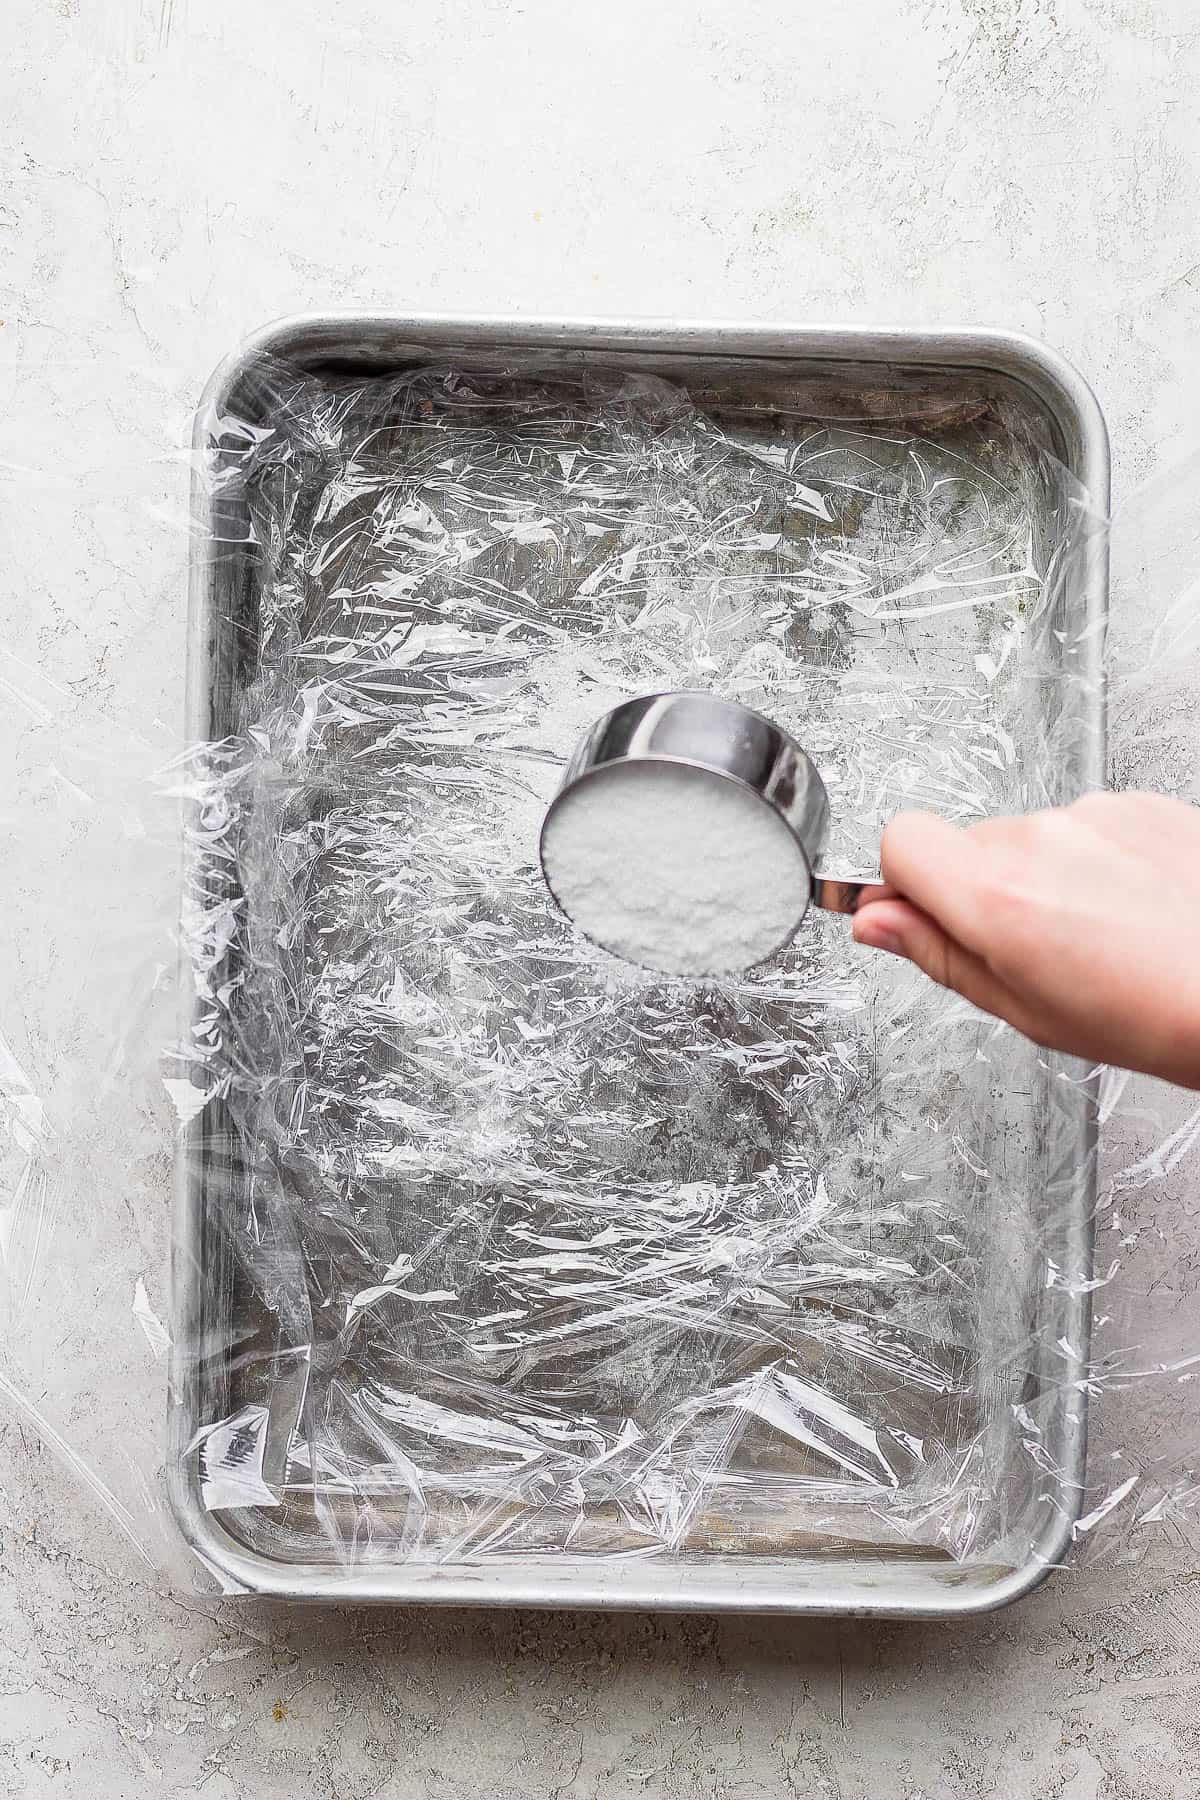
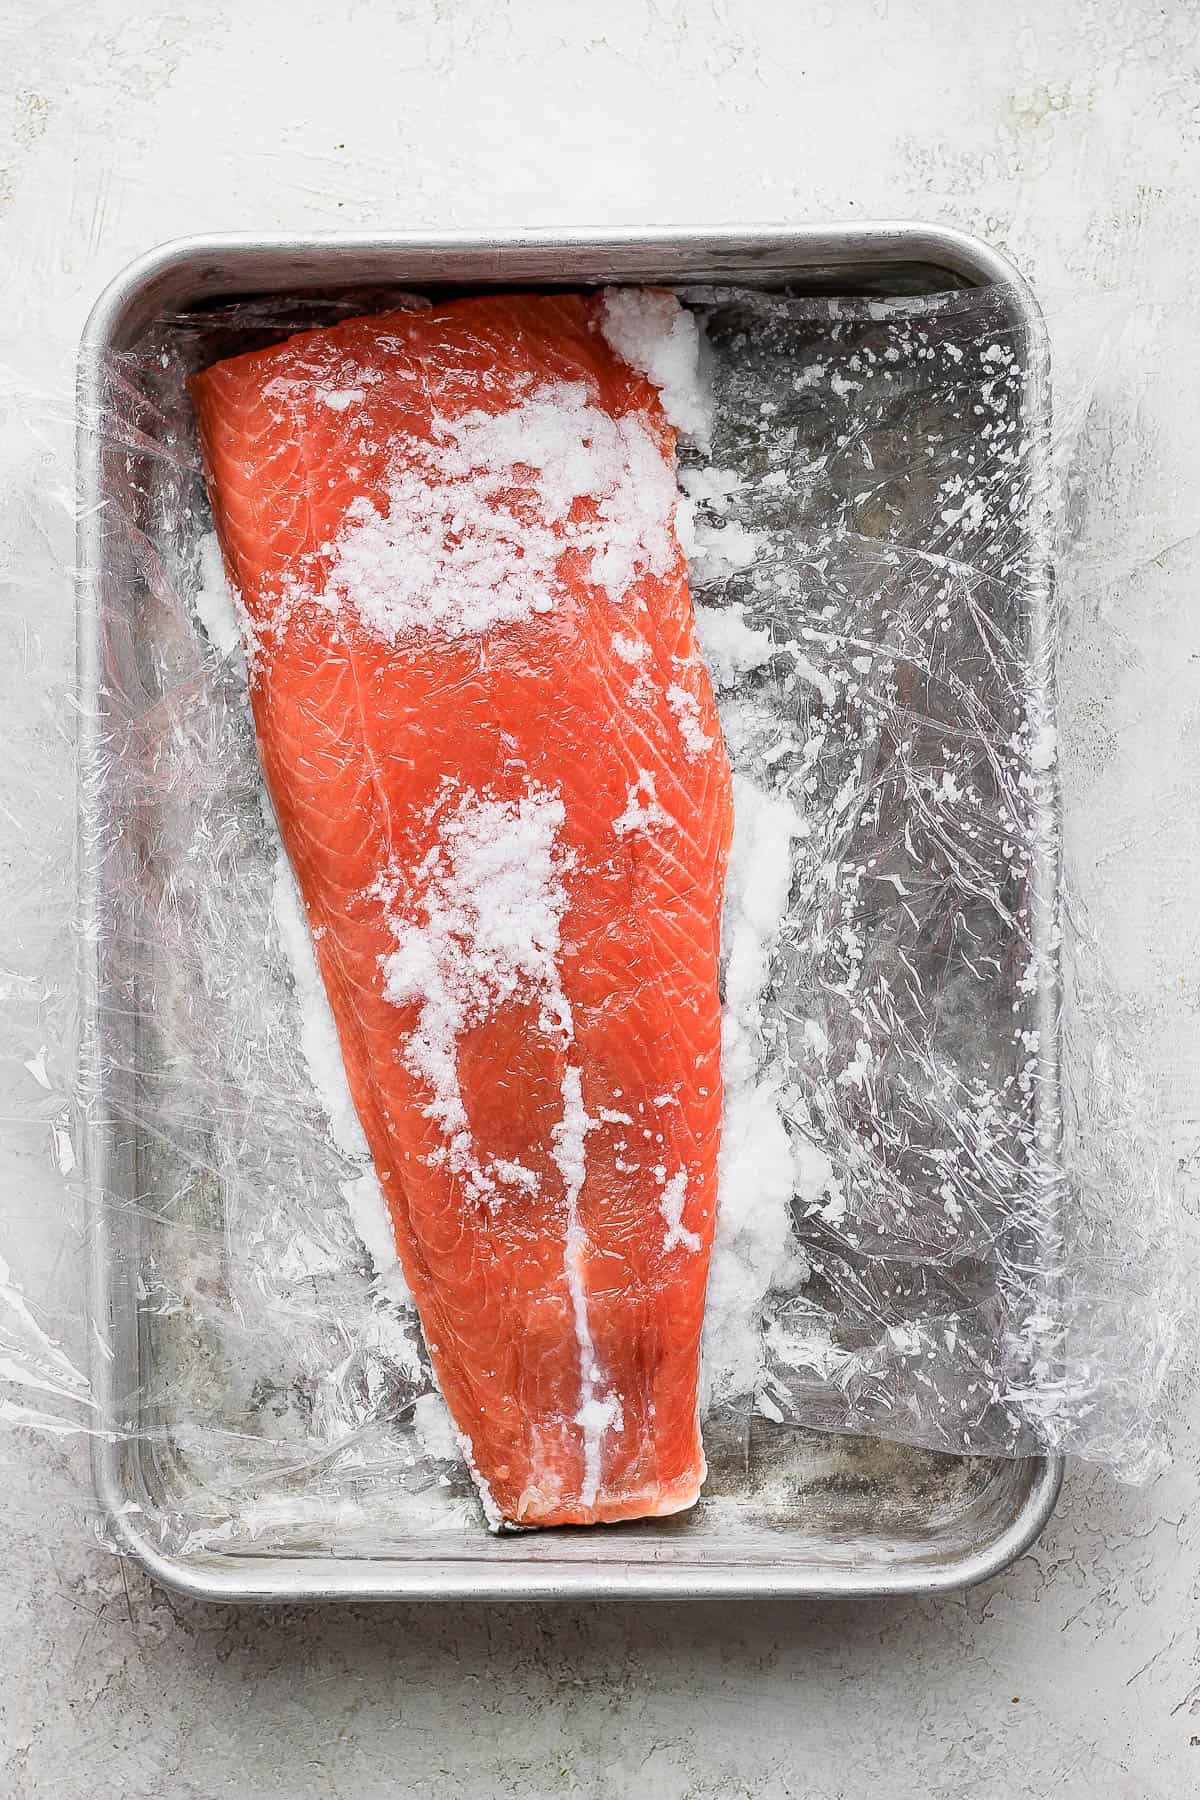
Step 2: Pour half the salt inside in the shape of the salmon.
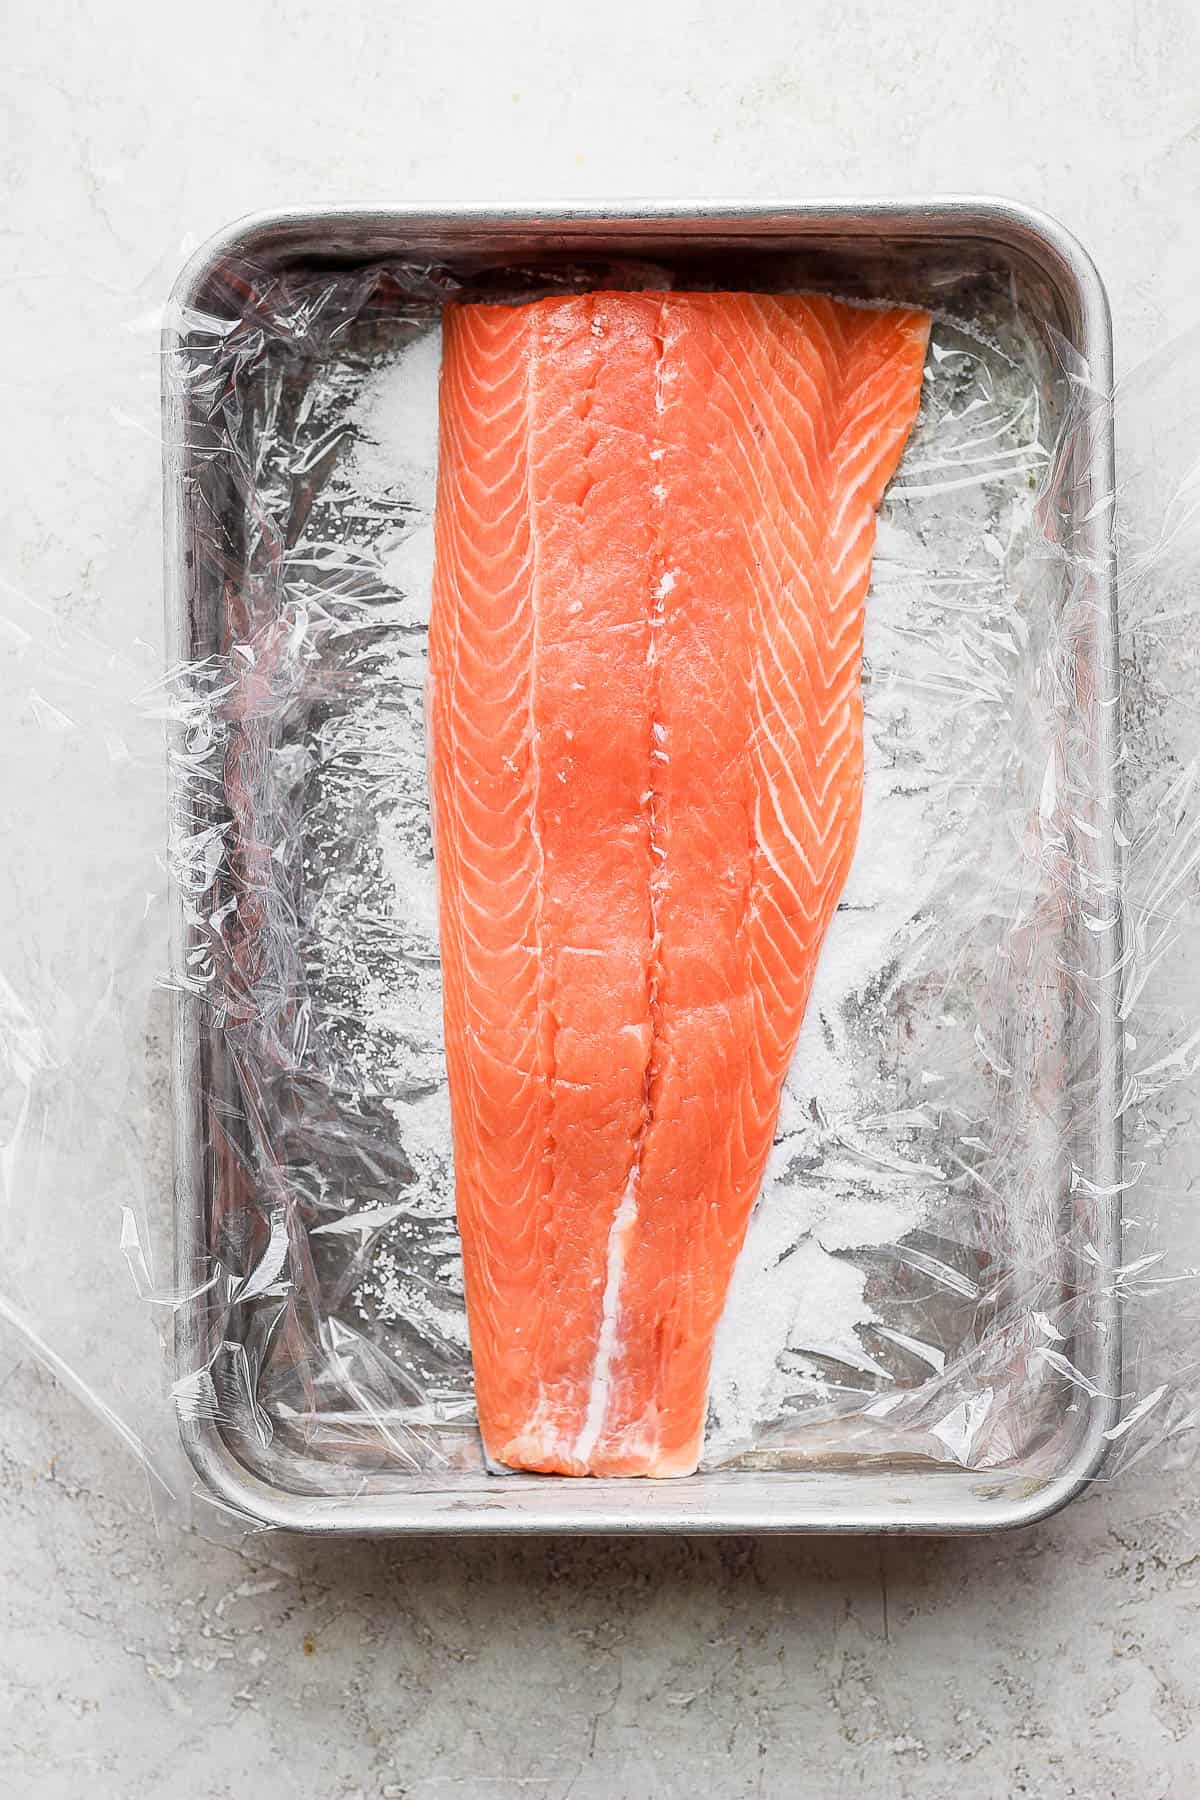
Step 3: Place the salmon inside, skin-side down.
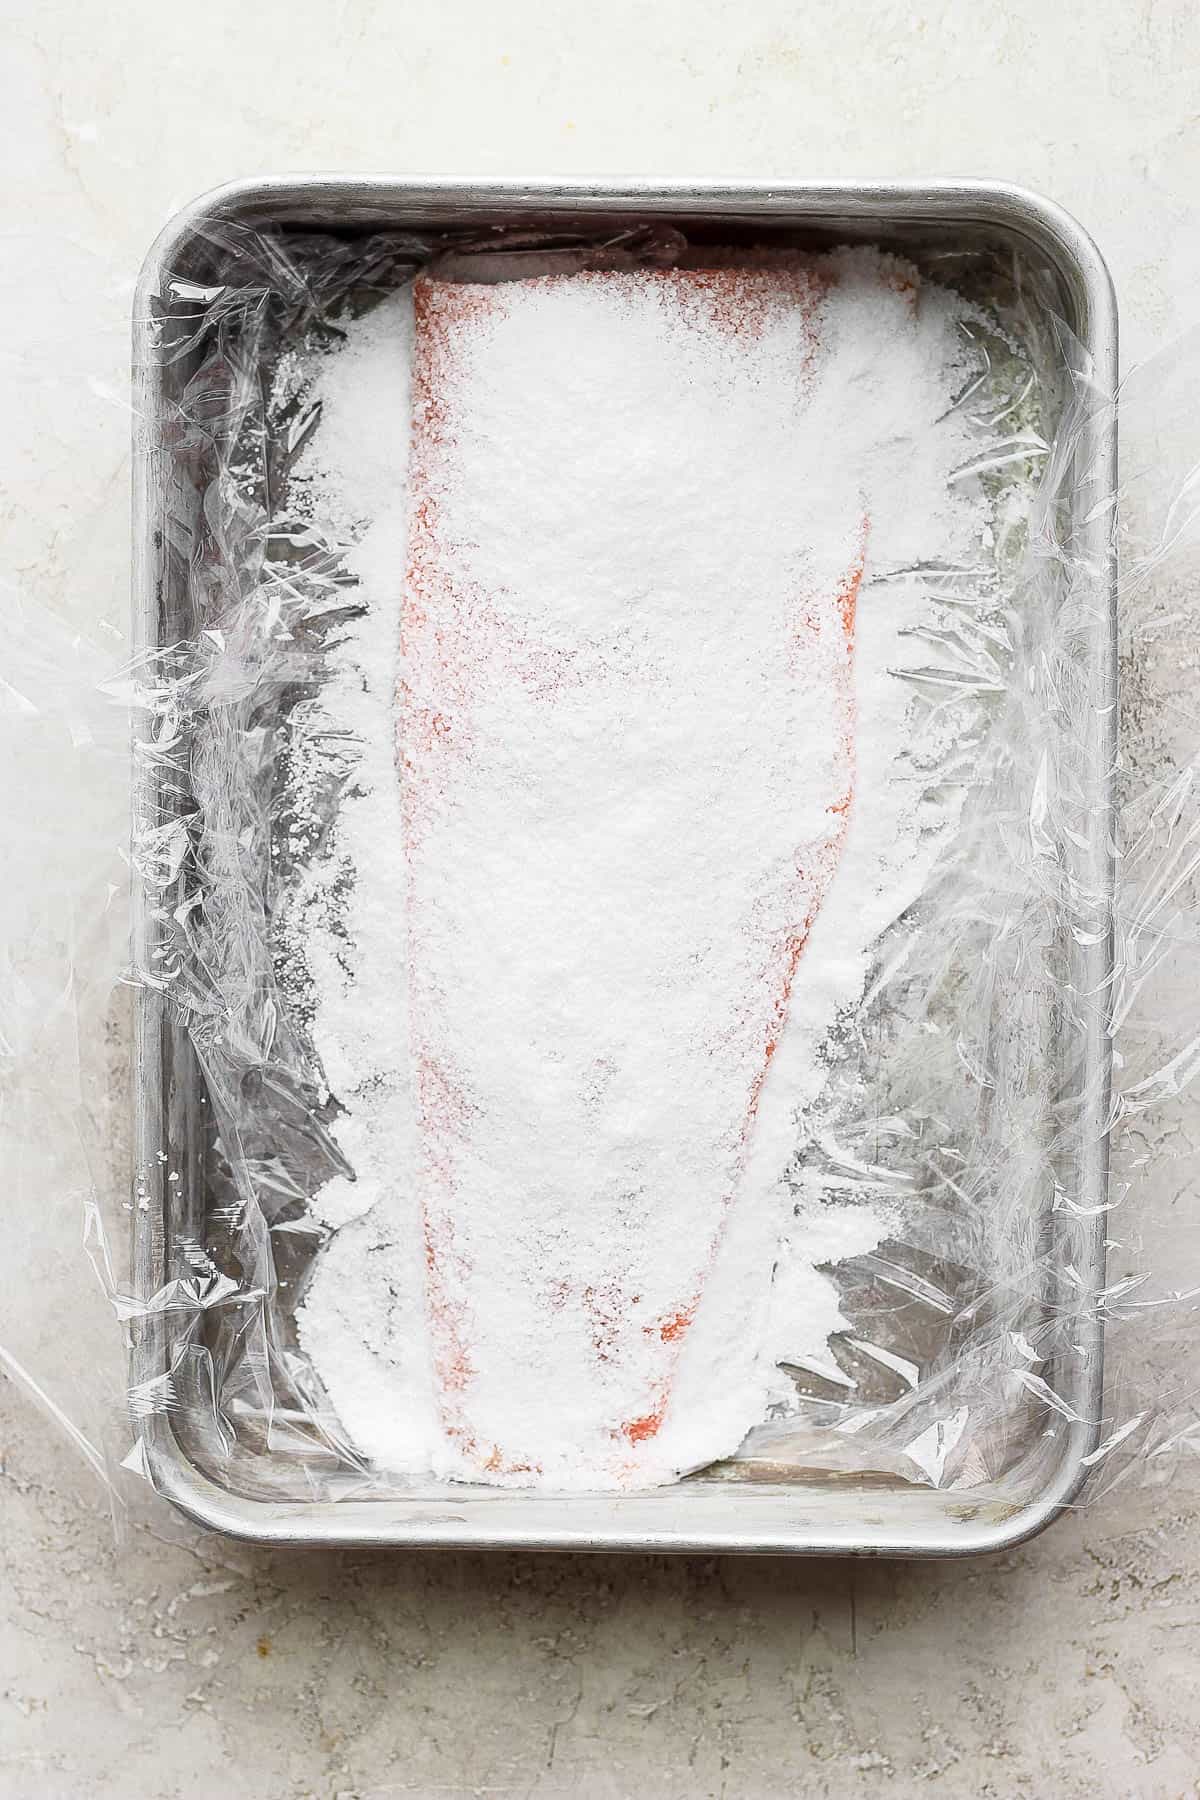
Step 4: Pour the remaining salt on top of the salmon – use more salt if needed to fully cover.
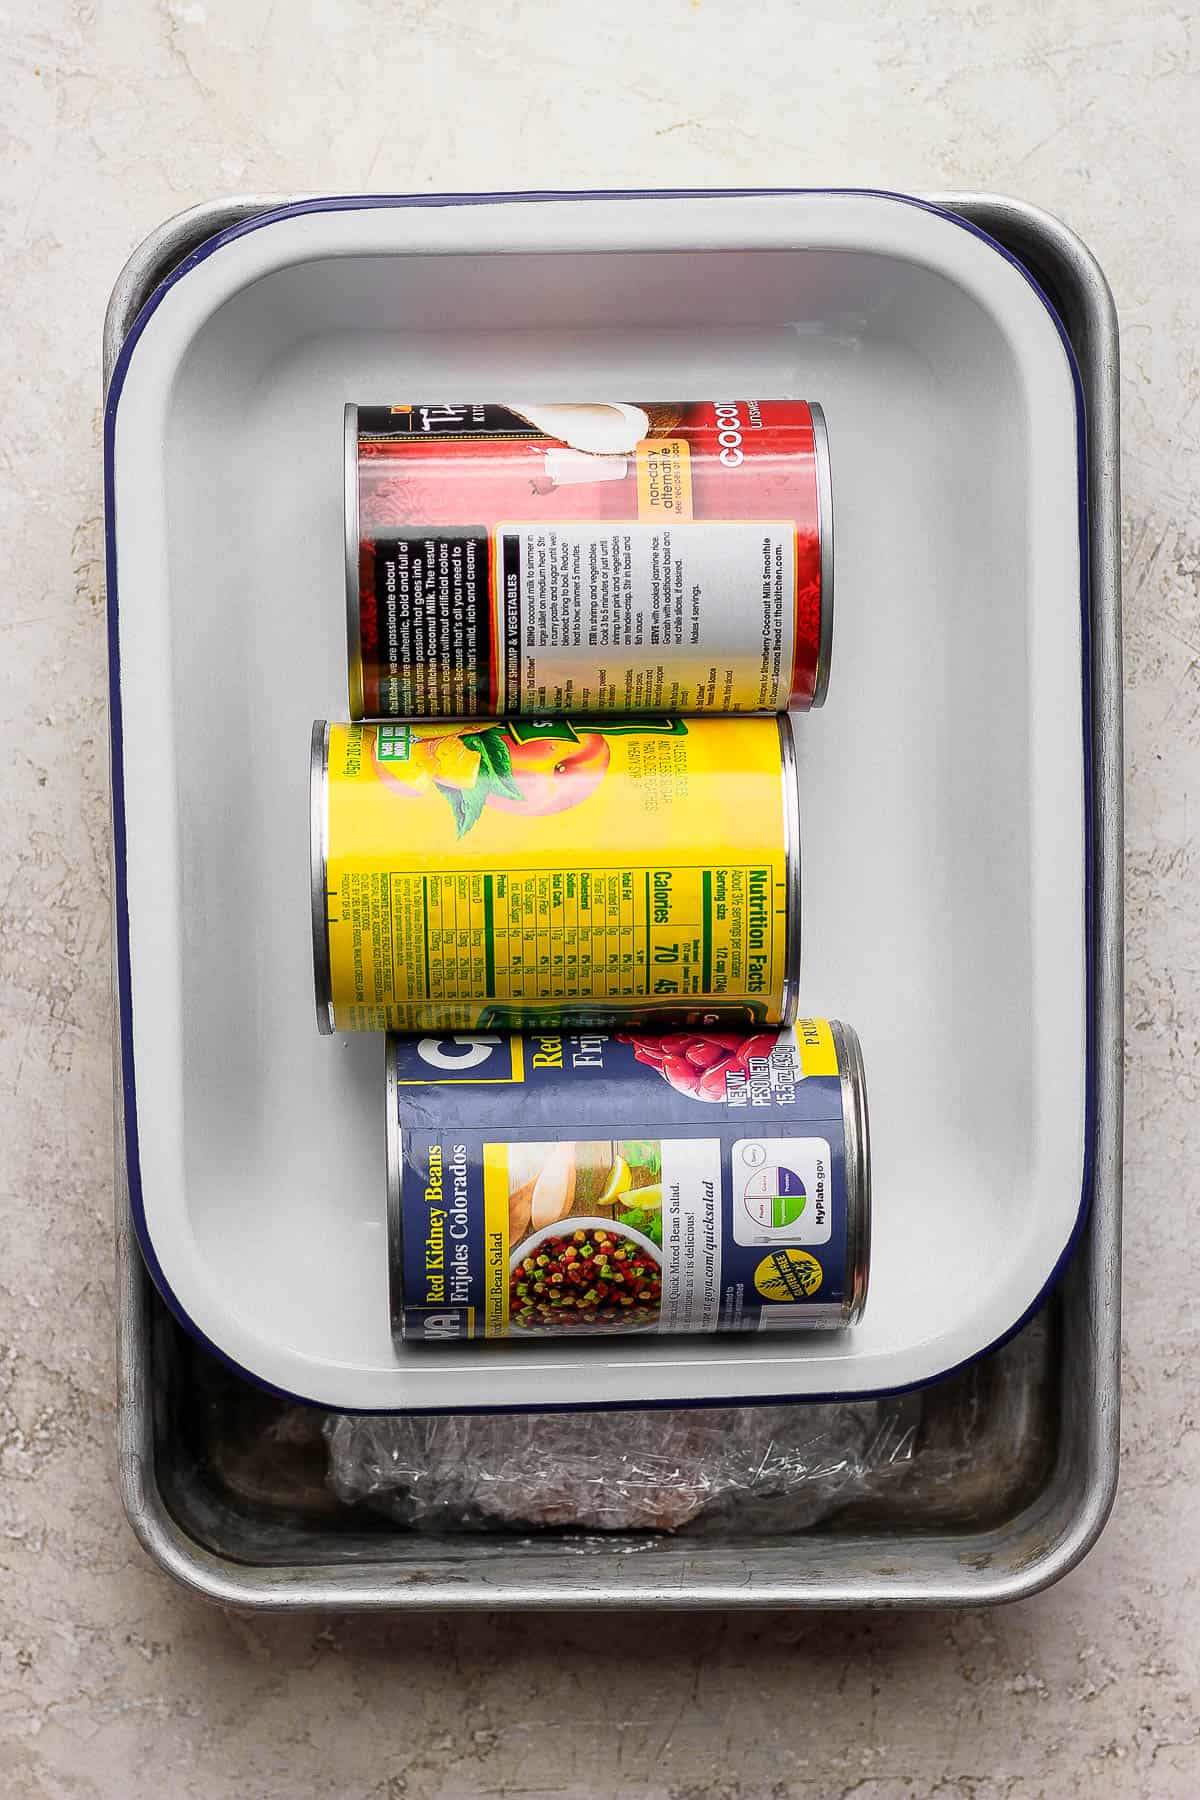
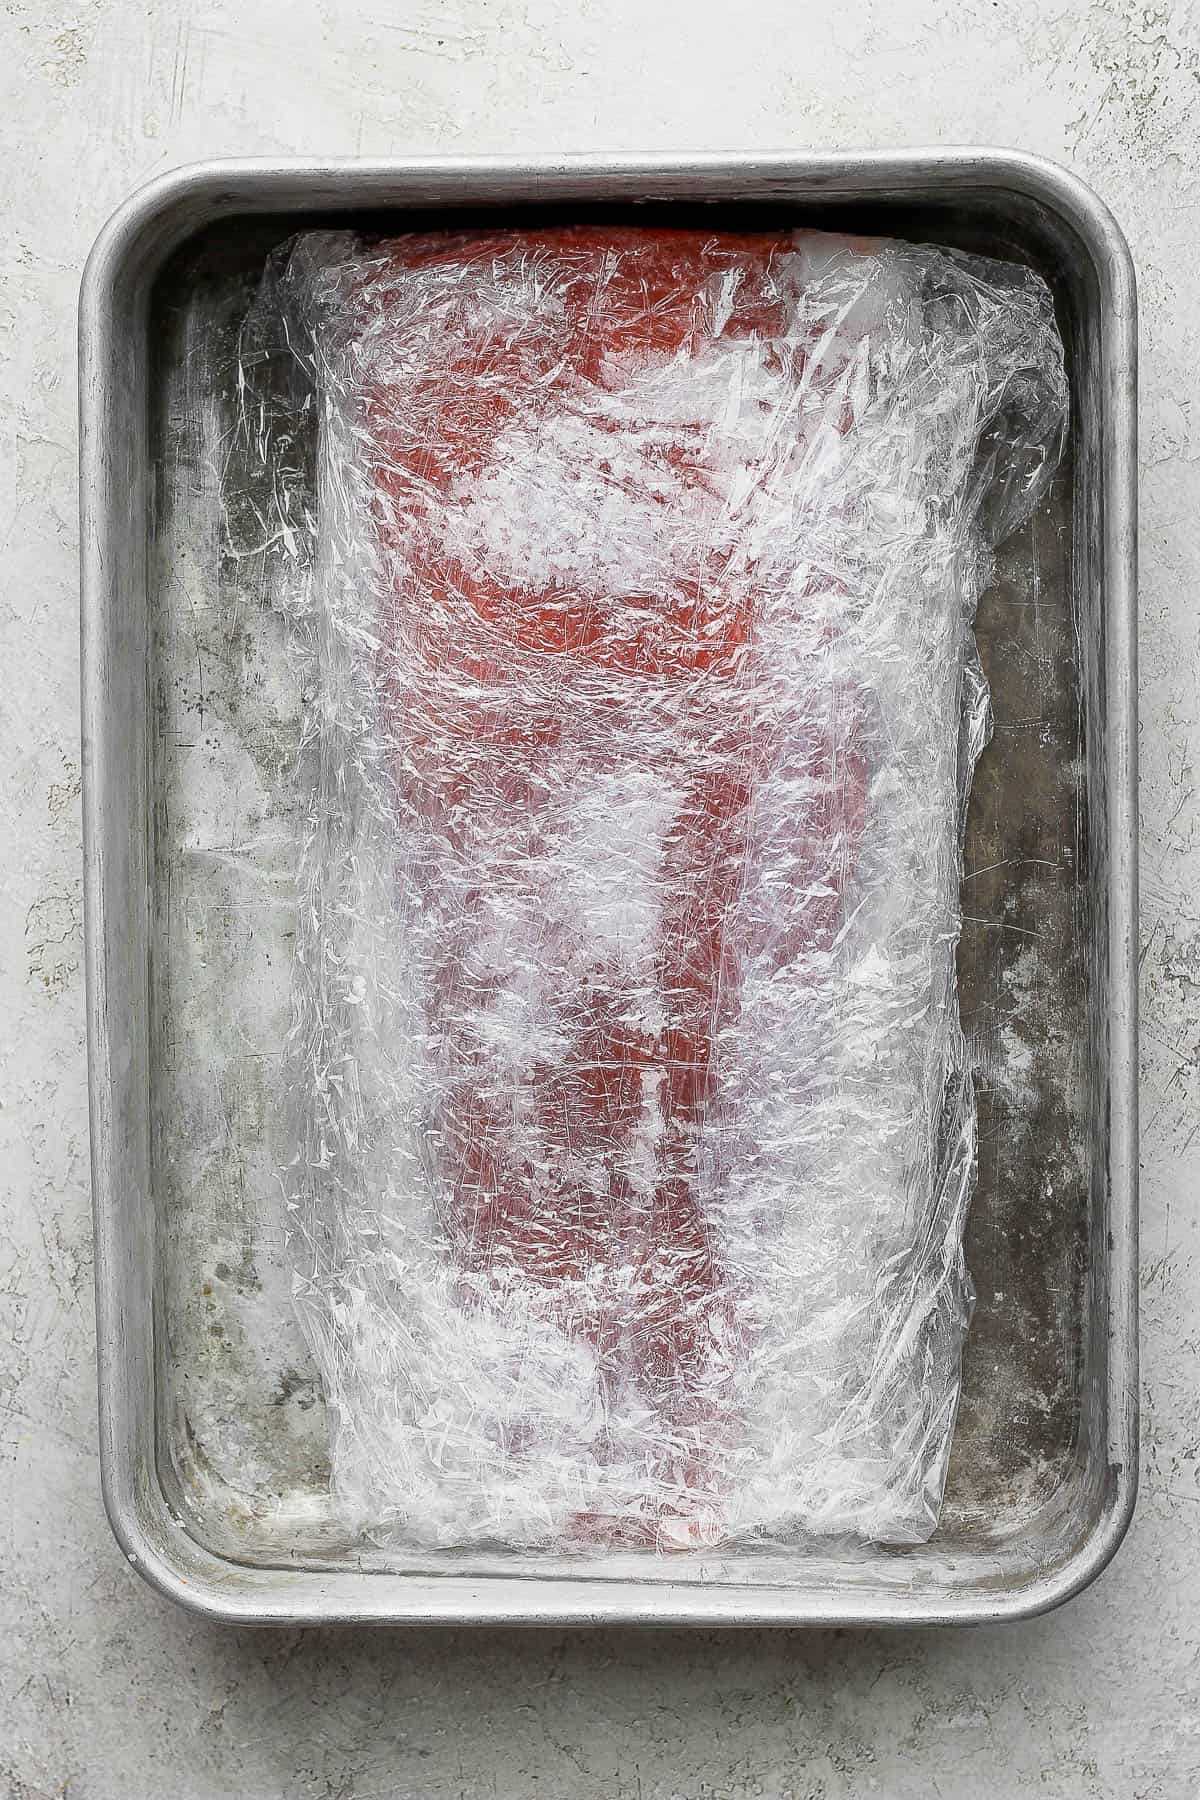
Step 5: Fully wrap the salmon (fairly tightly) in plastic wrap. Set another, smaller baking dish on top of the salmon. Place canned goods inside that baking dish to act as weights.
Step 6: Refrigerate for 12 hours thencut a small slit in the corner of the plastic wrap and gently pour out any excess liquid. Flip and return the weighted baking dish. Refrigerate for 12 more hours. Repeat process one more time and refrigerate for a final 12 hours (36 hours total).
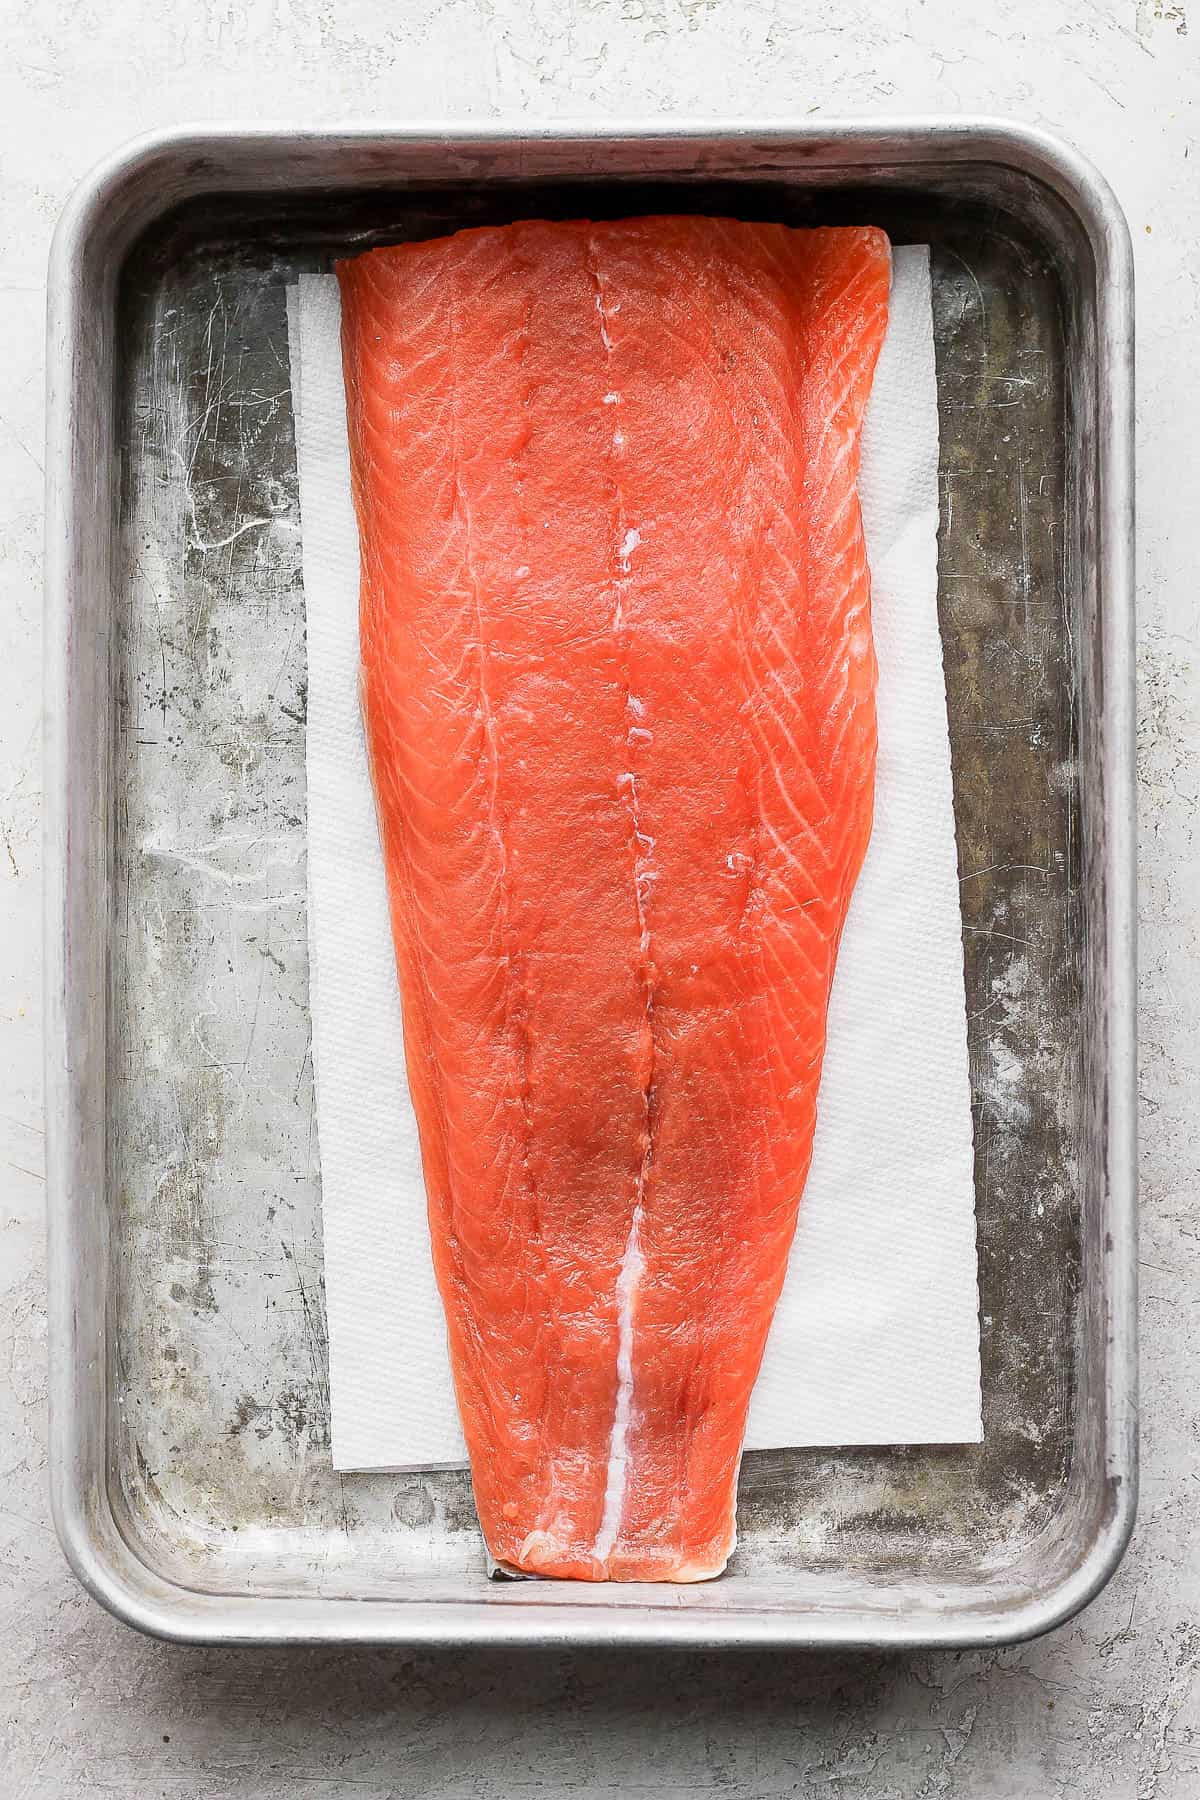
Step 7: Remove plastic and rinse the salmon.

Step 8: Pat dry.
Step 9: Return to fridge for another 3-4 hours (uncovered) to let it dry out a bit and to allow the salt to redistribute evenly.
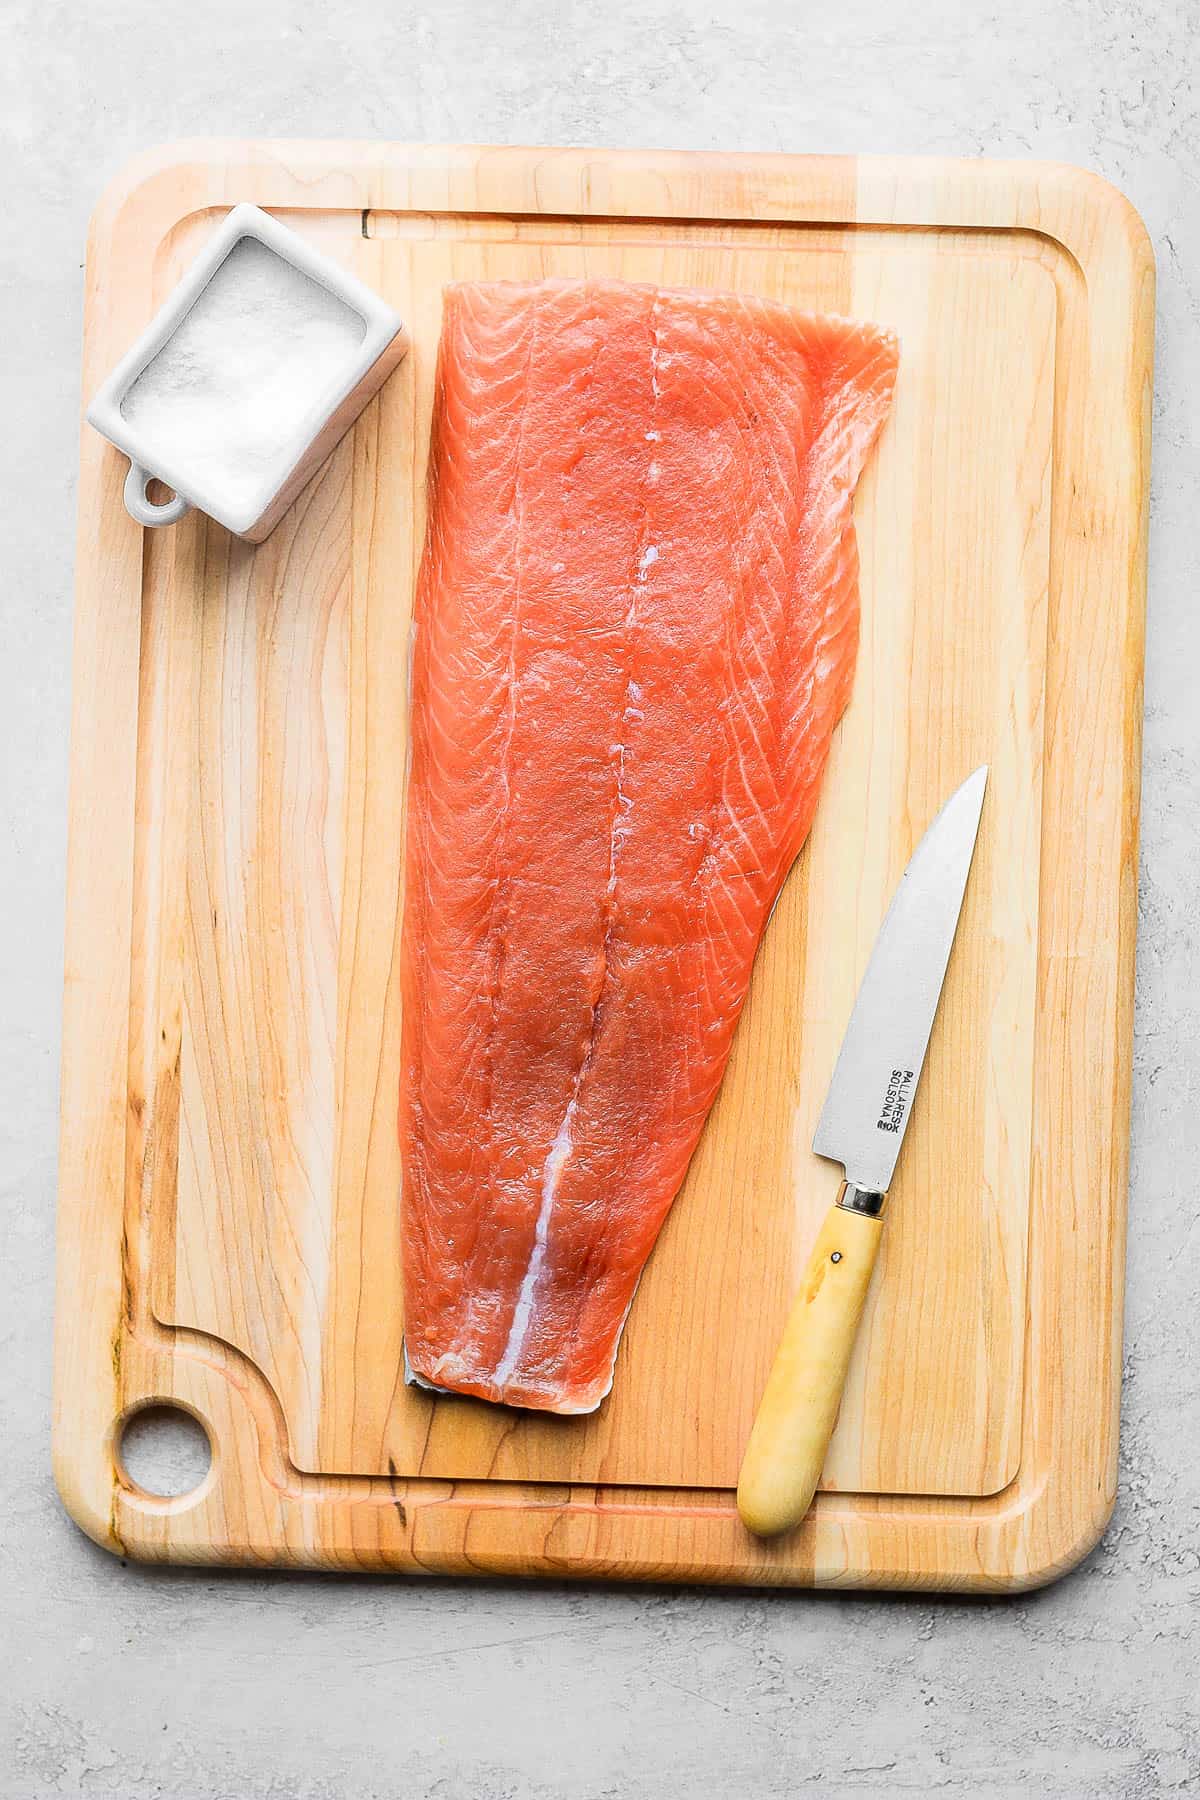
Step 10: Thinly slice for serving, cutting against the grain, and use in your favorite recipes.

Step 11: Thinly slice.
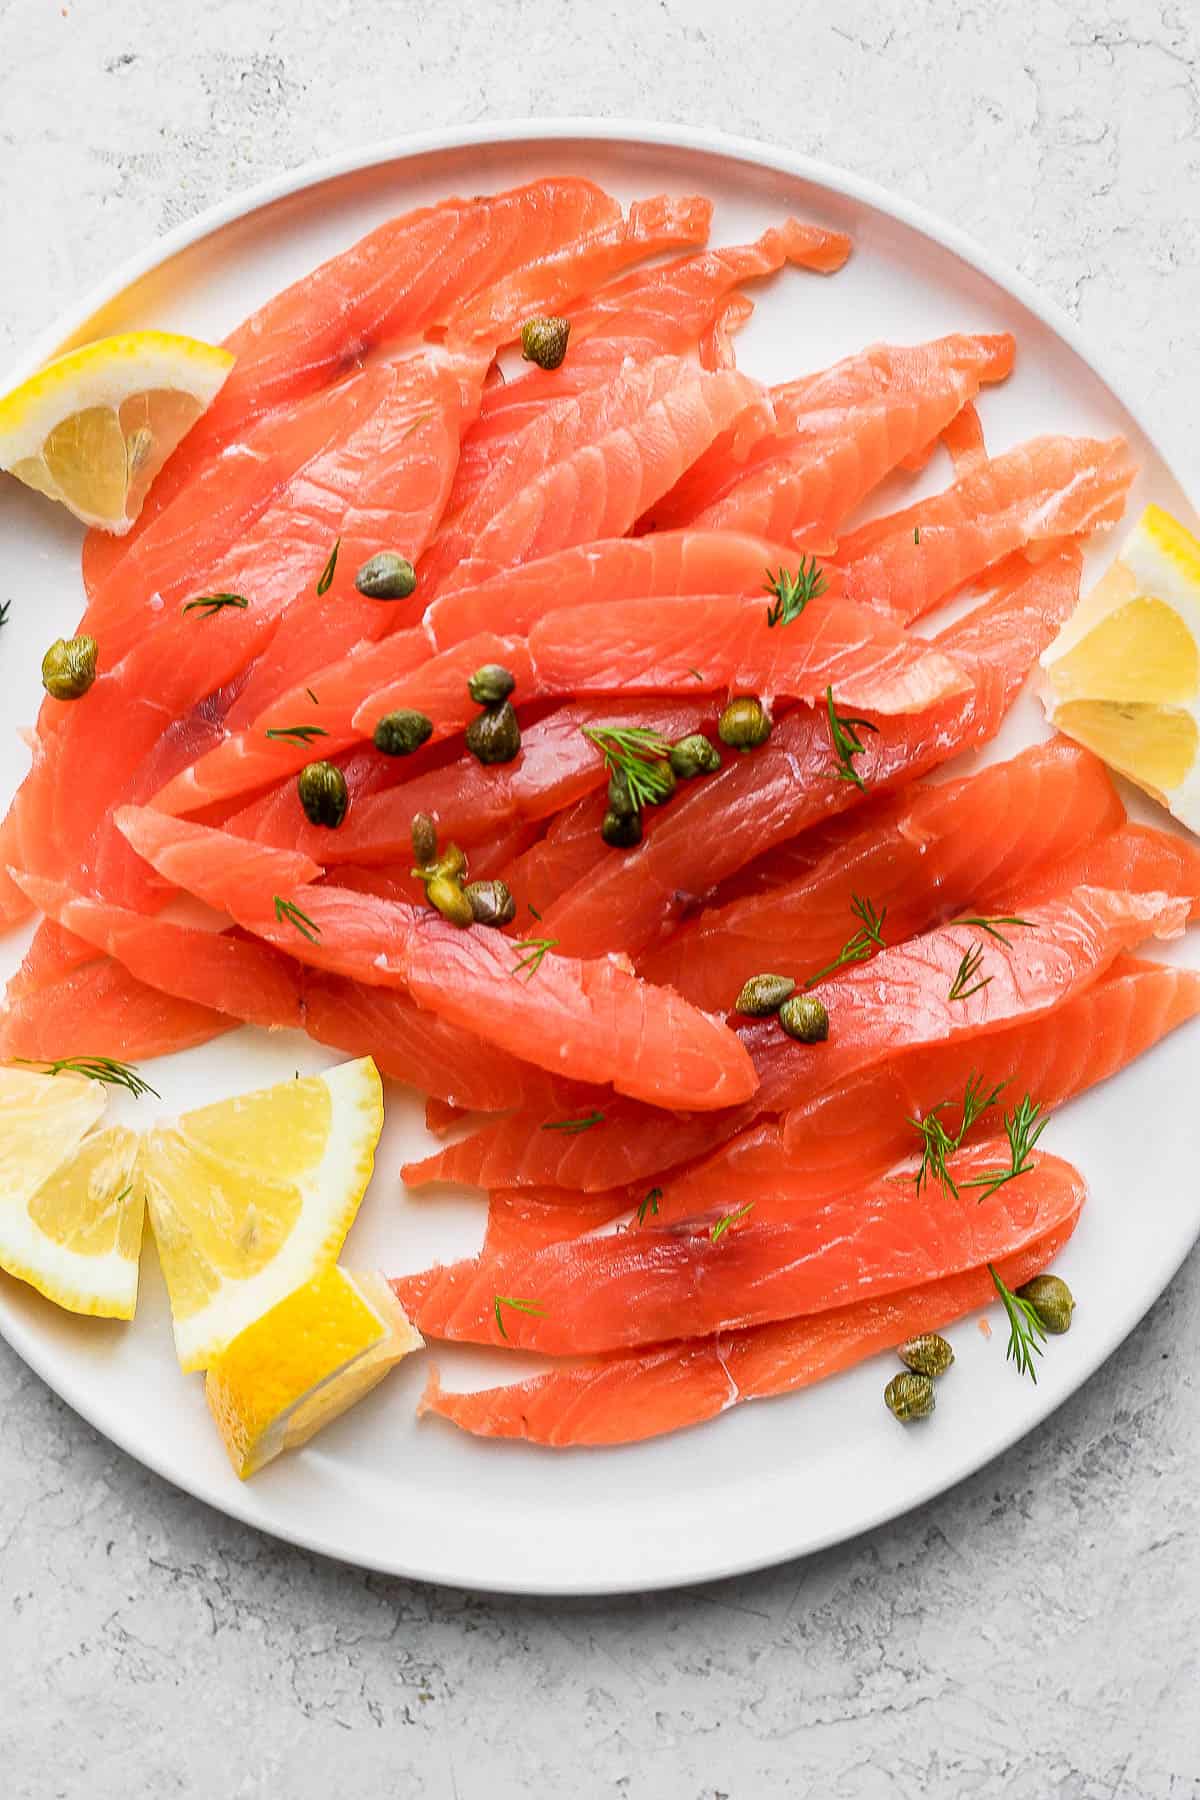
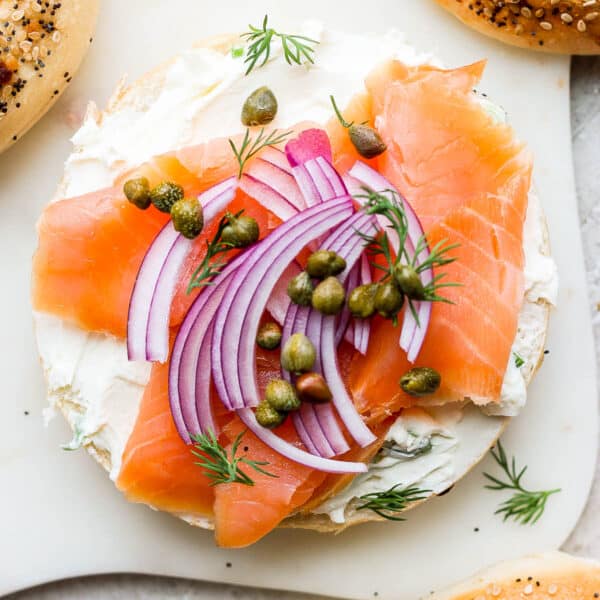
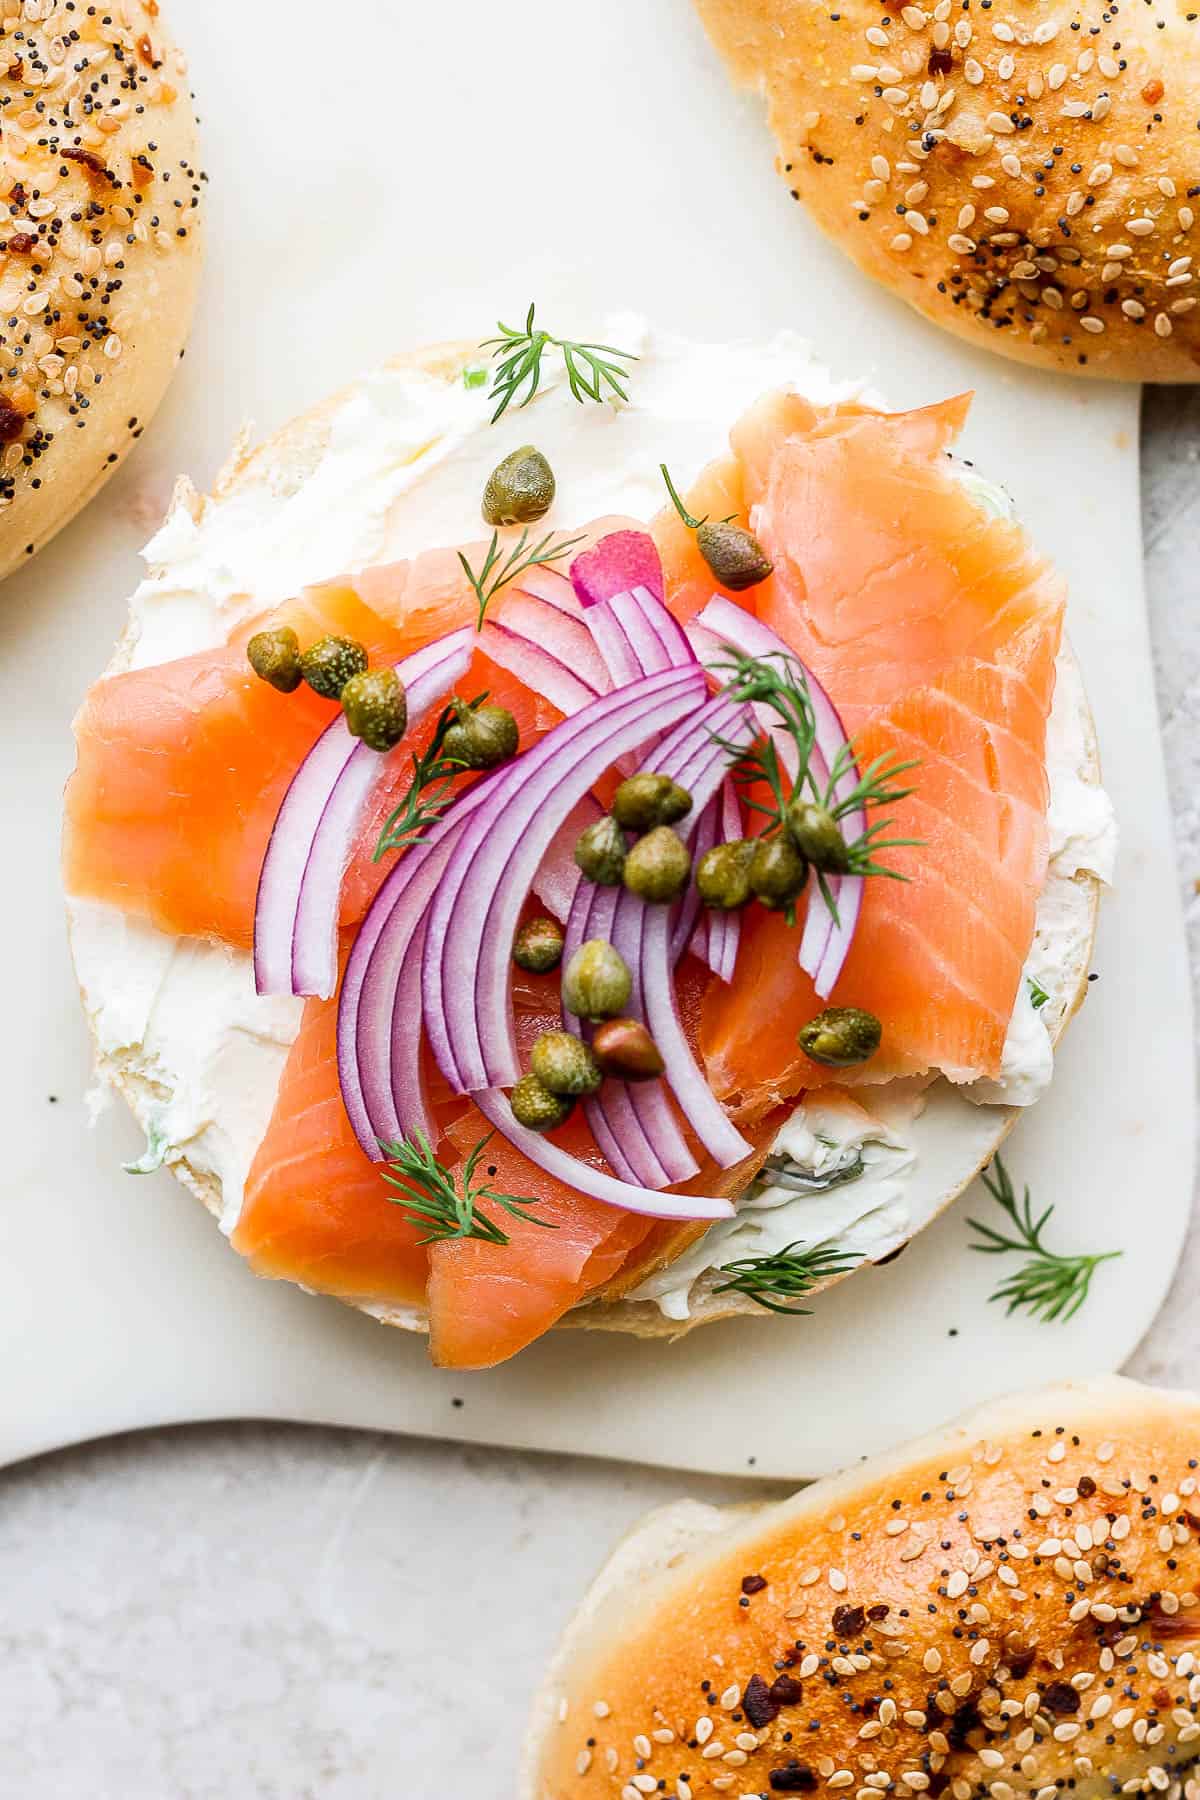
Step 12: Serve however you want!
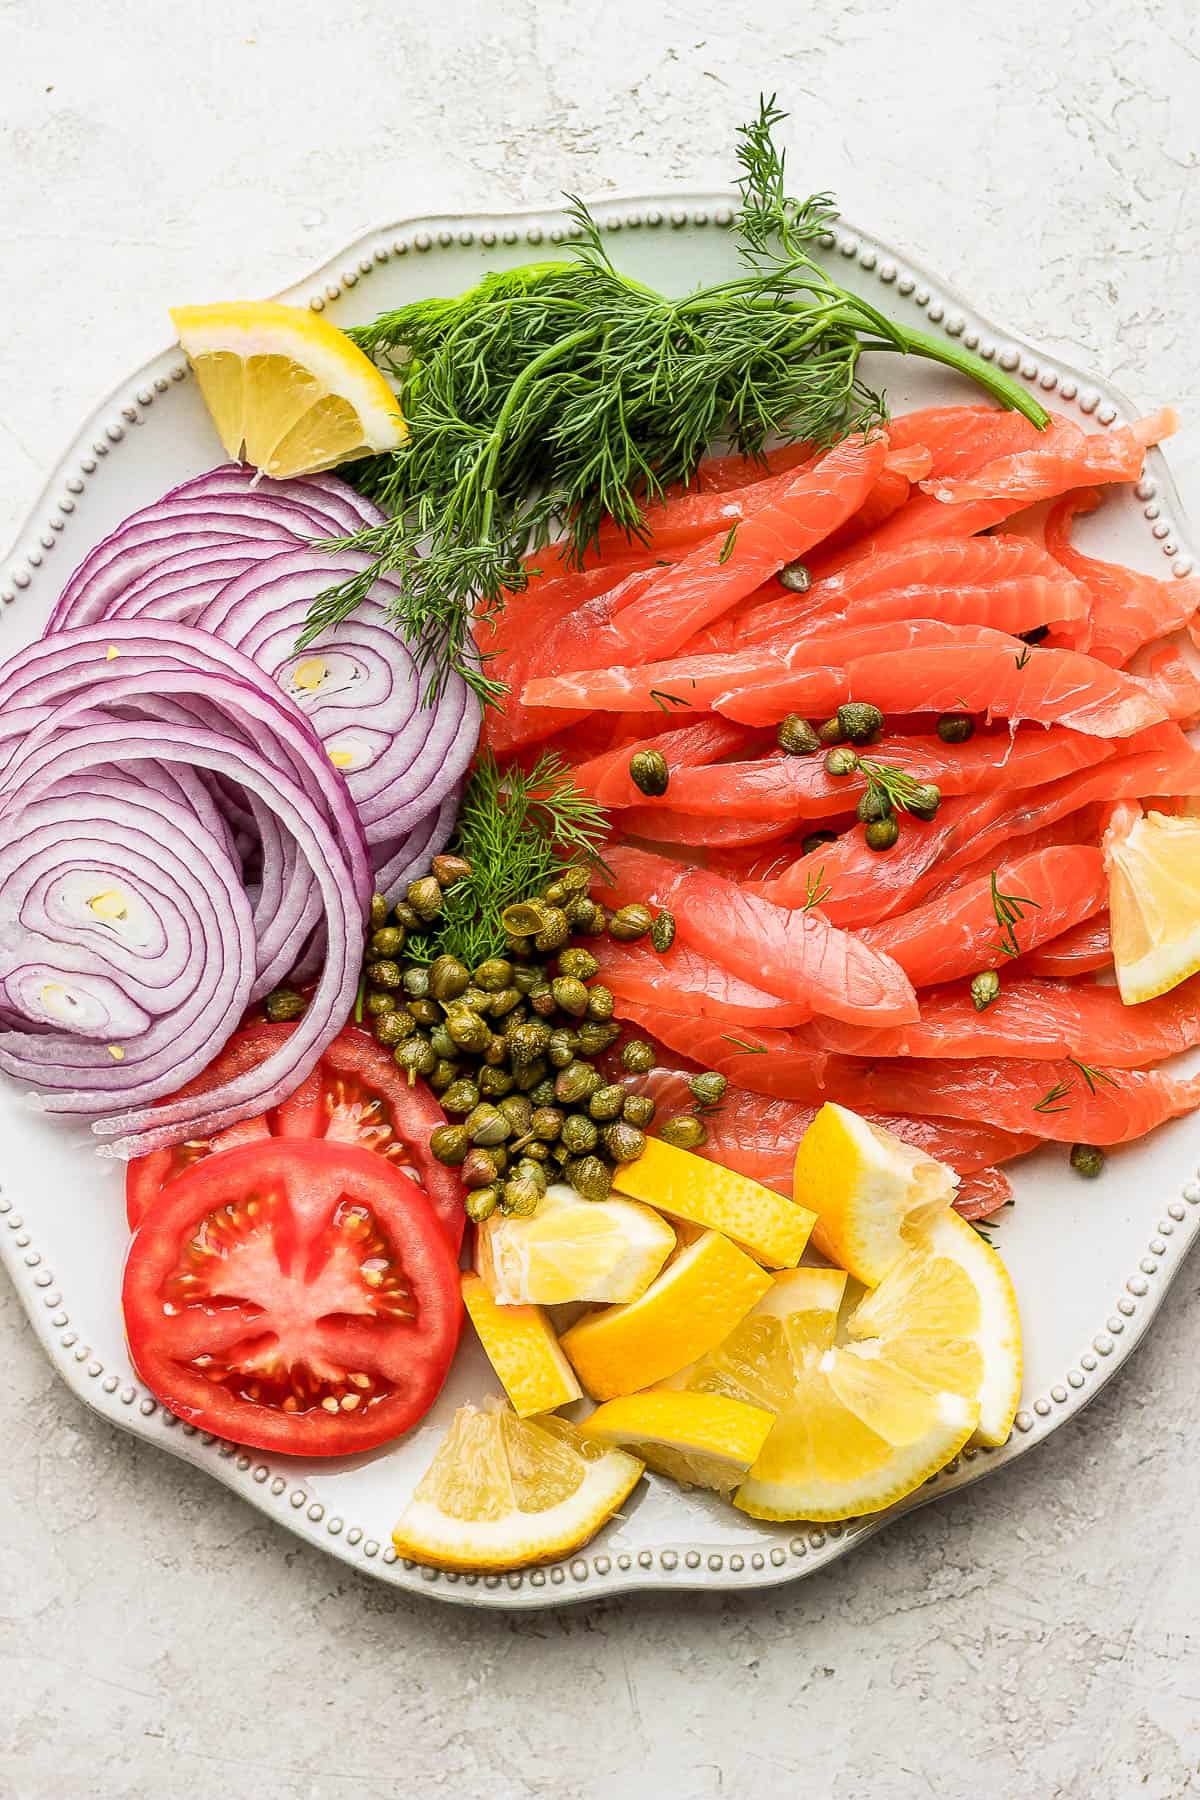
How to Serve Lox
- Lox Bagel Recipe
- Piece of rye bread + homemade lox + poached egg
- Smoked Salmon Salad (just sub the lox for the smoked salmon)
- Smoked Salmon Appetizer
- Smoked Salmon Bowl
Recipe FAQ
Cured salmon that has been preserved through a brining method (either wet or dry). In this recipe we are using the dry method. The brining method always involves heavy amounts of salt which preserve the meat.
Cured Salmon is neither raw nor fully cooked so it is important to use high-quality sushi-grade salmon for this recipe.

Made this recipe and loved it?!
We would love it if you would take a minute and leave a star rating and review – it is also helpful if you made any substitutions or changes to the recipe to share that as well. THANK YOU!
Follow Us on Social

Ingredients
- ½ cup coarse kosher salt, more if needed
- ¼ cup fresh dill, roughly chopped (optional)
- 2 tablespoons white pepper, optional
- 2 pounds sushi-grade salmon fillet
Instructions
- Prep: Find a shallow baking dish and lay plastic wrap across – enough to cover your piece of salmon.
- Season: Sprinkle HALF of the ½ cup coarse kosher salt inside the pan and on top of the plastic wrap in the shape of the salmon fillet. Sprinkle HALF the ¼ cup fresh dill and HALF the 2 tablespoons white pepper on top of the salt, if using. Place 2 pounds sushi-grade salmon fillet on top of the salt mixture (skin-side down). Pour the rest of the salt on top of the salmon (as well as the dill and pepper, if using).
- 1st Cure: Wrap the salmon up tightly with the plastic wrap. Place a small baking pan on top of it – place a couple canned goods inside that baking pan to weigh it down. Place the entire pan into the fridge and let sit 12 hours.
- Drain: Remove salmon from the refrigerator. Some liquid may have gathered inside the plastic wrap. Use a sharp knife to make a small slit in the corner and drain any liquid you can.
- 2nd Cure: Flip the salmon over (so it is now skin-side up) and place back into the baking pan. Place the secondary baking pan on top along with the canned goods. Place back in the fridge for another 12 hours.
- 3rd Cure: Repeat the draining process and flip the salmon over one more time (so skin-side is down) and replace weighted pan on top of salmon. Place back in the refrigerator for another 12 hours (so 36 total hours).
- Rinse: Remove from the fridge and unwrap the plastic. Rinse off excess salt. Place salmon on a plate and pat dry. Place back in the refrigerator for another 3-4 hours.
- Slice + Serve: Thinly slice and eat as-is or in your favorite recipe (we love these ultimate lox bagels!).
Notes
- Sushi-Grade Salmon: it is important to use high-quality sushi-grade salmon for this recipe as the salmon isn’t exactly fully cooked after curing. Check your local fishmonger for sushi-grade options or a place like Whole Foods.
- Dill + Pepper: these are totally optional, but add a lovely flavor. There are other options and traditional add-ins – feel free to do whatever works best for you.
- Curing Time: the recipe stated above will result in about a medium-cure. Cure a bit less or a lighter cure and a bit longer for a harder cure.
- Table Salt: do not use table salt in this recipe. You can use rock salt if desired.
- Storage: store in airtight container in the refrigerator for up to 3 days.
- Frozen Salmon: yes, you can use high-quality frozen salmon (thaw before using it in this recipe).


Leave a Rating & Comment