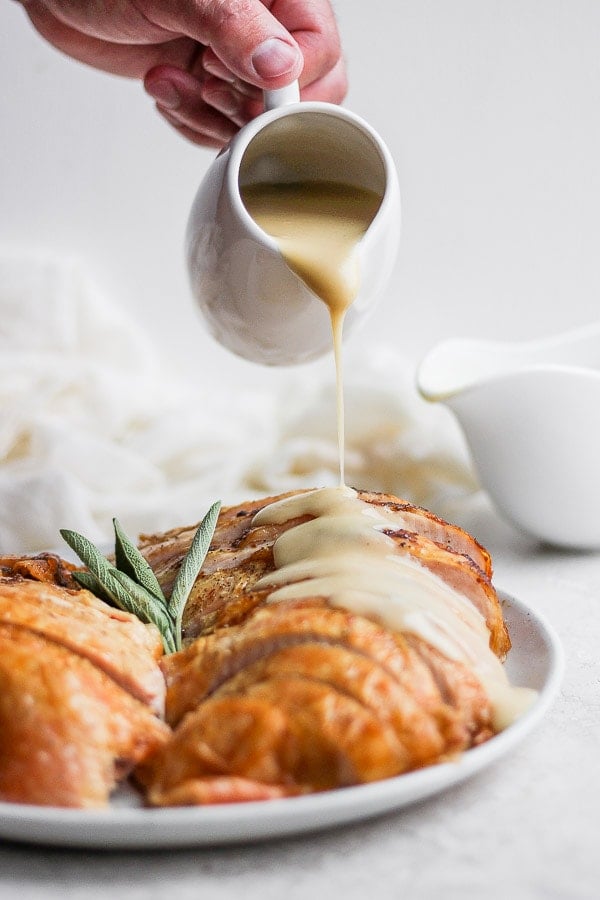
How To Make Turkey Gravy (using the pan drippings)
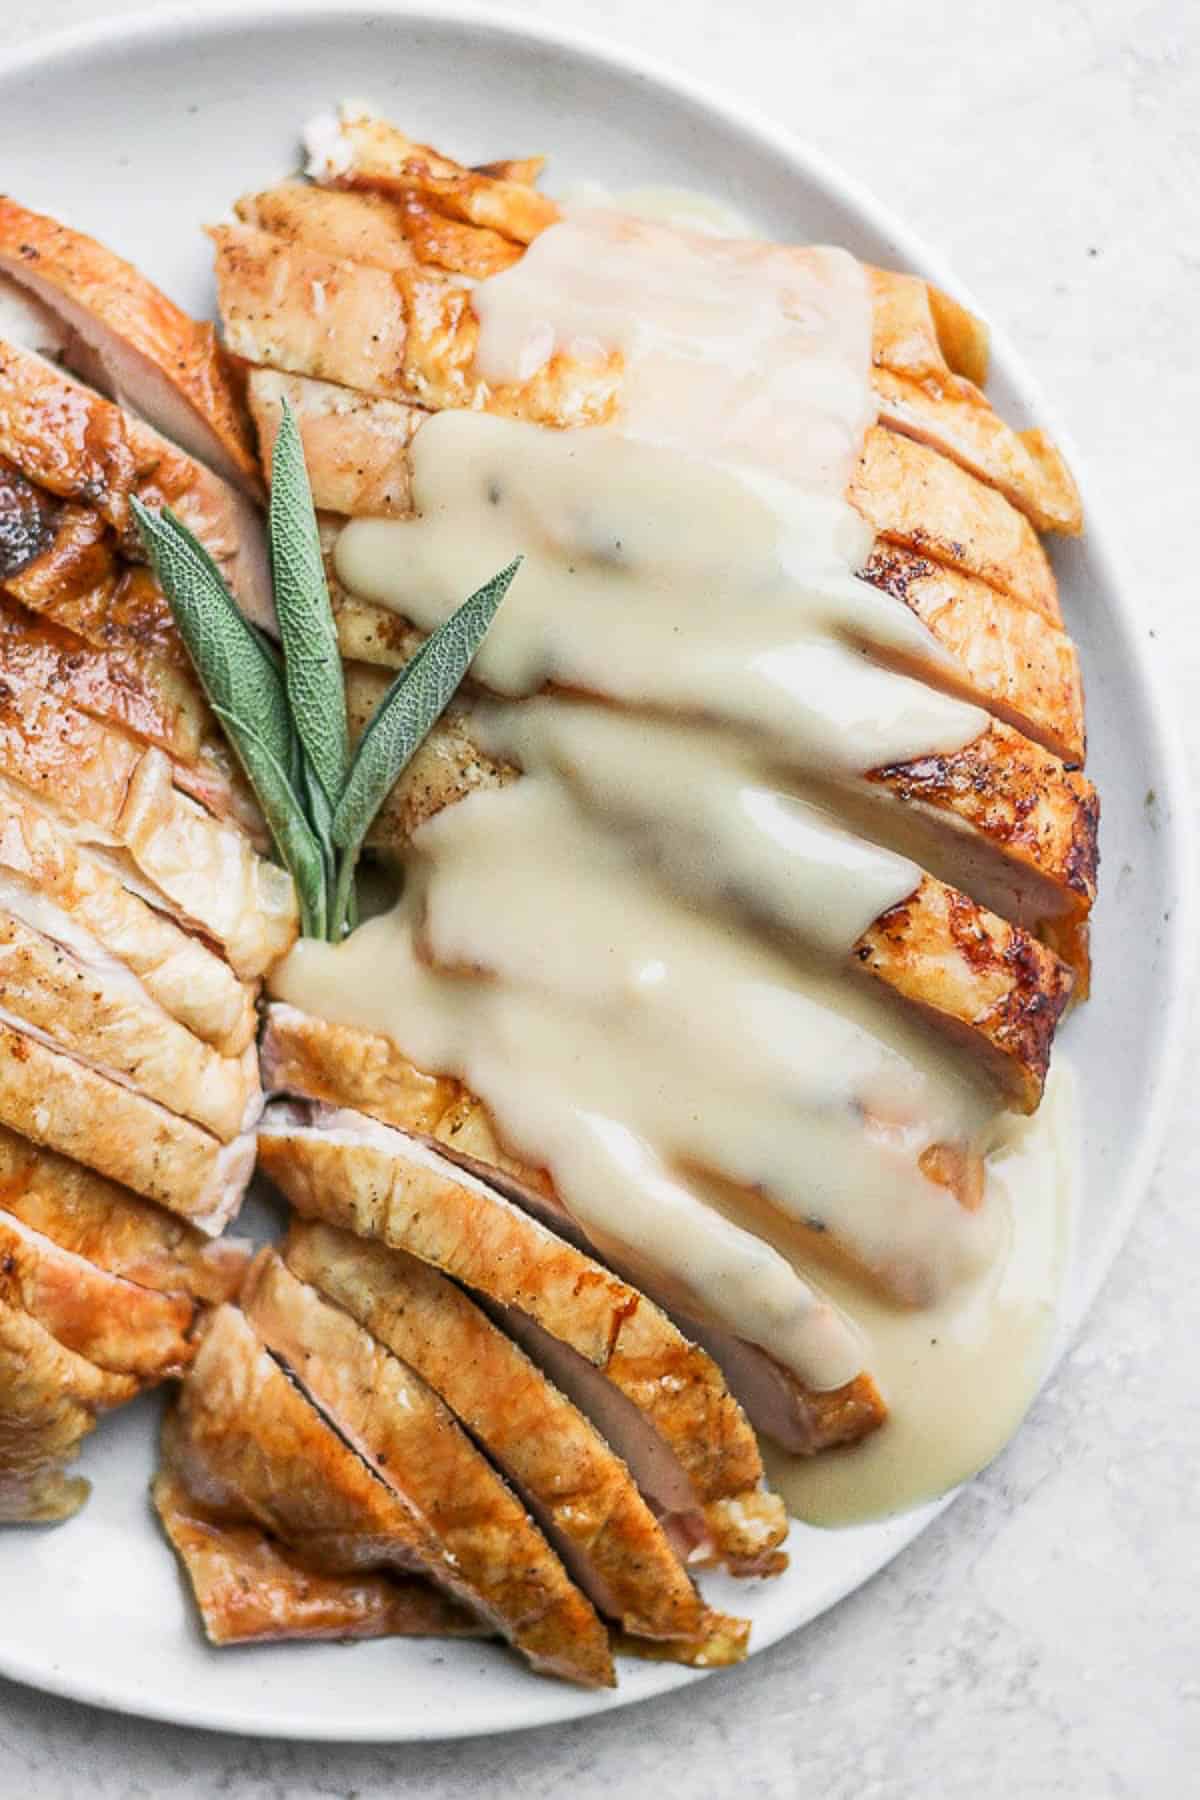
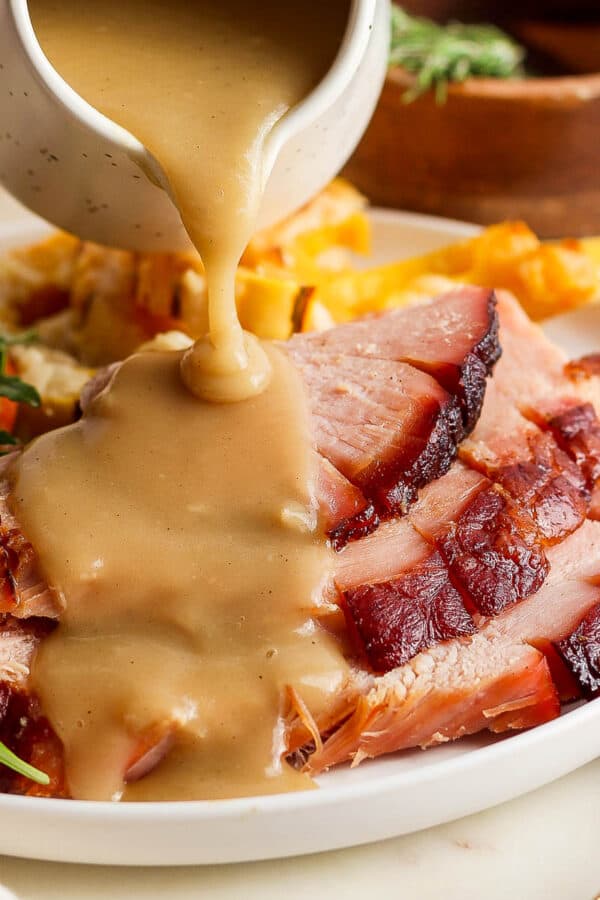
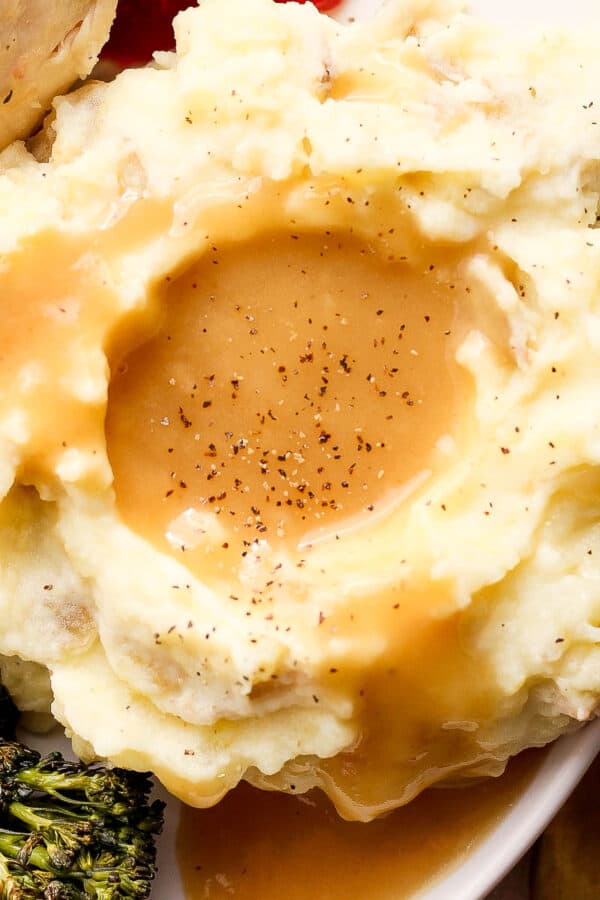
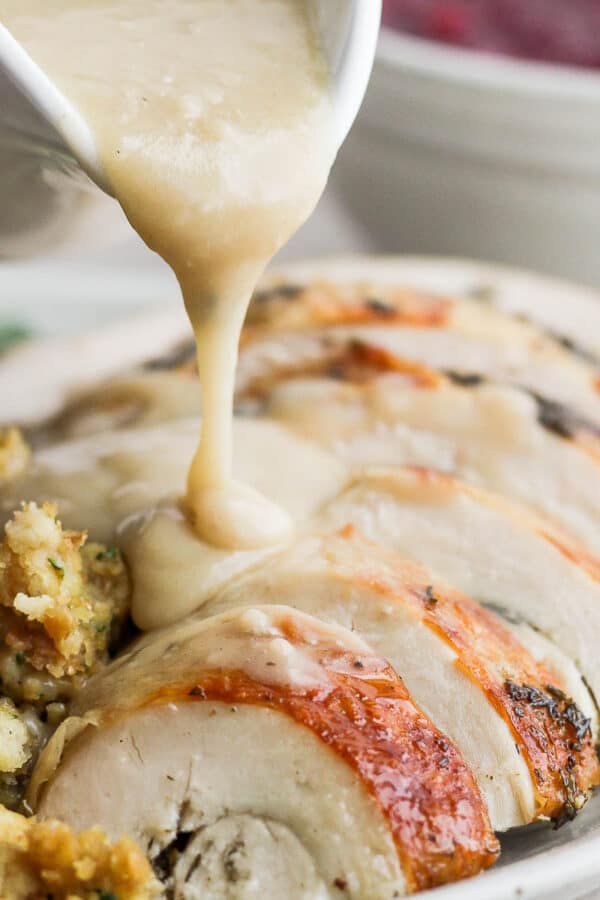
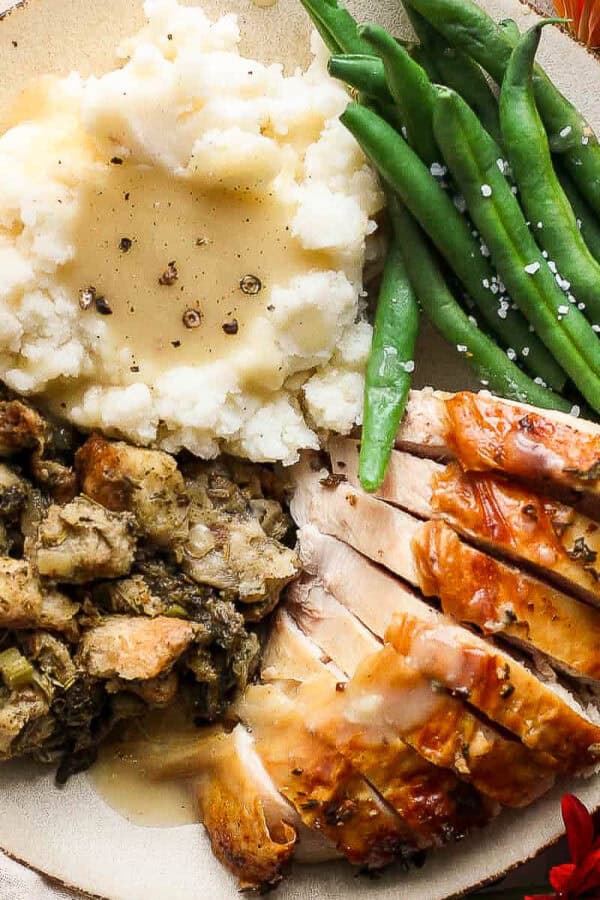
How to Make Turkey Gravy a simple, step-by-step easy turkey gravy recipe that teaches you how to make delicious gravy from your Thanksgiving dinner turkey drippings that is packed with flavor! Perfect with your butter and sage roasted turkey, yukon gold mashed potatoes, wild rice stuffing and easy green bean casserole!
Want To Make Gravy Ahead Of Time?
Those holiday meals can get hectic, so feel free to make our Make Ahead Turkey Gravy to take one thing off your list of to-dos!
Why You’ll Love This Recipe

- Holidays – a great holiday dinner really isn’t much without a delicious turkey gravy on top and this is just that! Use the pan drippings from your roasted turkey, roast turkey breast, grilled turkey or smoked turkey to make this easy recipe!
- Easy – this tutorial on how to make the best gravy will show you just how easy it is! It comes together in minutes and is better than anything you would buy from the store.
- Simple, real ingredients – you only need 5 real ingredients for this homemade turkey gravy recipe and one of them is all the delicious drippings from the turkey!
Key Ingredients
Be sure to see the recipe card below for a full listing of ingredients, instructions, and estimated nutritional information.

- butter: option to use dairy-free butter if you need to, for best results use regular butter.
- all-purpose flour: this will be the thickening agent, to help create a creamy texture – you can use gluten-free flour, if that’s your thing.
- turkey drippings: you will find these in the bottom of the roasting pan – also remember to use a wooden spoon to scrape up any browned bits on the bottom of the pan. Pour into a measuring cup and let the fat separate from the liquid (discard solids that rise to the top).
- chicken broth (or turkey broth): don’t worry if you don’t have enough drippings! You can easily add in some broth to finish off the recipe – note that chicken broth, turkey stock, turkey broth or chicken stock will all work here.
- kosher salt and ground black pepper: everyone is different here so taste and adjust as you go.
- add-ins: some people like to add in a little crushed rosemary, onion powder, parsley or bay leaf – I prefer to keep it simple and really let the turkey flavor shine through.
Pro Tip: Remove Fat from Drippings First
Make sure you skim off the fat from your leftover pan drippings for making gravy with them – if you don’t your gravy will break (I am speaking from experience!). It’s fine if there is a little bit left, but try to remove as much of it as you can. If you pour it into a glass measuring cup (or any other container) the fat will quickly rise to the top and easy to simply remove with a spoon if you don’t have a fat separator.
How To Make Turkey Gravy
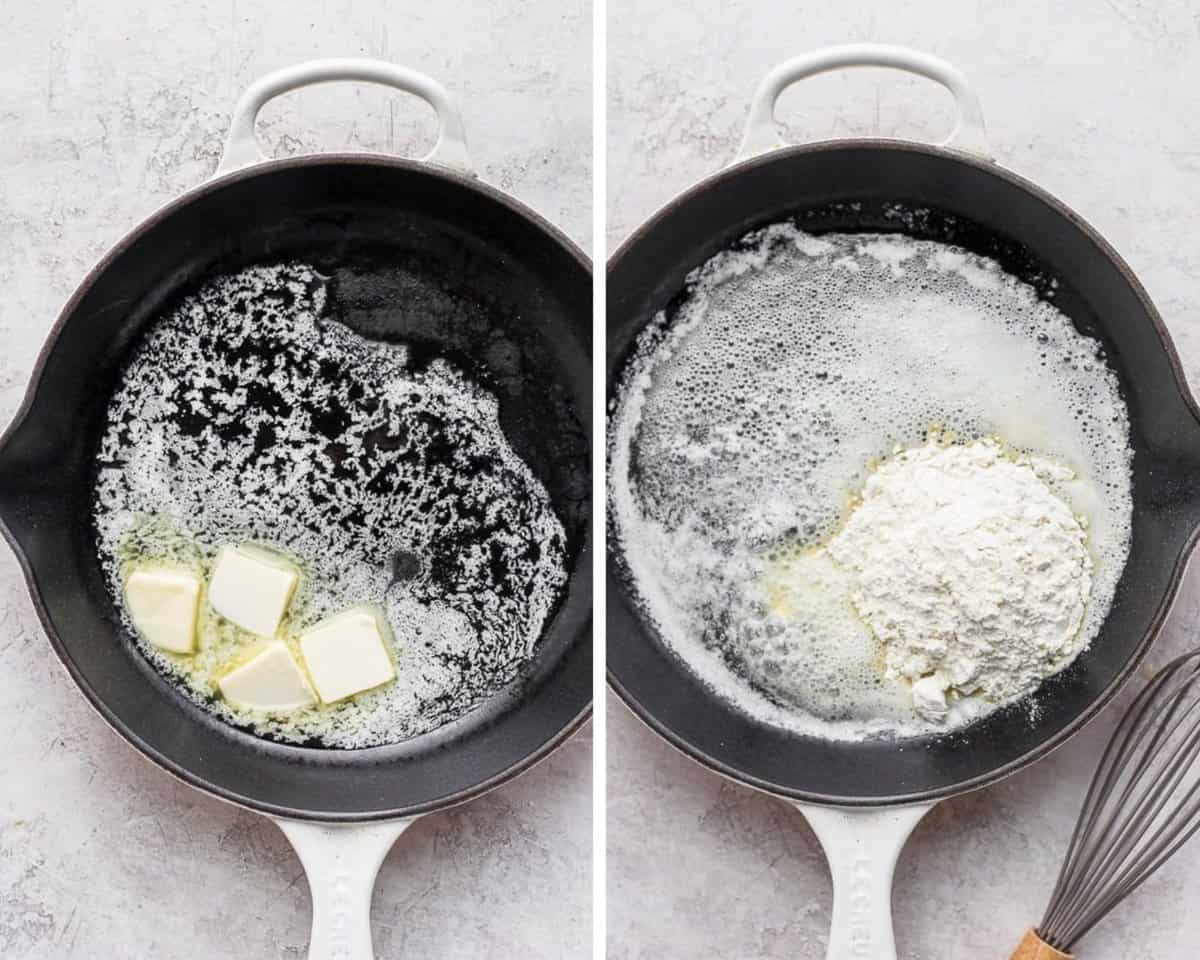
Step 1: Bring a large skillet to a medium high heat and add butter to melt. Add the flour to the hot pan with the melted butter.

Step 2: Whisk/stir the melted butter and flour together to make a paste called a roux.

Step 3: Keeping the skillet at a medium heat, slowly add the turkey drippings while constantly mixing. Once the drippings are added you will do the same thing with the broth – add liquid slowly and mix constantly.
Pro Tip: Taste and Adjust
Now you tailor it to your liking – you can add a pinch of salt to adjust the taste or you can add more broth if you want your gravy to be thinner.
Favorite Thanksgiving Side Dishes
- Sausage Stuffing
- Cornbread Muffins
- Cranberry Sauce
- Green Beans Almondine
- Bacon Broccoli Salad
- Apple Yam Bake
RECIPE FAQs & TIPS
- How to prep the turkey drippings? – once you have the drippings from the cooked turkey it is helpful to use a fat separator to separate the fat from your drippings or you can let the drippings sit for a few minutes and since fat rises it will float to the top and you can scoop most of it out with just a large spoon.
- Extra Flavor: want some extra flavor in your homemade gravy – you can easily up the flavor by adding in a splash of white wine or a few fresh herbs (thyme and sage do well here).
Storage & Freezer
Refrigerator – Let the gravy cool slightly, then transfer to an airtight container in the fridge for 3-4 days.
Freezer – Flour-based gravy, such as this one freeze really well actually! Freeze for up to 3-4 months in a sealed container or even an ice cube tray! So convenient for enjoying this delicious gravy for months to come!
Made this recipe and loved it?!
We would love it if you would take a minute and leave a star rating and review – it is also helpful if you made any substitutions or changes to the recipe to share that as well. THANK YOU!
Follow Us on Social

Video
Ingredients
- 4 tablespoons butter
- 6 tablespoons all-purpose flour
- 2 cups turkey drippings
- 1 cup chicken broth, or turkey stock
- kosher salt and ground black pepper, to taste
Instructions
- Drippings: collect the turkey drippings from under the cooked whole turkey or turkey breast in a large measuring cup or fat separator. Remove the top layer of fat and any solid bits that collect in the cup.
- Roux: In a deep skillet or medium saucepan melt butter on medium-high heat. Then add in flour and whisk to combine. This will create a sort of paste (called a roux) and it should have an almost nutty smell.
- Adding Liquid: Then slowly add in the turkey drippings (about 1/3 cup at a time), whisking constantly. Continue adding and whisking until it is all added. Then do the same thing with the broth, until it is all incorporated.
- Consistency: Assess the consistency of the gravy – if you like it a little thinner, add broth a little at a time, whisking to combine, until you have reached your desired consistency. If you want it a bit thicker, let it simmer (a soft boil) for a little bit and it will continue to thicken. Taste and add salt, as desired.
- Serve: Enjoy immediately! If gravy ends up having to sit for a bit and you feel it dries up a bit, just add a splash of broth and whisk to revive.
Notes
- Prepping Turkey Drippings: I would recommend using a fat separator to separate the fat from your drippings. You can also just let them sit for a few minutes, the excess fat will float to the top and you can scoop most of it out with just a large spoon.
- Drippings Amount: If you don’t have quite 2 cups of drippings just make up for the difference with broth.
- Storage: leftover gravy actually stores really well in the refrigerator! Store in airtight container for up to 3-4 days.
- Freezing: Freeze for up to 3-4 months in a sealed container (leave room for expansion) or even an ice cube tray for smaller portion to reheat!
Originally published October 18, 2020.




Lisa says
This will be my new staple recipe for gravy, was perfect and still tasted great with leftovers!
Erin says
So happy to hear that, Lisa! Thanks for taking the time to come back and leave a rating and review – I really appreciate it!
Dee says
Decided to use an actual recipe for the Thanksgiving turkey gravy this year. This was exceptional! Smoothest gravy I’ve ever made and perfectly balanced proportions of butter, flour, and stock. Thank you for sharing this recipe!
Mike says
So much better than a simple jar of gravy and not that much effort needed. Good instructions. Thanks
Ali says
Easiest best gravy I’ve ever made! Took the drippings from the grill smoked Turkey recipe and it came out amazing! Will become a keeper in our house!
Erin says
So happy to hear that, Ali! And thank you so much for taking the time to come back and leave a review! I appreciate it!
Hattie says
I had to modify the recipe since I made the turkey breast and didn’t have enough drippings, but it still turned out so good!!! Definitely will be using this recipe in the future for gravy!
Erin says
Thanks so much, Hattie! And I am glad it turned out so well – it is actually a pretty forgiving recipe so even if you don’t have exactly the right amount of drippings it still turns out 🙂 Thanks so much for the feedback – I really appreciate it.
Hannah says
I made this for Thanksgiving this year and it turned out amazing! It was my first time hosting thanksgiving and the gravy was one of the things I was most nervous about. This recipe was easy to follow and came together quickly and without a glitch! Would definitely use it again.
Erin says
Yay! Love hearing that. I know gravy can be intimidating so I am so happy you found it easy to follow! Thanks for the feedback – I really appreciate it!