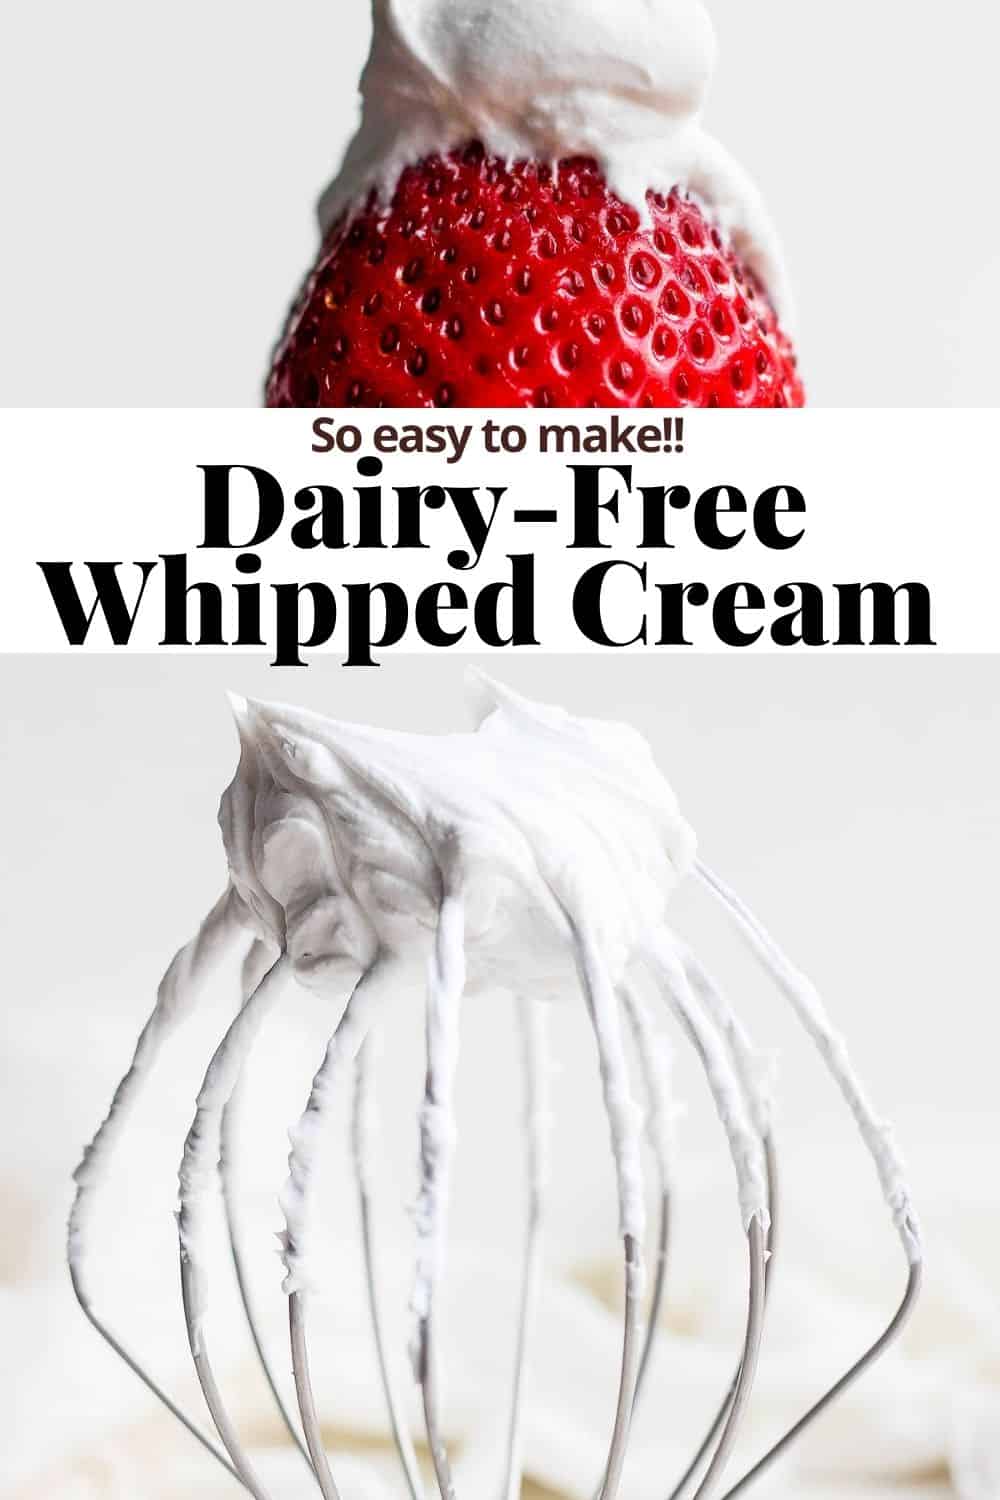
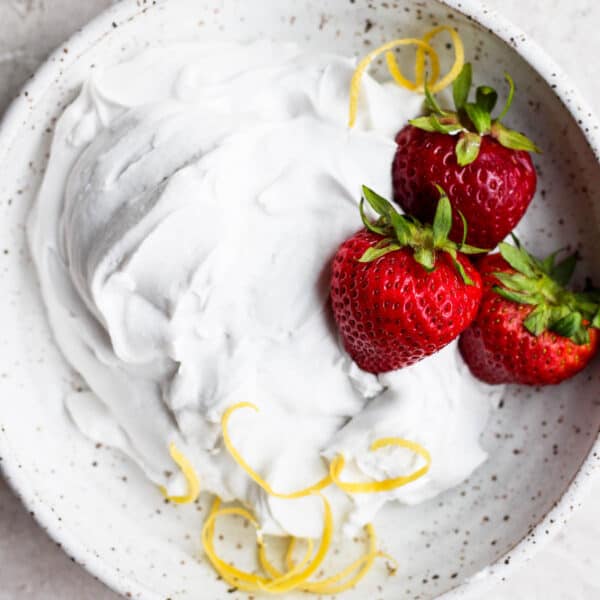
Dairy Free Whipped Cream – a delicious dairy free alternative to whip cream for all your favorite desserts and smoothies!
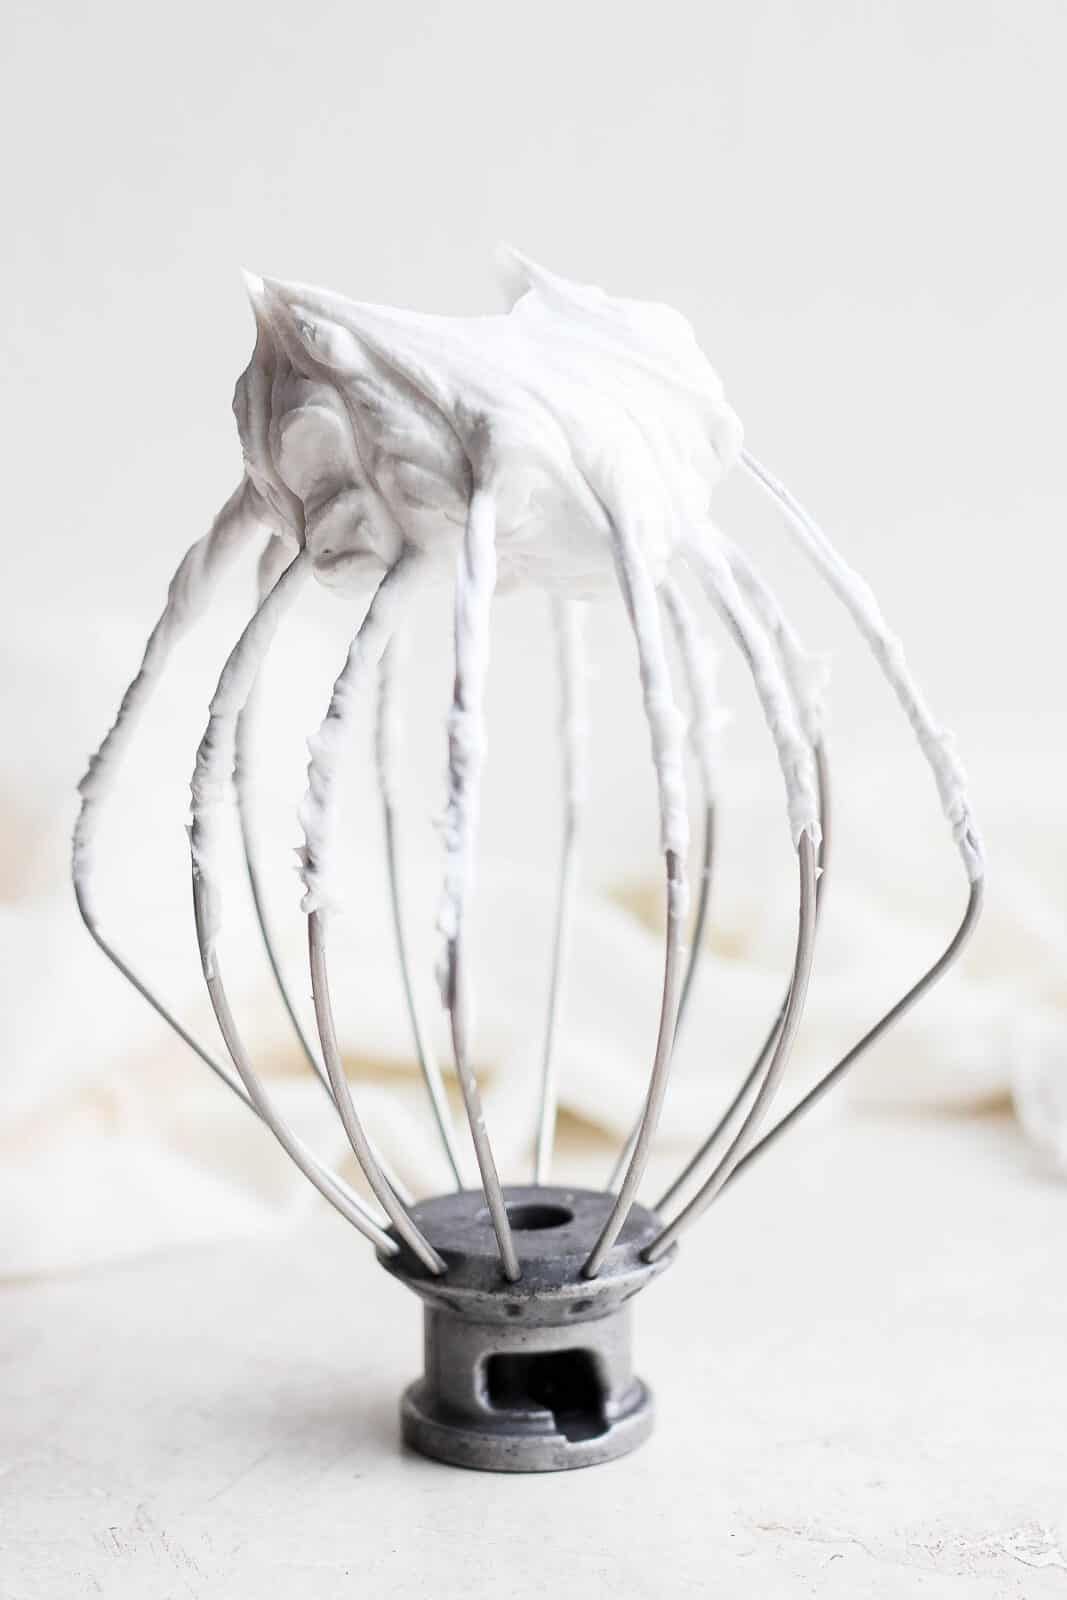
Why You Will Love This Recipe
- Real ingredients – this delicious dairy free option comes together with just 3 real food ingredients!
- Easy to make – you can easily whip this up in only 10 minutes!
- Family-friendly – I have found that if you add a little whipped cream to anything the whole family will have it disappear in no time!
What You Will Need
- full fat coconut milk (or coconut cream) – you will only want to use the cream so if you have coconut milk make sure to let it separate in the fridge before opening.
- coconut sugar (or organic cane sugar) – added for a touch of sweetness.
- cream of tartar – helps to stabilize the whipped cream.
- (optional) vanilla extract – a dash of added flavor, if you want it.
What Should I Serve With Dairy Free Whipped Cream?
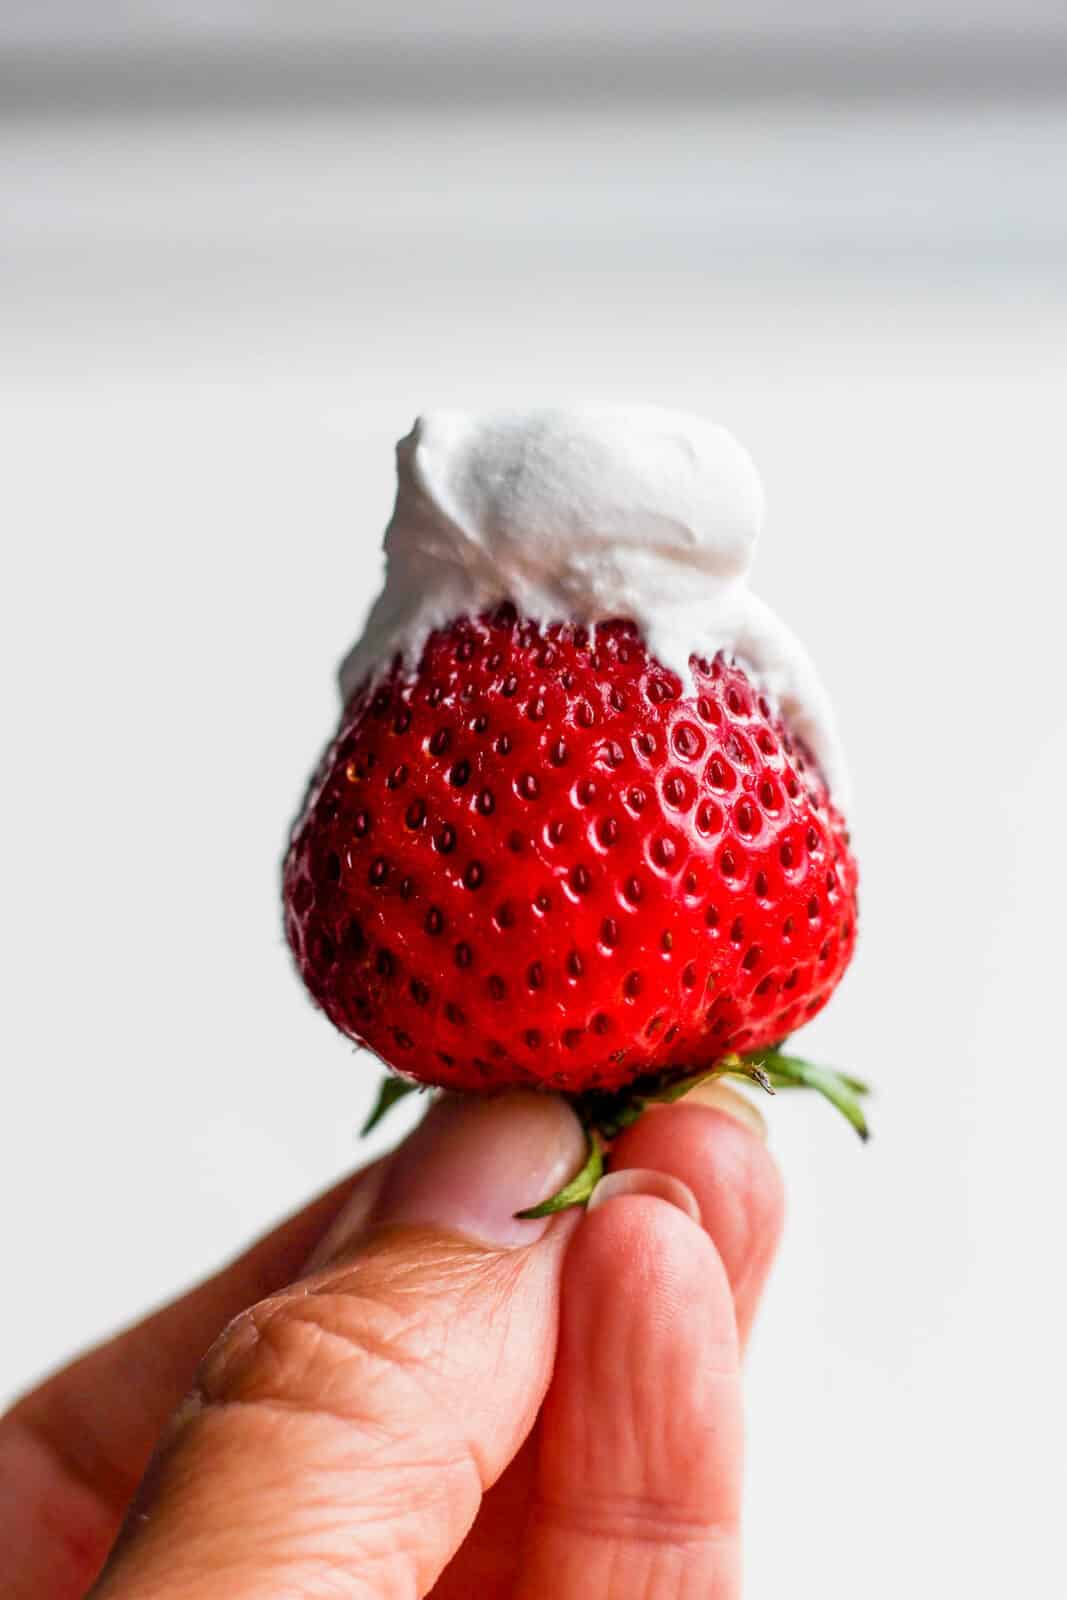
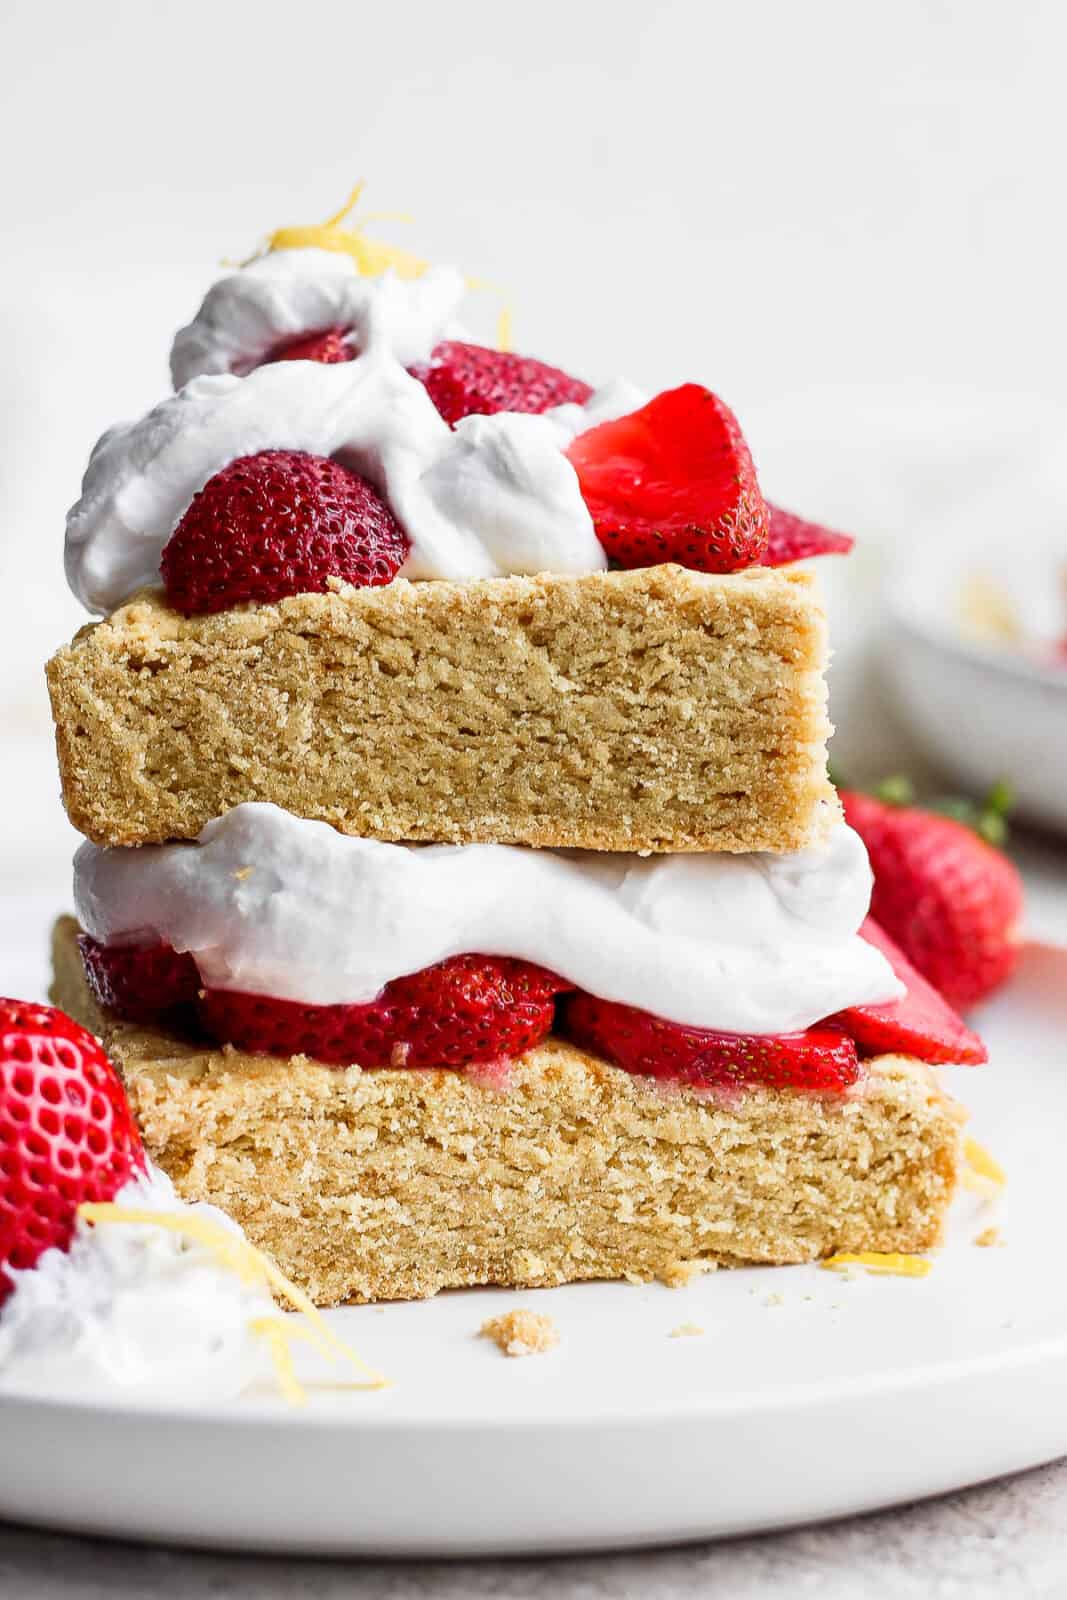
This is a great add to most desserts and makes a great smoothie topping! We love it on fresh strawberries, Strawberry Shortcake, Dairy Free Pumpkin Pie, and Strawberry Rhubarb Pie! It is also a great topping to your favorite smoothie – like Peanut Butter Banana, Creamy Pineapple, or Strawberry (of course)!
How To Store Dairy Free Whipped Cream
It should only be stored in the fridge, NOT at room temperature. It will be good in the fridge for up to 3-4 days. This makes it perfect to prep the day or two before serving the dessert you want to have it on. Take it out right before serving!
Can You Freeze Dairy Free Whipped Cream?
Yes! You can store it in a freezer-safe bag for up to 1 month. When you are ready to use it, simply let it sit at room temperature for about 10-15 minutes before serving.
How To Make Dairy Free Whipped Cream
Step one – if you are using coconut milk you will want to place it in the fridge the night before making this whipped cream to ensure that it separates from the coconut water. You will then scoop out the cream on top. If you use coconut cream you can just scoop it out.
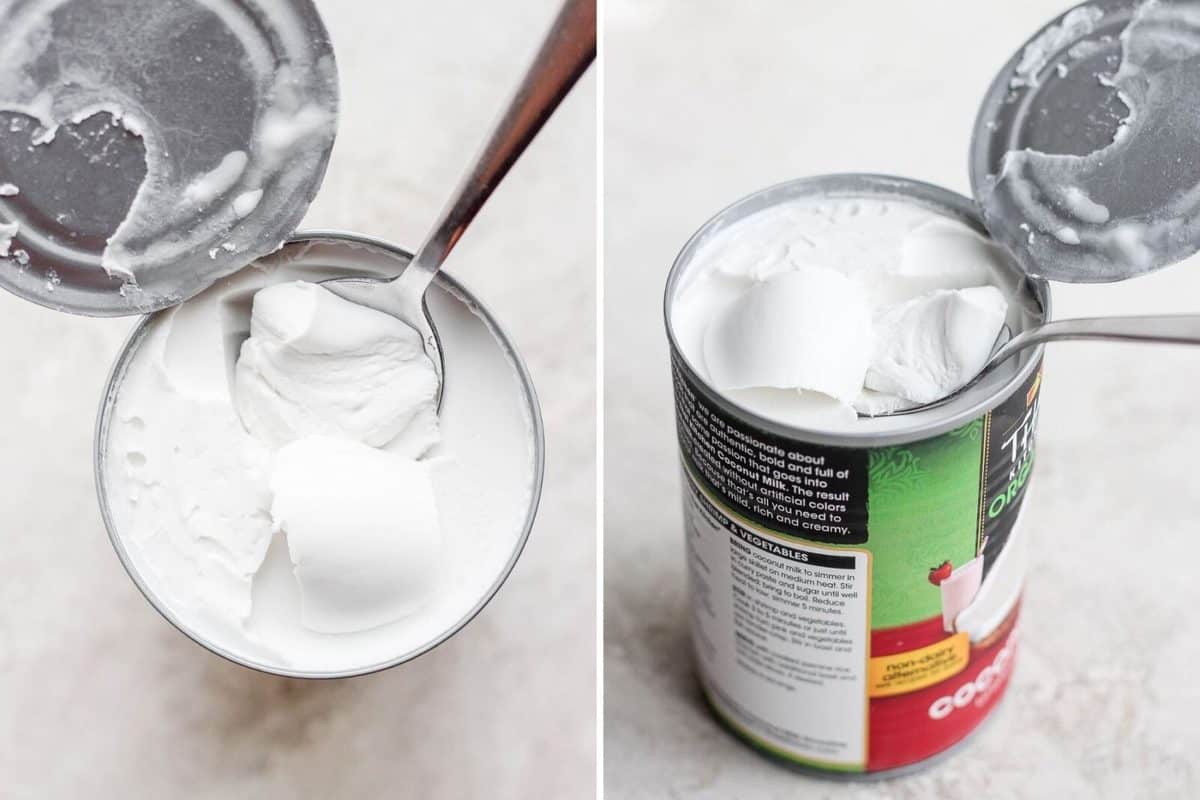
Step two – Place in a bowl that has been chilling in the freezer.
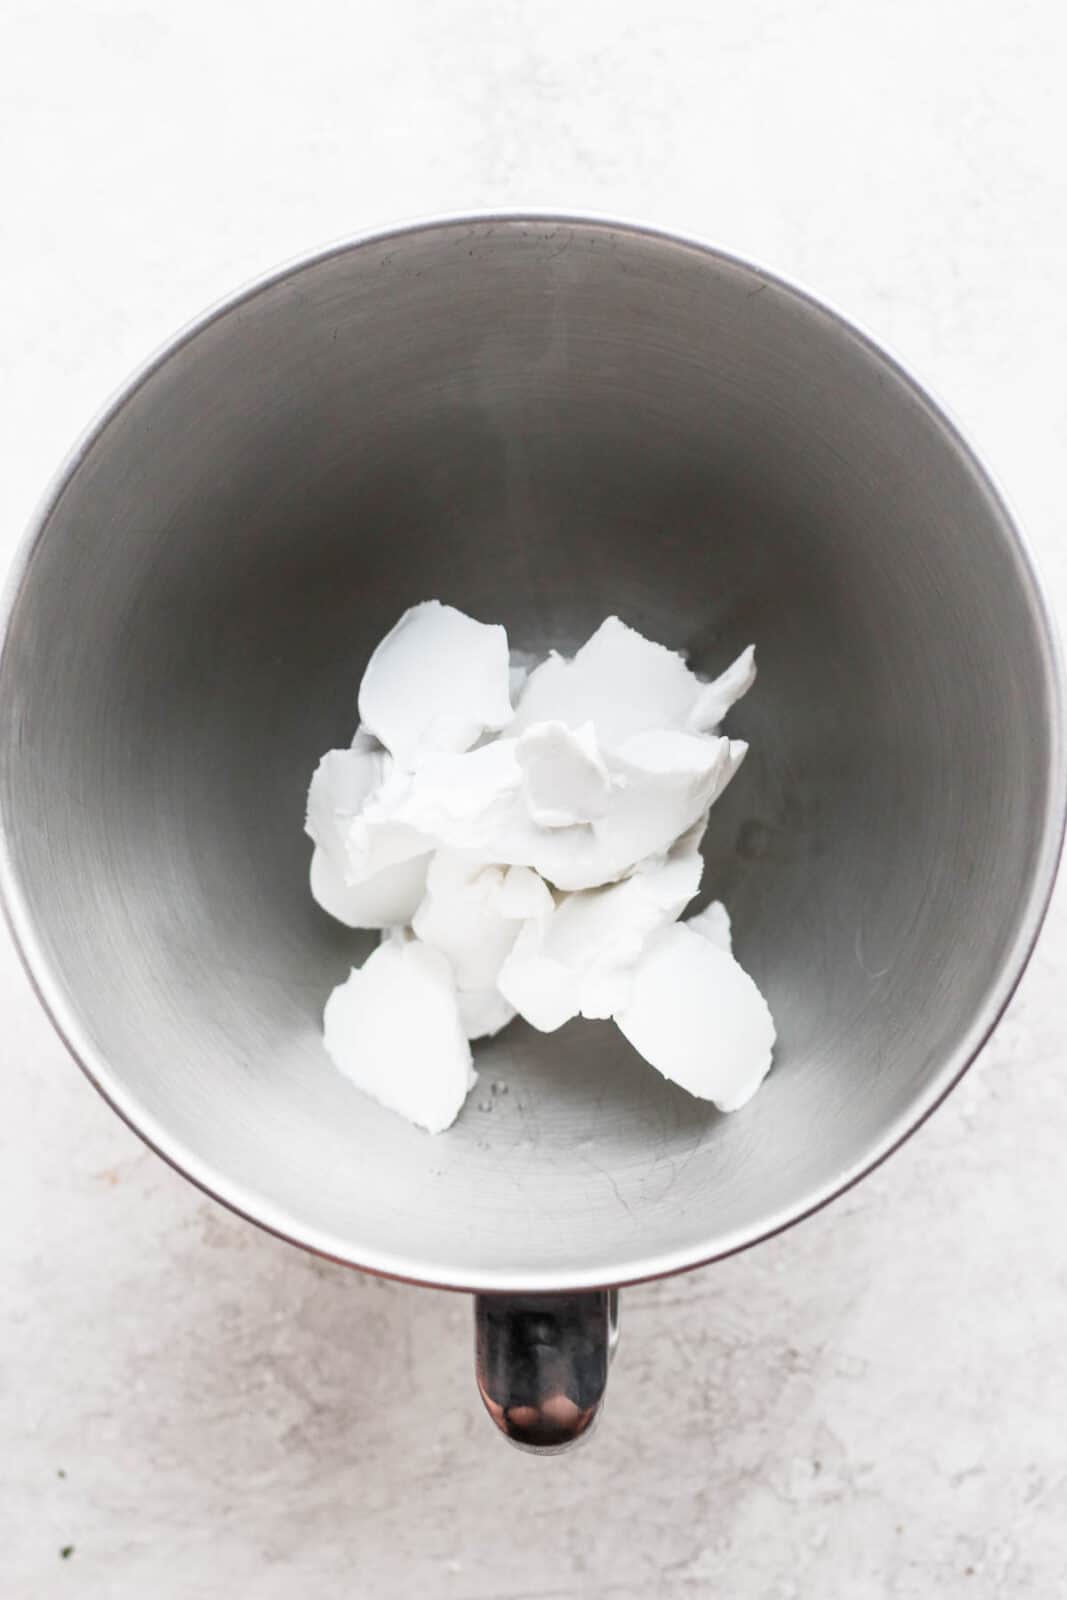
Step three – Whisk with an electric mixer on high for 3-4 minutes.
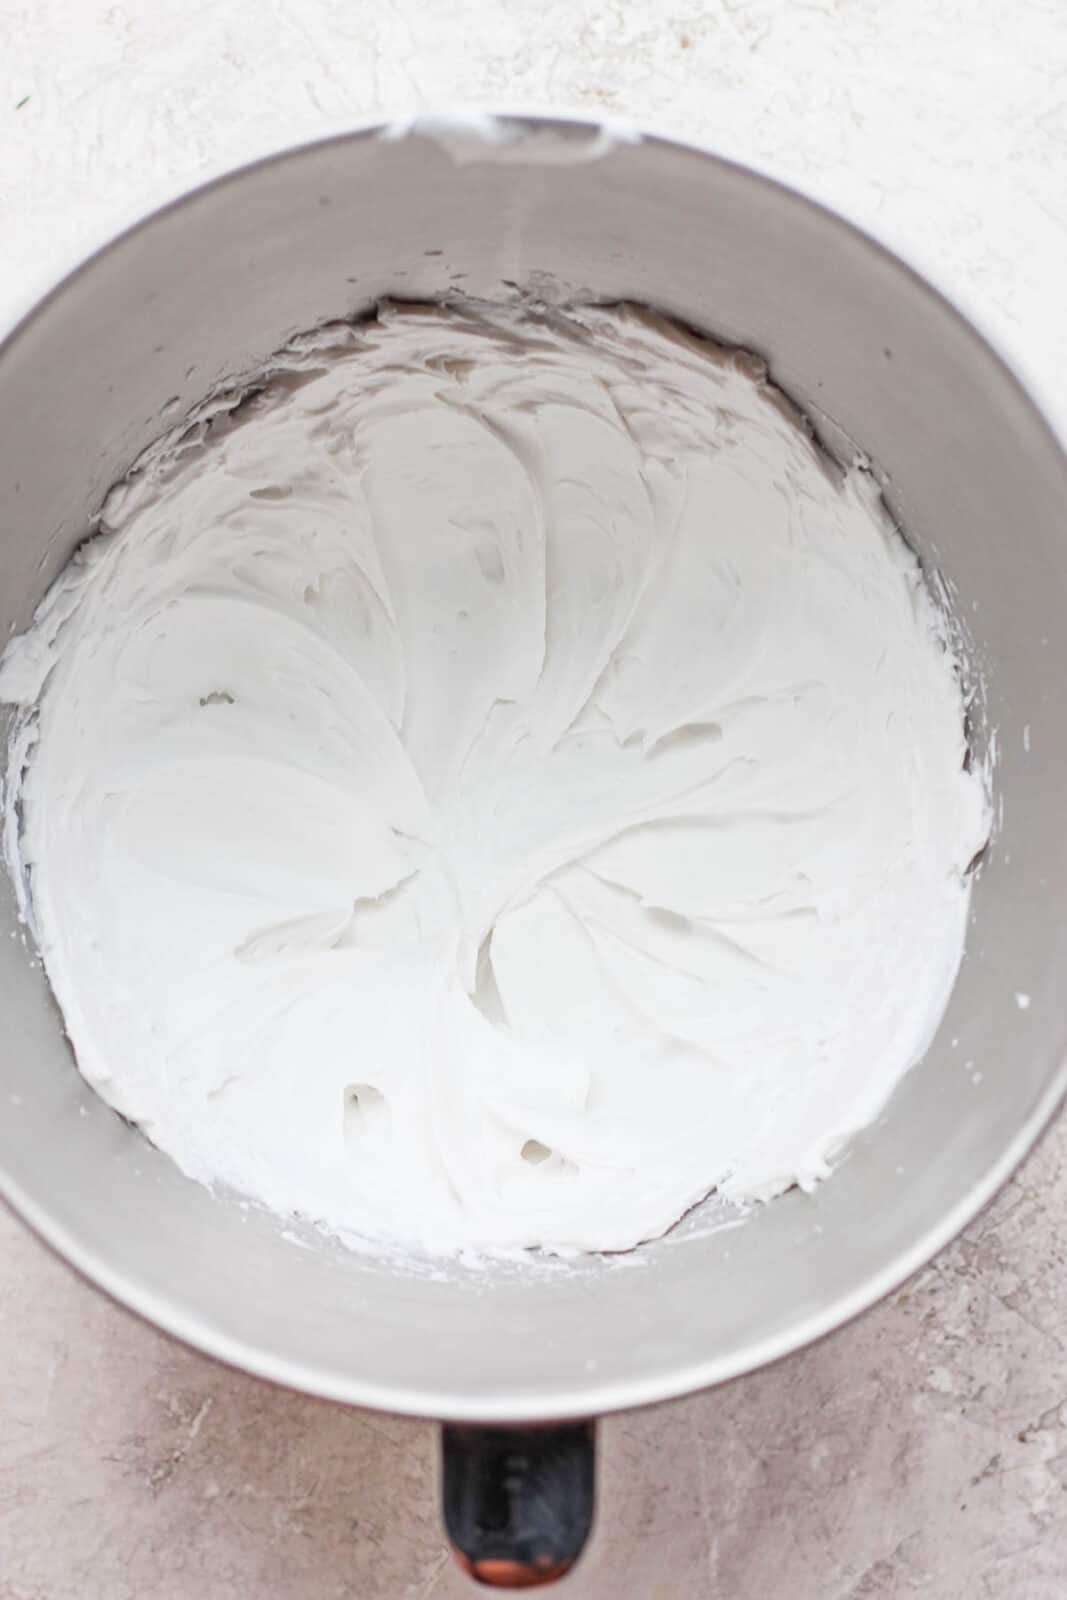
Step four – Add in the coconut sugar, cream of tartar, & vanilla extract (if using). Continue mixing for 1-2 more minutes.

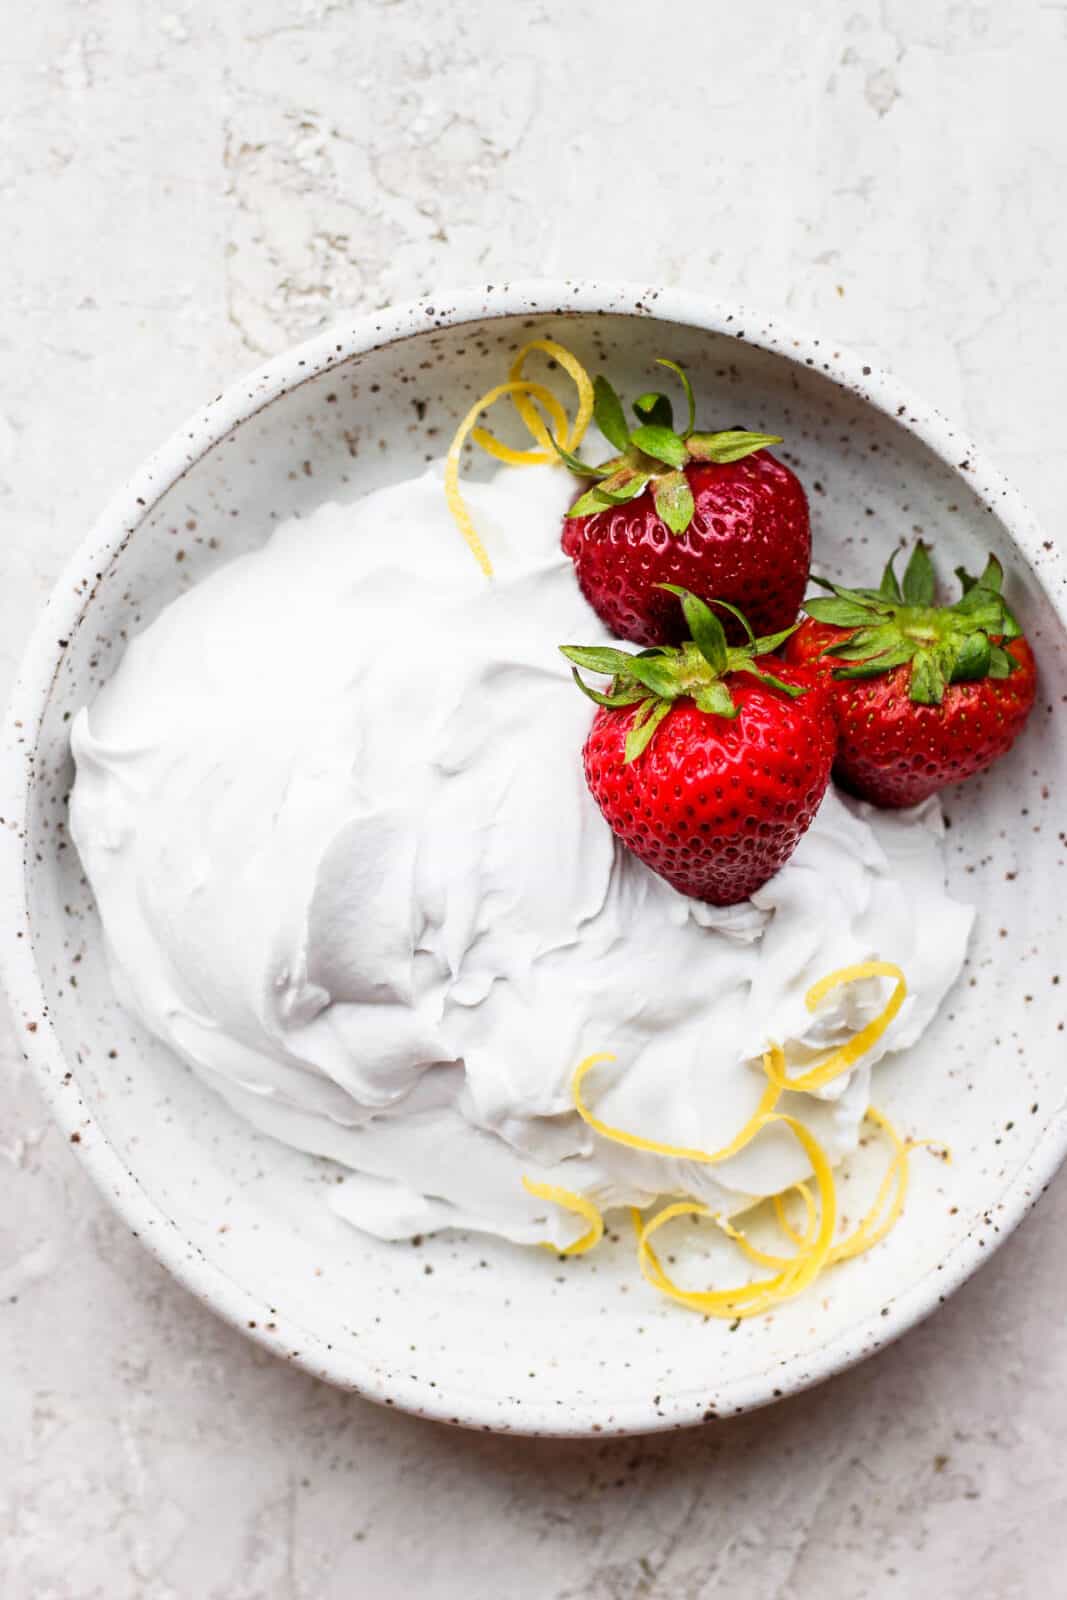
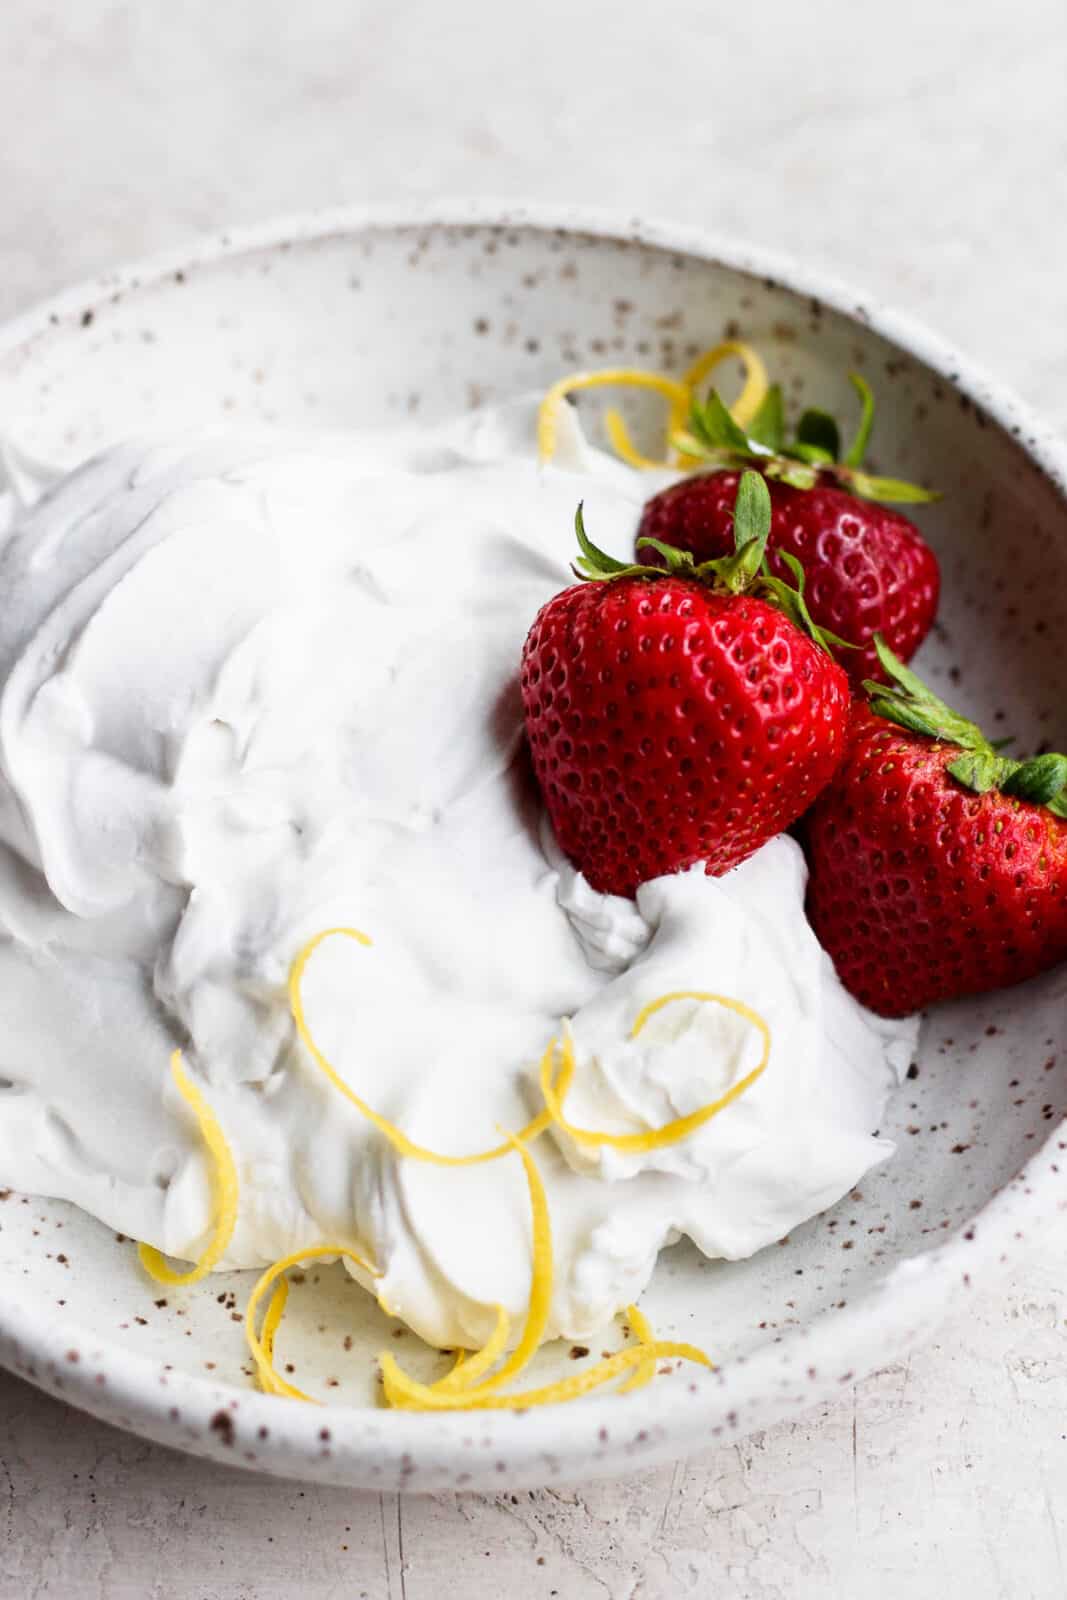
Step five – enjoy any way you want!
Recipe FAQs and Tips
- Coconut Milk: if you are using coconut milk make sure to place it in the fridge the night before using so that the coconut cream separates from the coconut water. We love this one!
- Coconut Cream: if you choose to use coconut cream you can just scoop it right out of the can and we love this one!
- Vanilla extract: this ingredient is optional. It just adds a bit more flavor so it is totally personal preference to use it or not.
- How to store it: you can keep it in the fridge for 3-4 days or in the freezer up to 1 month.
- How to serve it: this is the perfect addition to fresh strawberries or any dessert like shortcake, pies, pudding, etc. It is also a fun topping for fruit smoothies!
Other Recipes You Might Like
Vegan Ricotta (Dairy Free)
Dairy Free Sour Cream
Pumpkin Pudding
No Bake Raspberry Pie
Made this recipe and loved it?! We would love it if you would take a minute and leave a star rating and review – it is also helpful if you made any substitutions or changes to the recipe to share that as well. THANK YOU!
Don’t forget to check out my Instagram account for some behind-the-scenes action! Or give me a follow on Facebook or see what I am pinning on Pinterest!

Dairy Free Whipped Cream
- Prep Time: 10 minutes
- Cook Time: 0 minutes
- Total Time: 10 minutes
- Yield: 3 cups 1x
- Category: Dessert
- Method: Mixer
- Cuisine: American
Description
Dairy Free Whipped Cream – a delicious dairy free alternative to whip cream for all your favorite desserts and smoothies!
Ingredients
- 2 cans full fat coconut milk (or 1 can coconut cream)*
- 2 tablespoons coconut sugar (or organic cane sugar)
- 1/8 teaspoon cream of tartar
- (optional) 1 teaspoon vanilla extract
Instructions
- If you are using canned coconut milk it is recommended that you place it in the refrigerator overnight to help ensure the coconut cream has separated from the coconut water. If you are using a can of coconut cream you do not need to worry about this.
- Place your mixing bowl in the freezer for 15-30 minutes.
- Remove your mixing bowl from the freezer and add the coconut cream.
- Using a whisk attachment, whip the coconut cream on high for 2-3 minutes or until it starts to become a little fluffy.
- Add in the coconut sugar, cream of tartar and vanilla extract (if using). Continue to whip for another 1-2 minutes.
- Taste and add additional sugar, as desired.
- Serve immediately.
Notes
- Canned Coconut Milk: When you put a can of coconut milk in the refrigerator (or it is kept in a colder climate) the coconut cream and the coconut water separate in the can. We are only using the coconut cream for this recipe so it is important that if you are using canned coconut milk (as opposed to just buying a can of coconut cream) that they have separated. It is recommended to put your canned coconut milk in the refrigerator overnight before making this recipe to ensure they have separated. Once you open your can of coconut milk, simply scoop out the cream until you get to the liquid (the coconut water) and then stop.
- Coconut Flavor: while there is a slight coconut flavor, the sugar and vanilla seem to over-power it a bit. Plus, once you serve it with a fun dessert the flavor will get over-powered even more.




Leave a Rating & Comment