
Follow these simple step-by-step instructions to learn How to Make Crispy Rice (in the oven or in the air fryer)! Made with 5 simple ingredients in a matter of minutes. Perfect for using in a crispy rice salad or poke bowl for dinner tonight!
The Best Crispy Rice Recipe
Rice is a key component in so many of our favorite recipes, so we decided to create a fun spin on this classic side dish! We tossed it with delicious flavors and cooked it in the oven until perfectly golden and crispy. Use freshly made or leftover rice (cold, dry, day-old rice works best) to make this easy sheet pan crispy rice recipe — plus we’ve included air fryer instructions, too!
Have You Ever Made Sushi Rice?
If you love sushi as much as we do, you definitely need to learn how to make sushi rice or Instant Pot Sushi Rice right in the comfort of your own home!
Key Ingredients + Substitutions
Be sure to see the recipe card below for a full listing of ingredients, instructions, and estimated nutritional information.
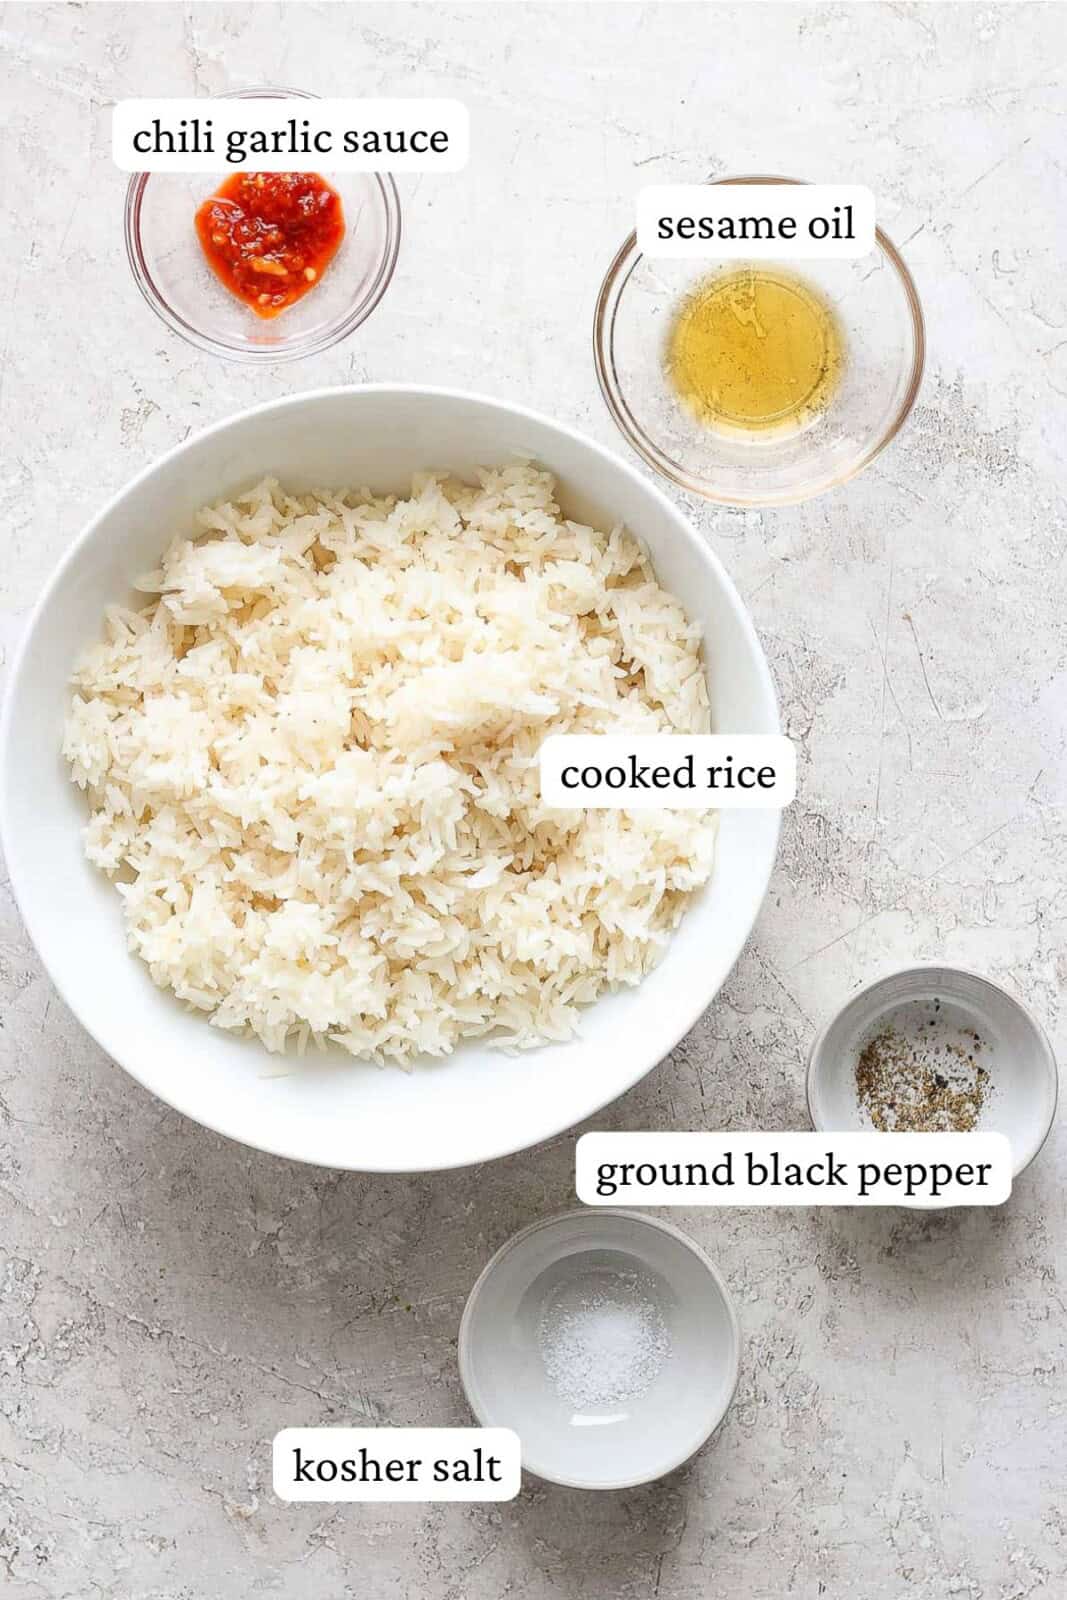
- cooked and cooled rice – we used basmati rice, but feel free to use your favorite white rice from your local grocery store (long grain white rice, jasmine, etc). Just ensure that it is cooked, cooled and mostly dry (this will help ensure that it gets nice and crispy. Day old rice is preferable!
- sesame oil – love this neutral oil to bring so much flavor and make this crispy rice a nice, golden brown!
- chili garlic sauce – a great addition, but feel free to adjust the amount according to your personal preference for spiciness. If you don’t have chili garlic sauce you can sub in Sriracha. Feel free to omit if you don’t want any spice.
- salt and pepper – simple seasonings that are always a must!
How To Make Crispy Rice
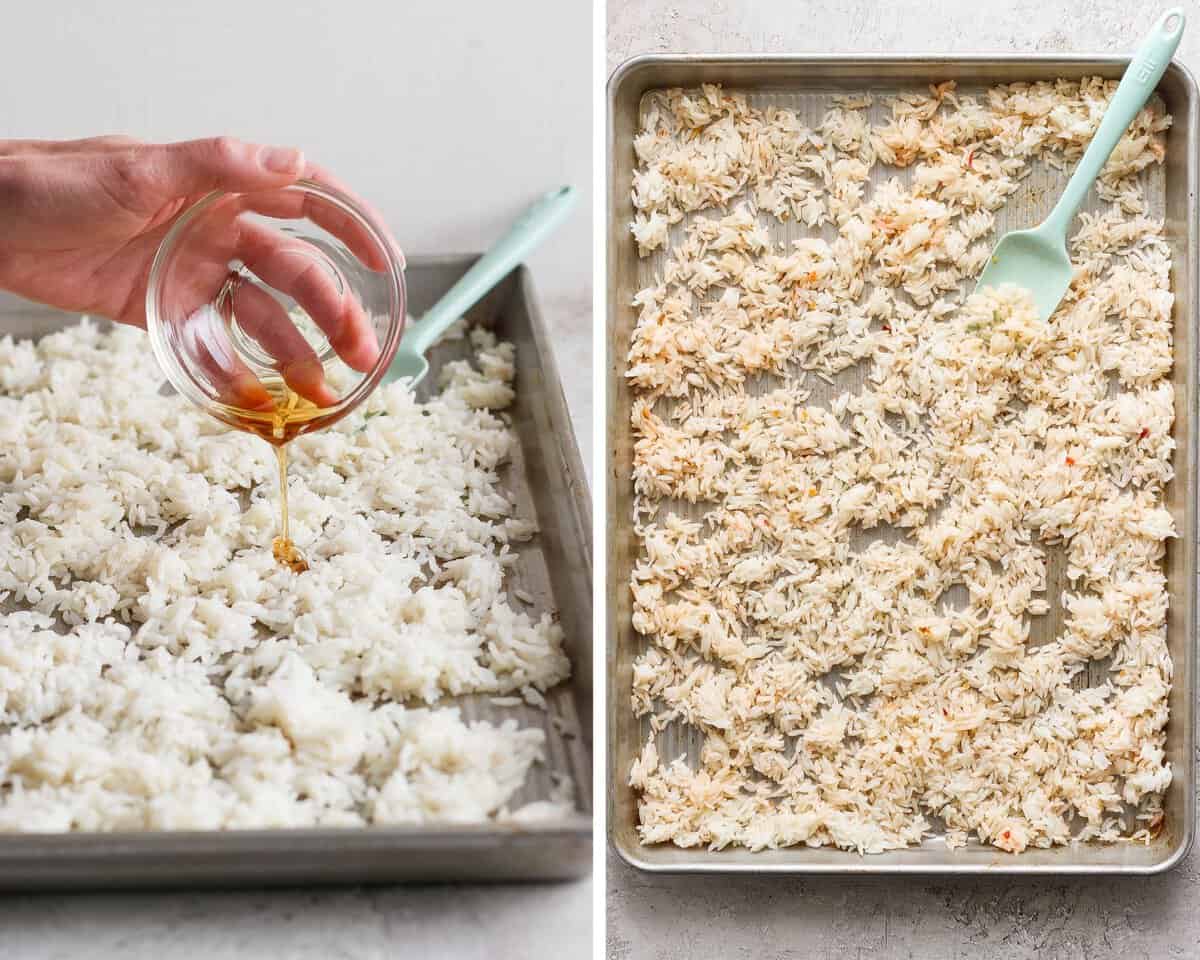
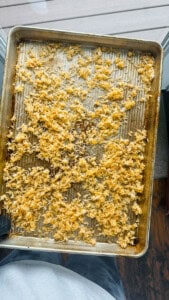
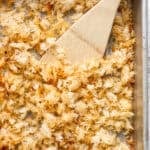
Step 1: Place the plain rice on a sheet pan (don’t line with foil or parchment as that will reduce the crispiness) and add a little sesame oil and the other ingredients on top. Give it all a big toss and spread in a thin layer on the bottom of the pan, trying to flatten as much as possible.
Step 2: Bake for 15 minutes without stirring. Toss the rice to help it crisp evenly, then continue baking in 5–7 minute increments until it reaches your desired crispness. If the rice still isn’t getting crispy enough, broil for 1 minute on the second rack from the top — watch closely, as it can burn quickly.
Testing Insights: Cooking Tips
We have tested this recipe multiple times and here are our top tips:
- Cooled + Dry + Day Old Rice: this provides the best result (so you get more crispy and less chewy rice).
- No Foil or Parchment: cooking directly on the baking sheet is what helps make the rice crispy.
- Thin Layer: spreading the rice into a thin, even layer made the biggest difference in getting it crispy.
- Don’t Over-Toss: Toss occasionally for even cooking, but not too often or the rice won’t crisp properly.
- Variables + Personal Preference: A lot of factors affect cook time (rice dryness, oven variability, etc.), so after 15–20 minutes, watch closely and remove the rice once it reaches your desired crispness.
Crispy Rice Cooking Timeline
Keep in mind that cook time can vary based on your oven, pan size, rice type, and how dry the rice is to start. Use this timeline as a visual and texture guide.
- 15 Minutes → Rice is drying out but still chewy and tacky in spots.
- 20–25 Minutes → Crispy edges begin forming and the rice starts turning golden. Toss well for even cooking.
- 30 Minutes → Rice is noticeably firmer with crispier clusters throughout.
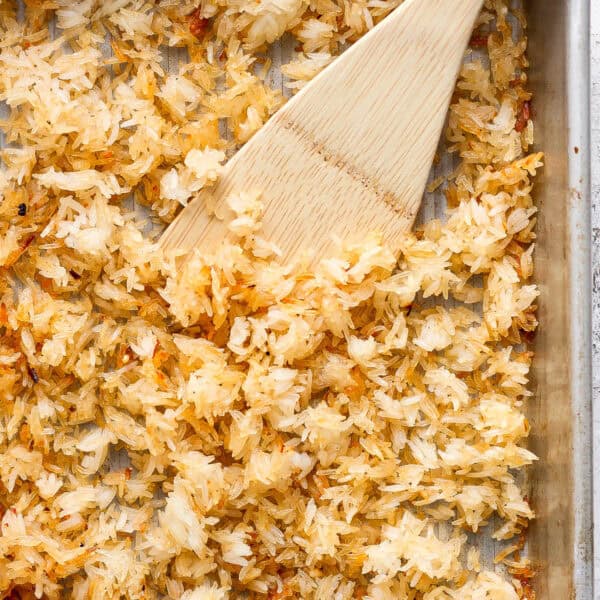
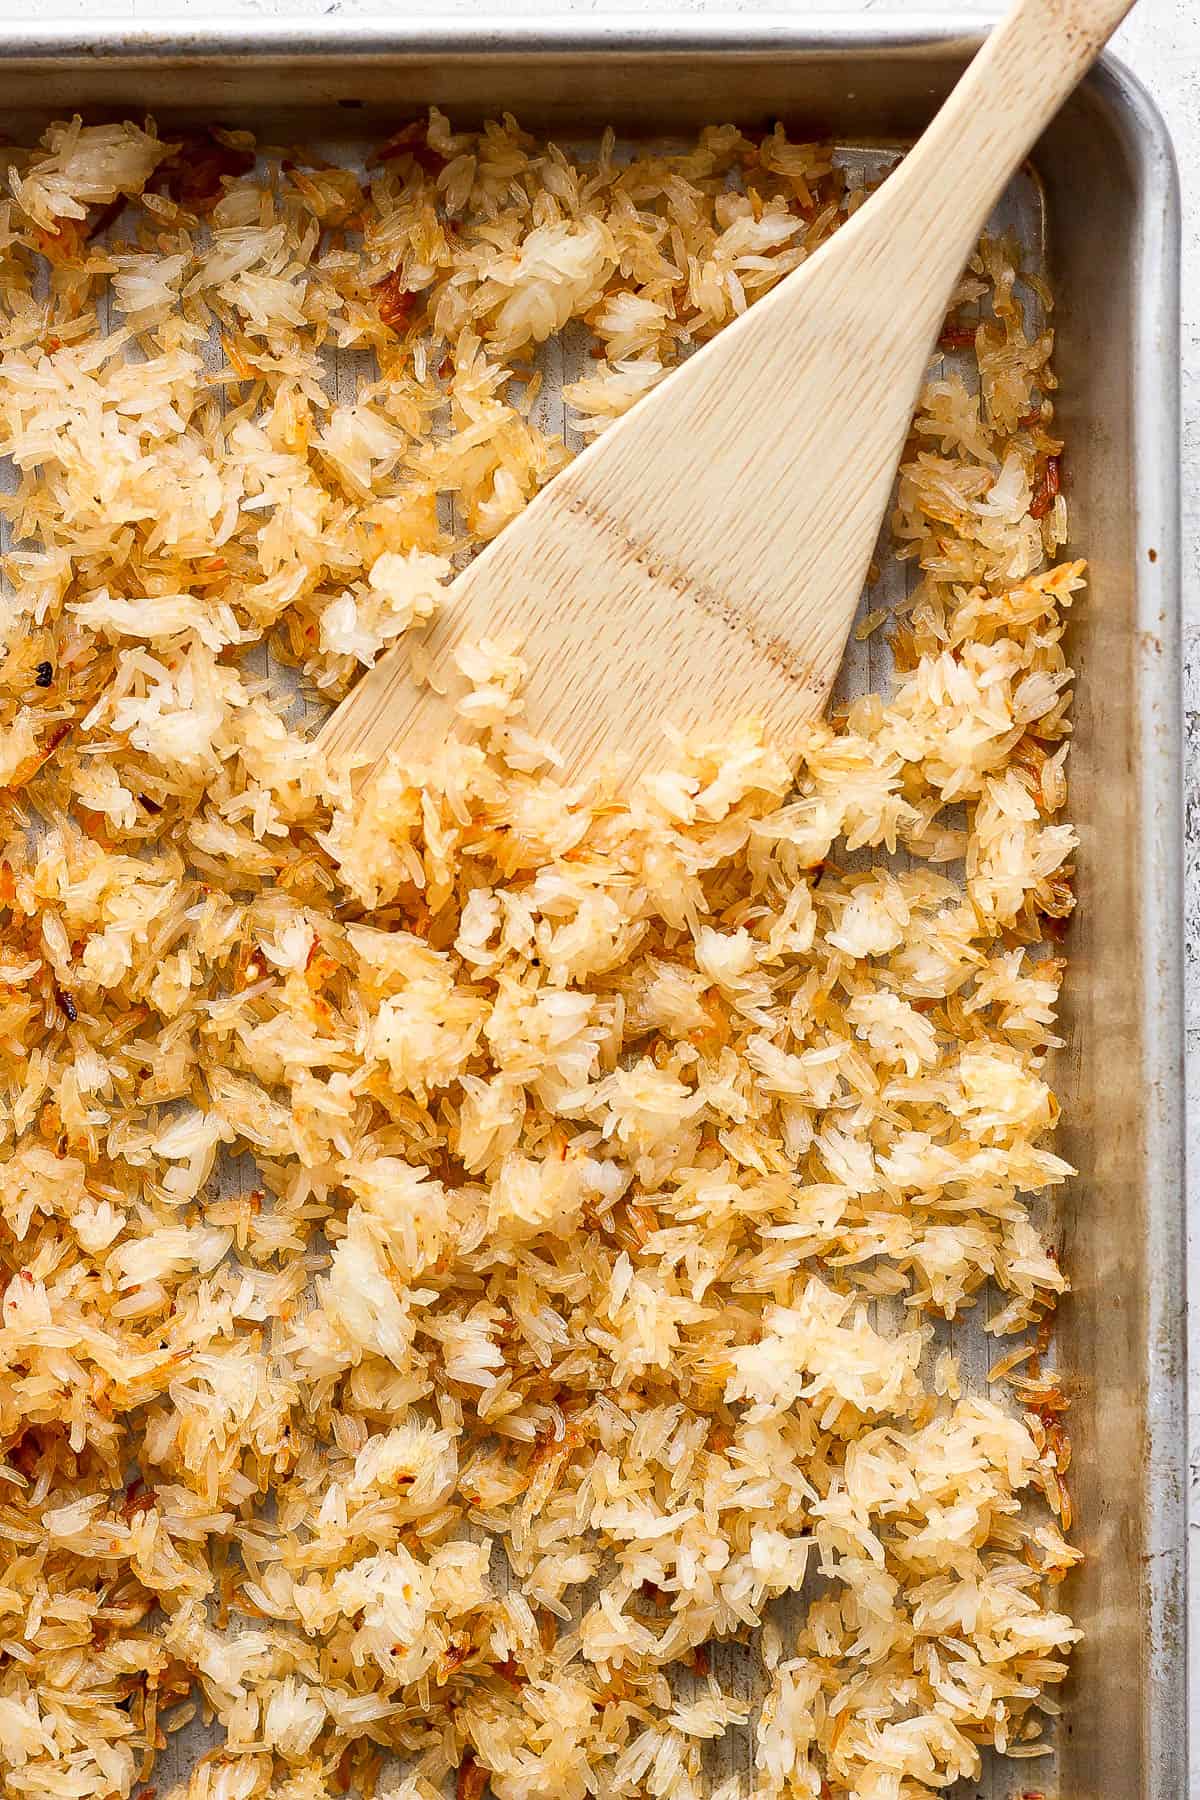
- 35–40 Minutes → Rice is golden brown with crunchy edges and chewy centers. Broil briefly for extra crispness if desired.
Air Fryer Crispy Rice
We tested how to make crispy rice in the air fryer and it turned out SO GOOD!
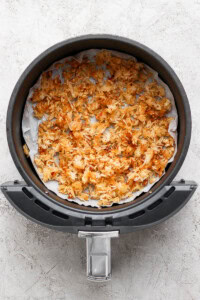
- Mix: Mix ingredients together and then pour into a parchment-lined air fryer basket.
- Initial Cook: Air fry at 400°F for 10 minutes, then toss — moving crispier edges inward for even cooking while keeping larger chunks intact.
- Watch Closely: Continue cooking in 1–2 minute increments, tossing as needed, until the rice reaches your desired crispness.
- Air Fryers Vary: our rice was mostly crisp, with some soft pieces, after 14 minutes total cook time.
- Half Recipe to Fit: I cut the recipe in half so I could make a thinner layer of rice – I have a regular/standard-sized air fryer.
Best Ways To Serve Crispy Rice
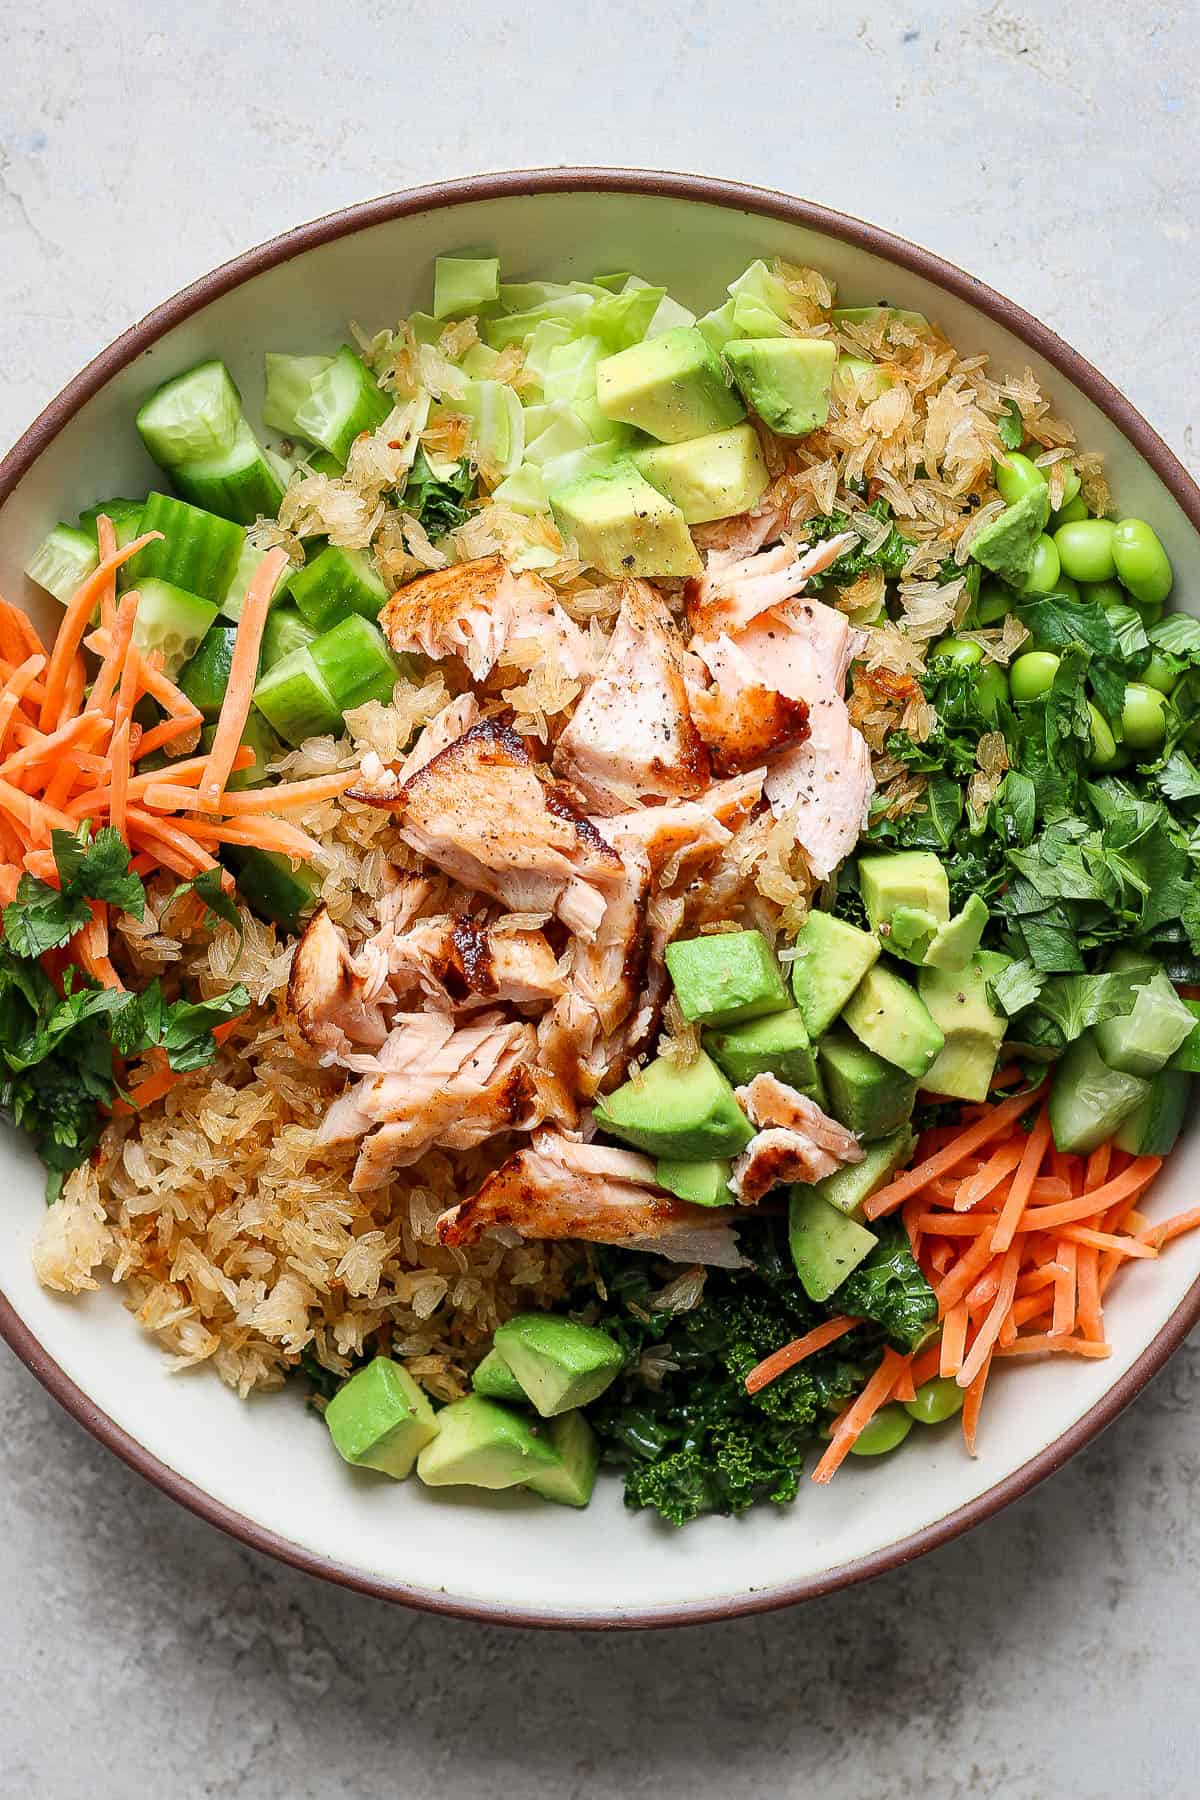
- Crispy Rice Salad: Our all-time favorite way to enjoy this easy crispy rice is to make a Crispy Rice Salad!
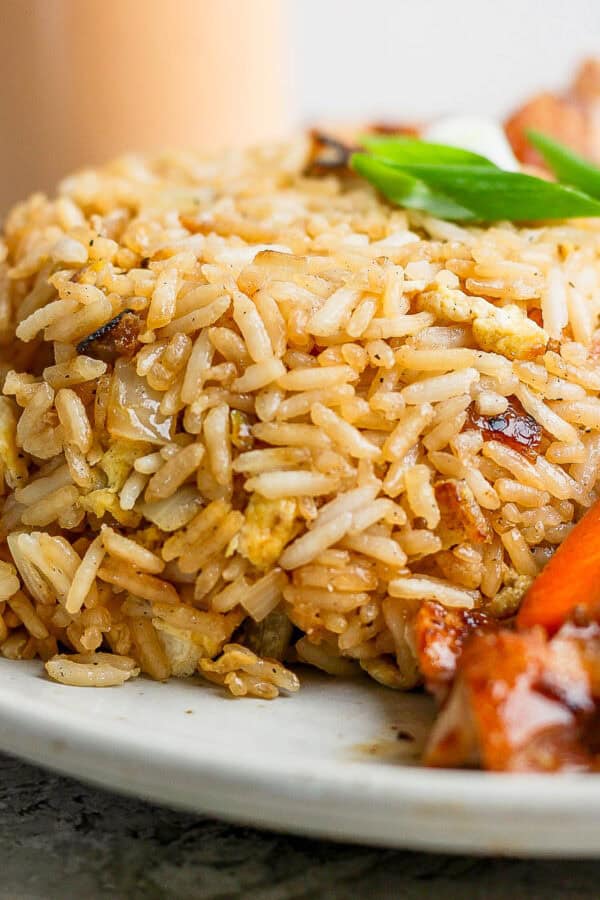
- Side Dish: You can also keep it simple as a side dish with soy sauce, chopped green onion, a fried egg, roasted broccolini and/or sesame seeds.
- Poke Bowl: Feel free to toss it all in a large bowl and add some spicy tuna to the mix for some added protein (kind of a tuna poke bowl, but with crispy rice).
- Rice Bowl Upgrade: Or feel free to sub it into any of our many rice bowl recipes in place of regular rice (it would be especially good in this teriyaki chicken rice bowl, this bang bang chicken bowl, this bang bang salmon bowl or this simple avocado shrimp rice bowl).
Other Rice Recipes You Might Like
Made this recipe and loved it?!
We would love it if you would take a minute and leave a star rating and review – it is also helpful if you made any substitutions or changes to the recipe to share that as well. THANK YOU!
Follow Us on Social
Video
Ingredients
- 4 cups cooked basmati rice*, cooled and dry (preferably day old)
- 1 tablespoon sesame oil
- 2 teaspoons chili garlic sauce, does add some spice, option to omit or reduce to 1 teaspoon
- 1/4 teaspoon kosher salt
- 1/8 teaspoon ground black pepper
Instructions
- Prep: Preheat oven to 425 degrees F.
- Mix: Place the cooked rice on a large, rimmed baking sheet (do not line with foil or parchment) and add the rest of the ingredients on top. Toss to fully combine. Spread out evenly on the pan (as thin of layer as possible).
- Bake: Move the sheet pan to the oven, middle rack, and cook for 15 minutes and then check and toss (so any rice that wasn't on top getting crispy can be moved around). Keep cooking and tossing in 5-7 minute increments until it reaches your desired crispness – for us this took around 30-40 minutes total (See Notes on Cook Time**).
- OPTIONAL Quick Broil: if you feel your rice just isn't getting that crispiness you are looking for – pop under the broiler (second level from the top so there is a little room) and broil for approx. 1 minute (we also tested 2 minutes and it burned so be cautious and watch it carefully – 1 minute was fine – my oven is at 500 degrees F. on it's high broil setting which is what we used).
- Cool + Serve: Let cool for a few minutes (rice will crisp up more as it cools) and enjoy any way you want – we love using it in our Crispy Rice Salad!
Notes
- *Rice: Two things: 1) for best results use day-old rice, that being said, we also tested this with just cooked and then cooled rice and … it still turned out pretty dan good. 2) I also tested this using 2 bags of the quick microwaveable rice and it also turned out – if you are in a pinch – you might just end up with slightly more chewy rice. We used basmati rice every time we tested so that is our recommendation, but feel free to switch it up to long grain white rice, jasmine, etc.
- **Cook Time Varies For This One: for this recipe there are quite a few variables (older rice vs. new rice, how cool your rice is, how hot your oven runs, etc) so after about 20 minutes start checking frequently to determine when you rice is “done” per your personal preference and given the variables you are working with! Use our cook time as a guideline and keep an eye on the rice because cook time may vary.
- Air Fryer Method: Mix ingredients together and then pour out into parchment-lined air fryer. Cook at 400 degrees for 10 minutes and then toss, trying to bring the outside bits (which will be crispier) inward and the inside bits outward so it can all crisp evenly (I try not to break up bigger chunks). Continue cooking in 1-2 minutes (tossing as-needed) until you have reached your desired consistency. Air fryers vary – ours was mostly crisp, with some soft pieces, after 14 minutes. Note: I cut the recipe in half so I could make a thinner layer of rice – I have a regular/standard-sized air fryer.
- Chili Garlic Sauce: here is the chili garlic sauce we used (affiliate link). It does add some spice so feel free to just add 1 teaspoon or omit completely.
- Soy Sauce: especially if you omit the chili garlic sauce – feel free to add about 2 teaspoons of soy sauce to add a touch of flavor!
- Storage: leftover crispy rice can be kept in an airtight container on the counter for up to 2 days and then needs to be used – it can be stored in an airtight container in the fridge, but it will most likely lose some of that crispiness.
- Reheat: Feel free to reheat gently in a skillet to warm it back up.
- Serving: feel free to use just as a fun side dish, in this salmon crispy rice salad or use it any of our many rice bowl recipes we have on the site and swap out regular rice (like our bang bang shrimp rice bowl or our baked salmon sushi bowl).
Nutrition


kamoonsky says
Made rice last night and for some reason, it came out mushy. Decided to (finally) try crispy rice. WOW! So easy and tasty! Made in small batches in my toaster-oven-style-air-fryer. Fabulous recipe – will be making this a lot.
I usually make fried rice with left-over rice, but this will be my new go-to! ♥
Brad Derksen says
I’m just about to try this recipe and I’m a little confused about the comment to move the sheet pan one level “below” the heat source. The recipe didn’t mention cooking the rice on a broil setting so I’m wondering it this was supposed to mean one level above the heat source. Please confirm. I’m going to assume it’s the one level above the heat source and I’ll let you know how it goes.
Thank you,
Brad
Erin Jensen says
Hi Brad – so yes, while we didn’t have our oven set to “broil” we still placed out oven grate one level below the top so it was closer to the heat source, but not at that very top level. Hope that helps!
Thomas H. says
Easy to follow and turns plain rice into something you actually get excited about. Great texture.
Liz says
Rice hack unlocked! What a fun way to add texture and flavor to any standard rice dish. Love this idea!
Bridget says
Amazing! Thank you!
Erin says
Turned out so good! Thank you!