

Our easy Gluten Free Pie Crust has a rich buttery flavor and perfect flaky texture! Made with real, simple ingredients. Use right away or save this one for later – perfect for your favorite fruit pies, holiday pies, galettes, homemade chicken pot pie and/or tarts!

The Best Gluten Free Pie Crust
We are incredibly excited to share this gluten free pie crust recipe with you all! After being tested and tested and tested – and this is the final product! We are such big fans of Bob’s Red Mill 1-to-1 Gluten Free Baking Flour and it really worked like a charm here. No matter if you are making a classic peach, raspberry, and blueberry pie, a gluten-free pumpkin pie for the holidays, or need a crust for making a classic turkey pot pie recipe. This is an easy way to enjoy these delicious pastries, while still being gluten-free. Let’s get baking!
Looking for More Gluten Free Recipes?
If you love gluten-free baking as much as we do, you definitely need to try our Gluten Free Strawberry Shortcake!
What You Will Need
- gluten free baking flour – this is the gluten-free flour that we use and love!
- kosher salt – make sure it is kosher salt and not regular table salt.
- baking powder – always good for providing a bit of structure when baking.
- xanthan gum – a must when gluten-free baking to act as the emulsifier and binding agent.
- plant-based butter – you can also use regular butter, if you aren’t concerned about it being dairy-free.
- egg whites – this also gives some structure to the crust and makes the dough more pliable and easier to roll out.
- unsweetened almond milk – provides a bit of moisture and can also be substituted with regular milk.
Why Should You Add Egg To Pie Crust
Here is a great article by The Kitchn called the Anatomy of a Pie Crust that will answer this and many other questions! (Quick answer – it makes the dough more pliable and easier to roll out).
How To Make A Gluten-Free Pie Crust
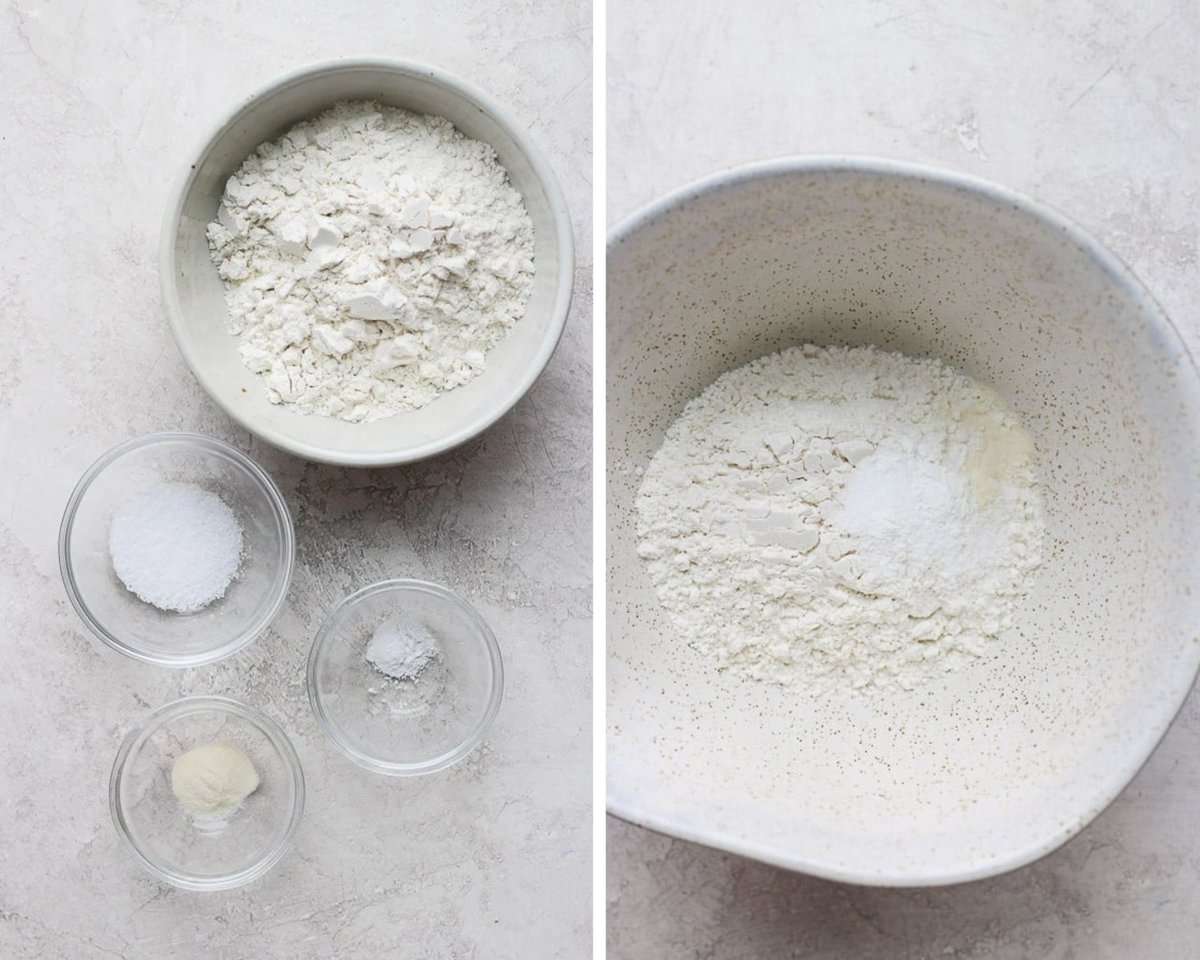
The first steps to making this easy recipe are to gather the basic ingredients. Now add the flour, salt, baking powder, and xanthan gum to a mixing bowl. Stir to combine with a large wooden spoon.
Next, grab some butter of choice and make sure it is nice and soft, room temperature. Add the softened butter to the flour mixture.
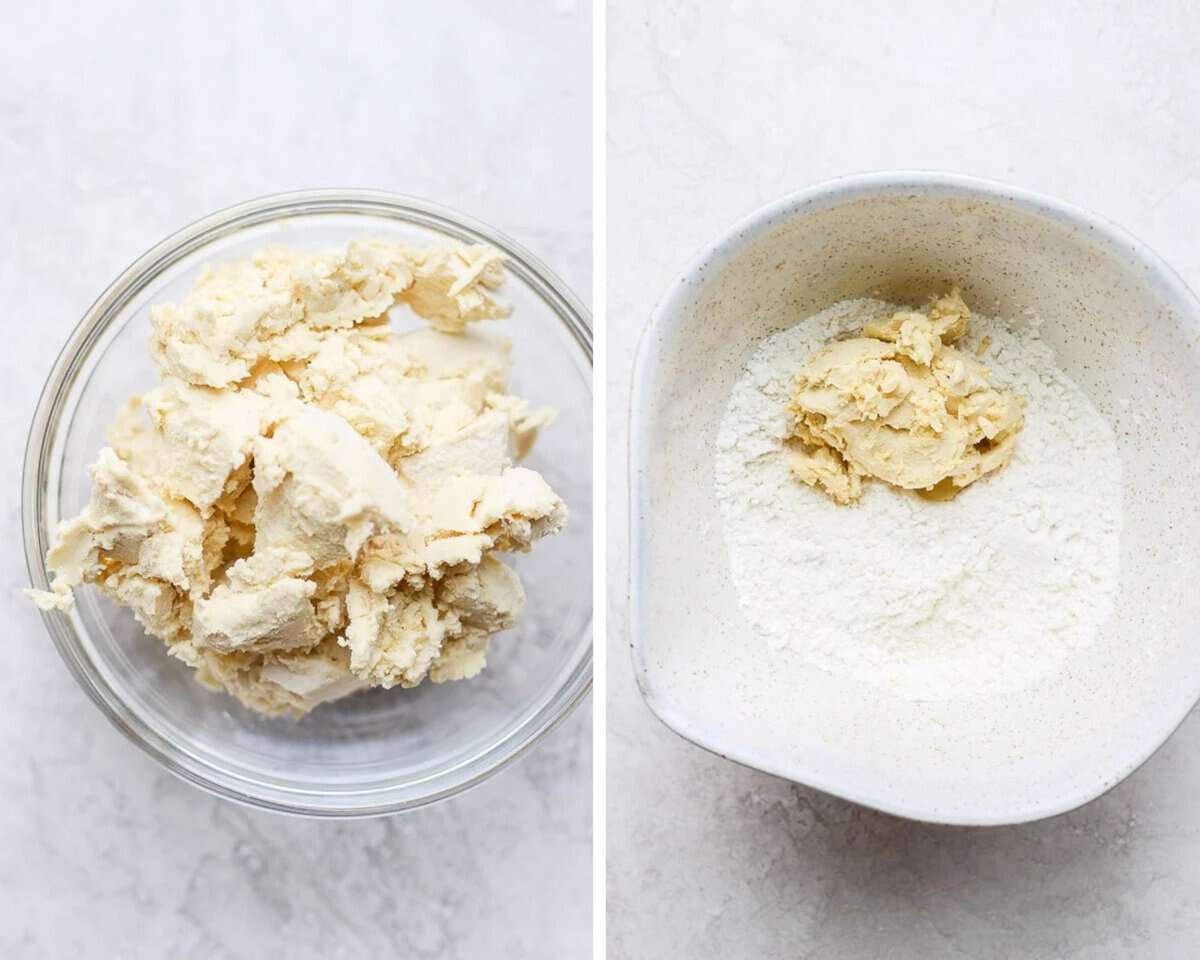
Then use a pastry cutter or fork to cut it into the flour mixture. Place the egg whites and almond milk in a separate, small bowl and whisk for 30 seconds.

Slowly combine the wet ingredients with the dry ingredients, mixing as you go. When they are fully mixed together the dough mixture will be sticky and wet, but use your hands to form it into a ball. If the dough still seems extra wet, add additional flour 1 tablespoon at a time. Place the ball in between two sheets of wax paper and roll out to your desired size. We recommend rolling out the dough to be approximately 1/4 inch thick.
Pro Tip
If you are choosing to store the dough for later, this is when you would wrap it in plastic wrap and store it in the fridge or freezer.

Finally, peel off the top layer of wax paper and then carefully flip over onto your pie plate making sure the pie plate is centered. Then peel off the remaining wax paper.
Gently help the dough fall down, pressing as needed, to mold the dough into the pie plate. Crimp the rim with your fingers so the edges are all even.

Best Ways To Use A Gluten Free Pie Crust
Now that you have your pie crust formed it is time to decide if you need to bake it by itself or as part of a recipe. Here is the process for each option:
- baking by itself: Poke holes in the bottom of the crust with a fork and line with a piece of parchment paper. Place dried beans or pie weights in the center and bake at 400 degrees for 15 minutes. Remove parchment and bake for an additional 5 minutes.
- pie recipe: once you have the crust in the pie plate you just use it in your regular pie recipe as instructed.
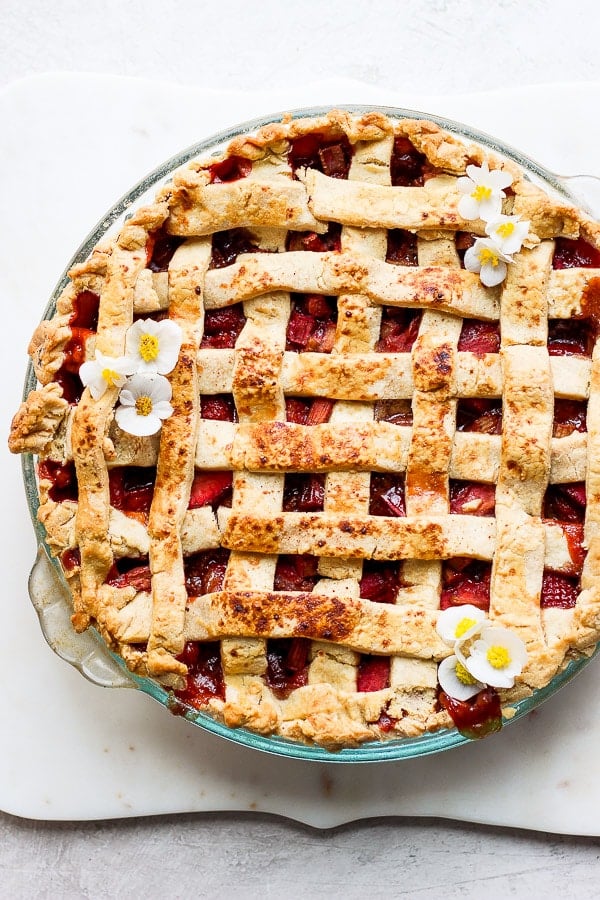
Highly recommend using this homemade gluten-free pie crust to make our Homemade Strawberry Rhubarb Pie!
Recipe FAQs
Absolutely! You can simply wrap the dough in plastic wrap and place in the refrigerator for up to 2 days or in the freezer for up to 3 months. Which means that you can always have a pie crust on hand for your holiday pies, a fresh summer pie, or a quick dinner recipe.
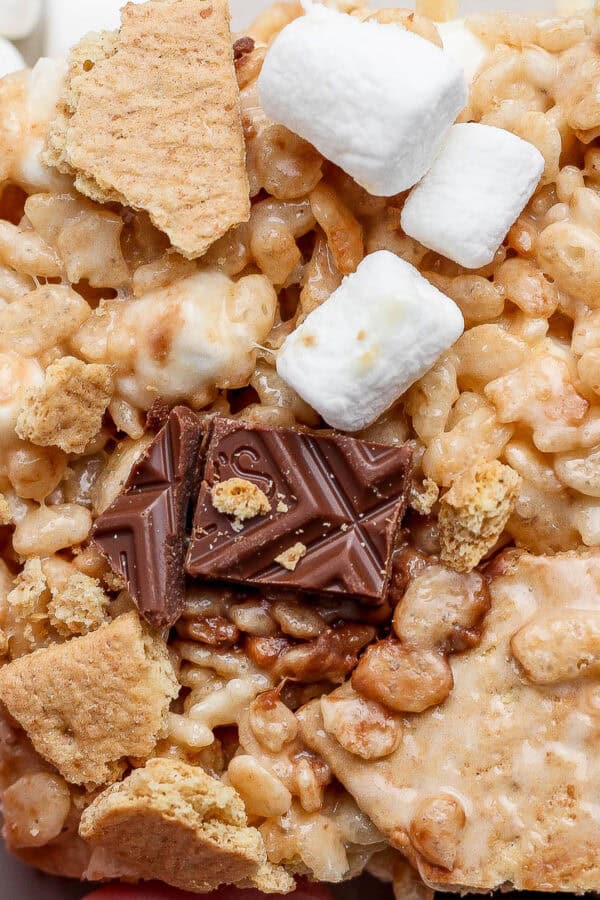
Other Dessert Recipes You Might Like
Made this recipe and loved it?!
We would love it if you would take a minute and leave a star rating and review – it is also helpful if you made any substitutions or changes to the recipe to share that as well. THANK YOU!
Follow Us on Social
Ingredients
- 1 cup 1-to-1 gluten free baking flour
- 1 teaspoon kosher salt
- ¼ teaspoon baking powder
- ¼ teaspoon xanthan gum
- ½ cup plant-based butter, sub regular butter
- ¼ cup egg whites
- ½ tablespoon unsweetened almond milk
Instructions
- Prep: Preheat oven to 400℉.
- Dry Ingredients: Add 1 cup 1-to-1 gluten free baking flour, 1 teaspoon kosher salt, ¼ teaspoon baking powder and ¼ teaspoon xanthan gum to a large bowl. Stir to combine.
- Cut: Add softened butter and cut into the flour mixture with a fork or pastry cutter.
- Wet Ingredients: Add ¼ cup egg whites and ½ tablespoon unsweetened almond milk to a separate small bowl. Whisk for 30 seconds.
- Combine: Slowly pour egg white mixture into flour mixture, mixing as you go. Mixture will be sticky and wet, but use your hands to form it into a ball and it should calm down. If pie dough still seems extra wet, add additional flour 1 tablespoon at a time.
- Roll Out: Place the dough ball in between two sheets of wax paper and use a rolling pin to roll out to desired size. For pie crust, roll out until dough is approximately ¼ inch thick.
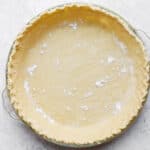
- Peel: Peel off the top layer of wax paper and carefully flip over onto a 10 inch pie plate making sure the pie plate is centered. Peel off the remaining wax paper.
- Form to Pan: Gently help the dough fall down, pressing as needed, to mold the dough into the pie pan. Crimp the rim of the crust with your fingers so the edges are all even.
- Baking (Option 1): Poke holes in the bottom of the crust with a fork. Place a piece of parchment paper in the crust. Place dried beans or pie weights in the center and bake at 400℉ for 15 minutes. Remove parchment and bake for an additional 5 minutes.
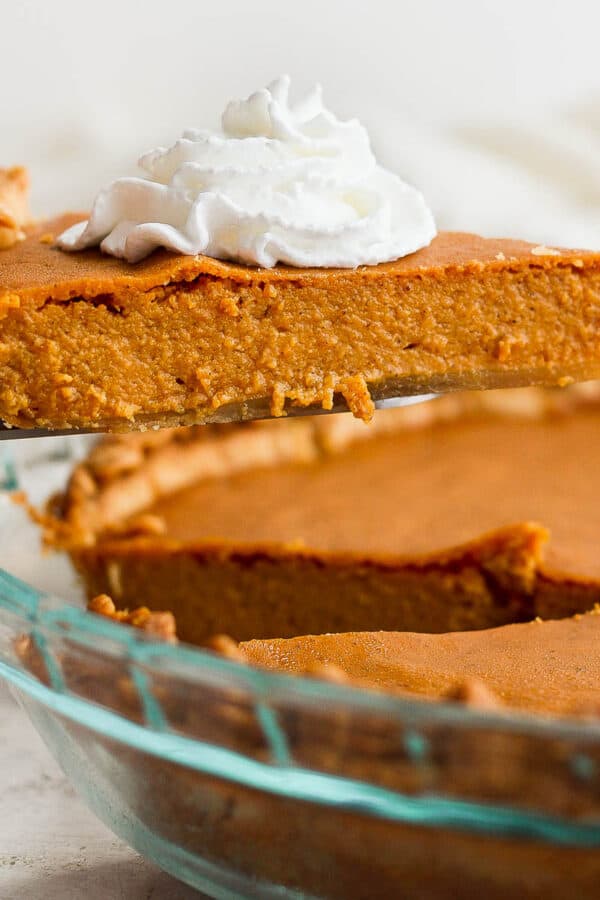
- Pie Recipe (Option 2): Use in your regular pie recipe – we love our dairy-free pumpkin pie.
Notes
- Flour Substitution: we used Bob’s Red Mill 1-to-1 Gluten Free Baking Flour in testing this recipe (extensively), we did not test with other gluten free flours.
- Wet Dough: Yes, the dough is more on the wet side (on purpose) through testing it seems to crumble less and be more pliable when it’s more moist. If you get a patch of wet dough simply add a teaspoon of flour to the area and rub in.


Cristy says
Will this recipe work with an egg replacer?
Erin says
Hi Cristy – I haven’t tested this recipe with an egg replacer before – let me know if you try it!
Erin says
Hi I was wondering if you need to melt the butter or use it softened? I was planning on using regular butter.
Erin says
Hi Erin – use softened butter (room temp). Enjoy!
Taylor Raybourne says
Question, do you blind bake if you are using it for a pumpkin pie? or do you pour the filling in with the dough raw, like you would do on a traditional gluten pie crust?
Erin says
Hi Taylor – no need to blind bake this for a pumpkin pie!
Shelley says
This has become my go-to pie crust!
Barbara says
Bob’s red mill already has cant ha gum in it. Do we add more?
Erin says
Hi Barbara – yes, after testing this recipe quite a bit, I found that it turns out best with the added xantham gum!
Rosie says
For a gluten free crust this recipe worked really well! A little too salty so I wouldd cut that back a bit but great otherwise.
Annabelle says
Can you use coconut oil instead of butter?
Erin says
I have only tested this recipe with butter (regular and vegan) – but let me know if you try it!
Jane Saltzman says
I’ve been searching for 11 years for the perfect gluten free pie crust. This is it! I just used it to top a chicken pot pie and it is so good, light, flaky and delish. THANK YOU Erin.
Erin says
That makes me SO happy to hear!! I think I tested this recipe about 50 times to get it right so I am beyond thrilled you love it too! Thanks, Jane!
Mary says
Have you tried any other plant butters in this recipe since posting? I can’t seem to find the califia farms plant butter.
Erin says
Hi Mary! You should be good to use any kind of plant butter!
Gail says
This is the first recipe that I made of yours. It was so very easy and very good. I used another gf flour and it came it great!
Erin says
Hi Gail! So glad you enjoyed it 🙂 And thank you so much for taking the time to come back and leave your feedback – it is greatly appreciated!
Connie says
This is the best gluten free pie crust I’ve tried and will be my go to from now on. I followed the recipe exactly but used King Arthur’s measure for measure flour and regular butter and it came out perfect!!!! Thank you for a great gluten free pie crust!!
Erin says
Yay! I am so, so happy to hear that, Connie! And thank you so much for taking the time to come back and leave your feedback – it is so appreciated! 🙂