An easy step-by-step tutorial on How To Prep Collard Green Wraps! A delicious and healthy way to hold together any of your favorite wrap recipes. Whether it’s a Chicken Bacon Club or Rainbow Wrap with Ginger Tahini Dressing, you can’t go wrong with this crisp green!

Easy Collard Green Wraps
Collard green wraps are easy, delicious and a fun way to make paleo, Whole30 or vegan wraps come to life! I have to admit, I am somewhat new to the collard green wrap game – why? I have no idea! They are seriously delicious and they really help satisfy that “I-need-a-sandwich” craving a person can get when they avoid bread 90% of the time. There are times when I just want to bite into something that resembles a sandwich! This totally does for me – throw whatever you want in there, all the sandwich fixings, and take a big old bite. I am officially a fan and I know you guys will be too! Good thing they are incredibly easy to prep!
What You Will Need
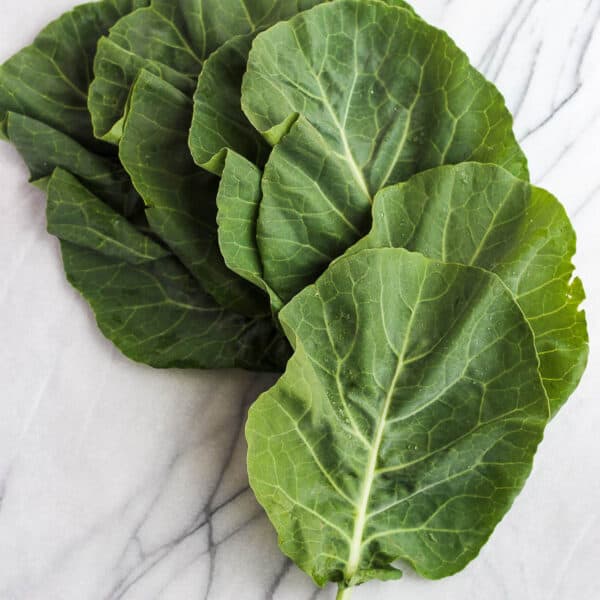
- fresh collard greens – you can find these in the produce section of your local grocery store.
- filling ingredients – you can fill these wraps with any of your favorite wrap or sandwich options – deli meat, avocado, bell peppers, chicken, etc.
- large skillet – this shallow saucepan should be large enough for the collard green leaf to easily fit.
- ice bath – we like to use a shallow saucepan for this too, but a large mixing bowl would also work!
- drying plate – simply grab a large plate and place a clean paper towel on the plate and then in between each leaf that you are prepping.
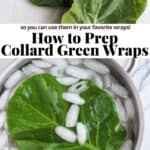
How To Prep Collard Green Wraps
To begin this easy process you will turn the leaf so that the side that has the raised stem running through it is facing you. Take a sharp knife to flatten that raised stem by shaving it off with the knife, getting as close to the leaf as possible. You do this so that the leaf will be more bendable without the stiff stem. Then remove the end of the stem so that you just have the leaf remaining.

Now take a large, flat saucepan or skillet and fill it with water. Warm up this water so that bubbles begin to form at the bottom. Take your greens, one at at time, and place them in the almost boiling water for about 5 seconds, making sure it is fully submerged.

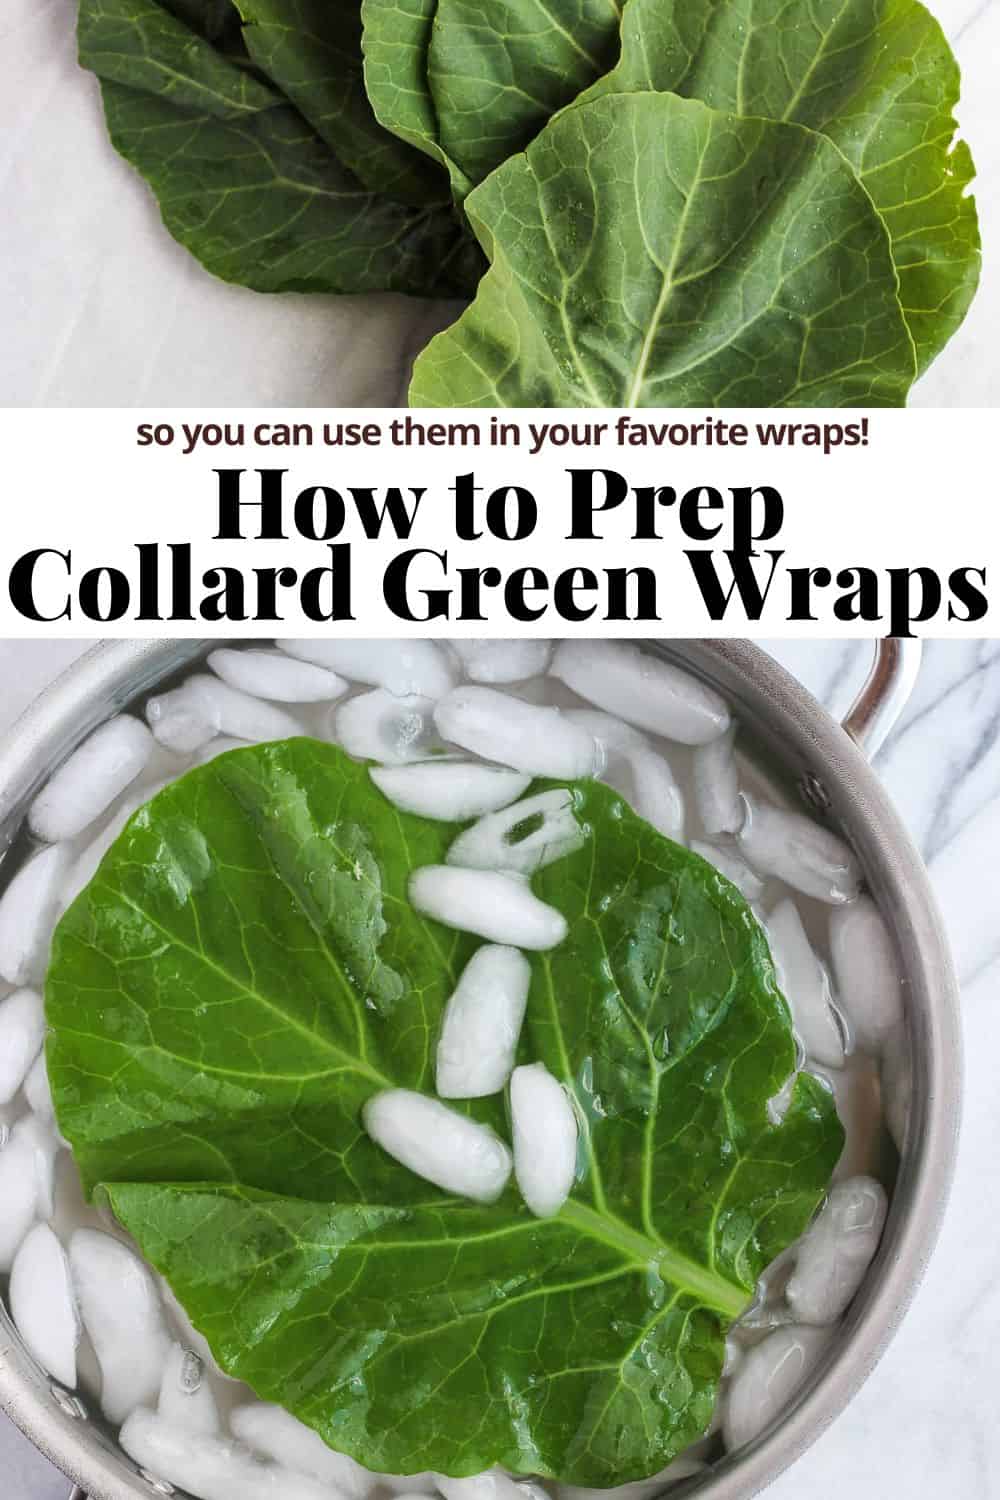
Using tongs, gently remove the greens from the hot water and place immediately in an ice bath. Fully submerge until they have cooled.

Place a piece of paper towel on a plate, set your first green on top of that and then top the greens with another paper towel. Press gently to ensure the greens are very dry. Repeat if prepping multiple greens.
Now it is time to fill your fully dry collard green leaves! Lay each green flat on the counter or cutting board. Lay the greens so that the stem is parallel to the edge of your counter. Take your filling ingredients and lay them lengthwise along the stem.

What Fillings Should I Use In A Collard Green Wrap
The options are endless! We have amazing recipes for using collard green wraps to make a rainbow wrap or chicken bacon club, but there are so many filling combinations that would also be great. This wrap would be a great way to wrap up a buffalo chicken wrap or Greek yogurt chicken salad. Basically, if it would be good as a sandwich, it would also be great as a collard green wrap!
Next it’s time to fold up the wrap! You can begin by folding in the sides first.

Then take the part of the greens that is closest to you and fold it over. As you fold it over, you will essentially tuck it under the filling and then simply continue rolling until you have a wrap.

Use a sharp knife to cut the wrap down the middle, resulting in two halves.

Made this recipe and loved it?! We would love it if you would take a minute and leave a star rating and review – it is also helpful if you made any substitutions or changes to the recipe to share that as well. THANK YOU!
Don’t forget to check out my Instagram account for some behind-the-scenes action! Or give me a follow on Facebook or see what I am pinning on Pinterest!
Ingredients
- 1 bunch of collard greens
- filling ingredients of your choice
Instructions
- Remove stem: You want to flatten the raised stem. Use a sharp knife to shave it down, getting as close to the leaf as possible. You do this, so that the leaf will be more bendable without the stiff stem. Then remove the end of the collard green leaf stem.
- Boil: Take a large, flat saucepan or skillet and fill it with water. Warm up this water so that bubbles just begin to form at the bottom. Take your greens, one at at time, and place in the almost boiling water for about 5 seconds, making sure it is fully submerged.
- Ice bath: Using tongs, gently remove the greens from the hot water and place immediately in an ice bath. Fully submerge until it has cooled.
- Dry: Place a piece of paper towel on your plate, set your first green on top of that and then top the greens with another paper towel. Press gently to ensure the greens are very dry. Repeat if prepping multiple greens.
- Fill: Lay the greens so that the stem parallel to the edge of your counter. Take your filling ingredients and lay them lengthwise along the stem.
- Fold: Fold in the sides first, then take the part of the greens that is closest to you and fold it over. As you fold it over, you will essentially tuck it under the filling and then simply continue rolling until you have a wrap.
- Use: We love using these wraps to make our chicken bacon club collard green wrap!
Notes
- Dry: make sure you take the time to fully dry each wrap! This will help prevent sogginess.
- Filling suggestions: we love to make our Raw Rainbow Wraps with Ginger Tahini Dressing or they would be great as a Chicken Caesar Wrap!


XENDER APK says
I loved this guide on prepping collard green wraps! The tips about blanching and how to choose the best leaves were super helpful. I can’t wait to try out some of the filling ideas you shared. Thanks for the inspiration!
Bridget Montag says
Great – Thanks so much for coming back to leave a review! Enjoy all the possible combinations!
Helen says
Do you think these can be prepped a couple days ahead of time for school lunches?
Erin says
Hi, Helen! Yes, you can prepare them ahead of time – to do so I would suggest patting them dry and laying them flat after preparing them and then place a paper towel in between them to keep them from getting mushy or sticking together! They should stay good like that for a couple days!
Cat says
Can you prep these ahead of time or is it more cook-to-order?
Erin says
Hi, Cat! Yes, you can prepare them ahead of time – to do so I would suggest patting them dry and laying them flat after preparing them and then place a paper towel in between them to keep them from getting mushy or sticking together! They should stay good like that for a couple days!
Lauren says
Fantastic tutorial with step by step photos and directions. Thank you!
Erin says
So glad you found it helpful!
Erica says
This was a great to use my collard greens from my CSA Box! I put “egg roll in a bowl” filling inside. The possibilities are endless. Thank you for this tutorial!
Erin says
Yay! So glad you found it helpful! Collard green wraps one of my favorites! Thanks for leaving your feedback!