Have you ever made a Dry Brine Turkey? If not, we highly recommend this super easy technique for making the juiciest turkey ever! Once you see just how simple dry brining a turkey is and taste the end result, you will never go back!
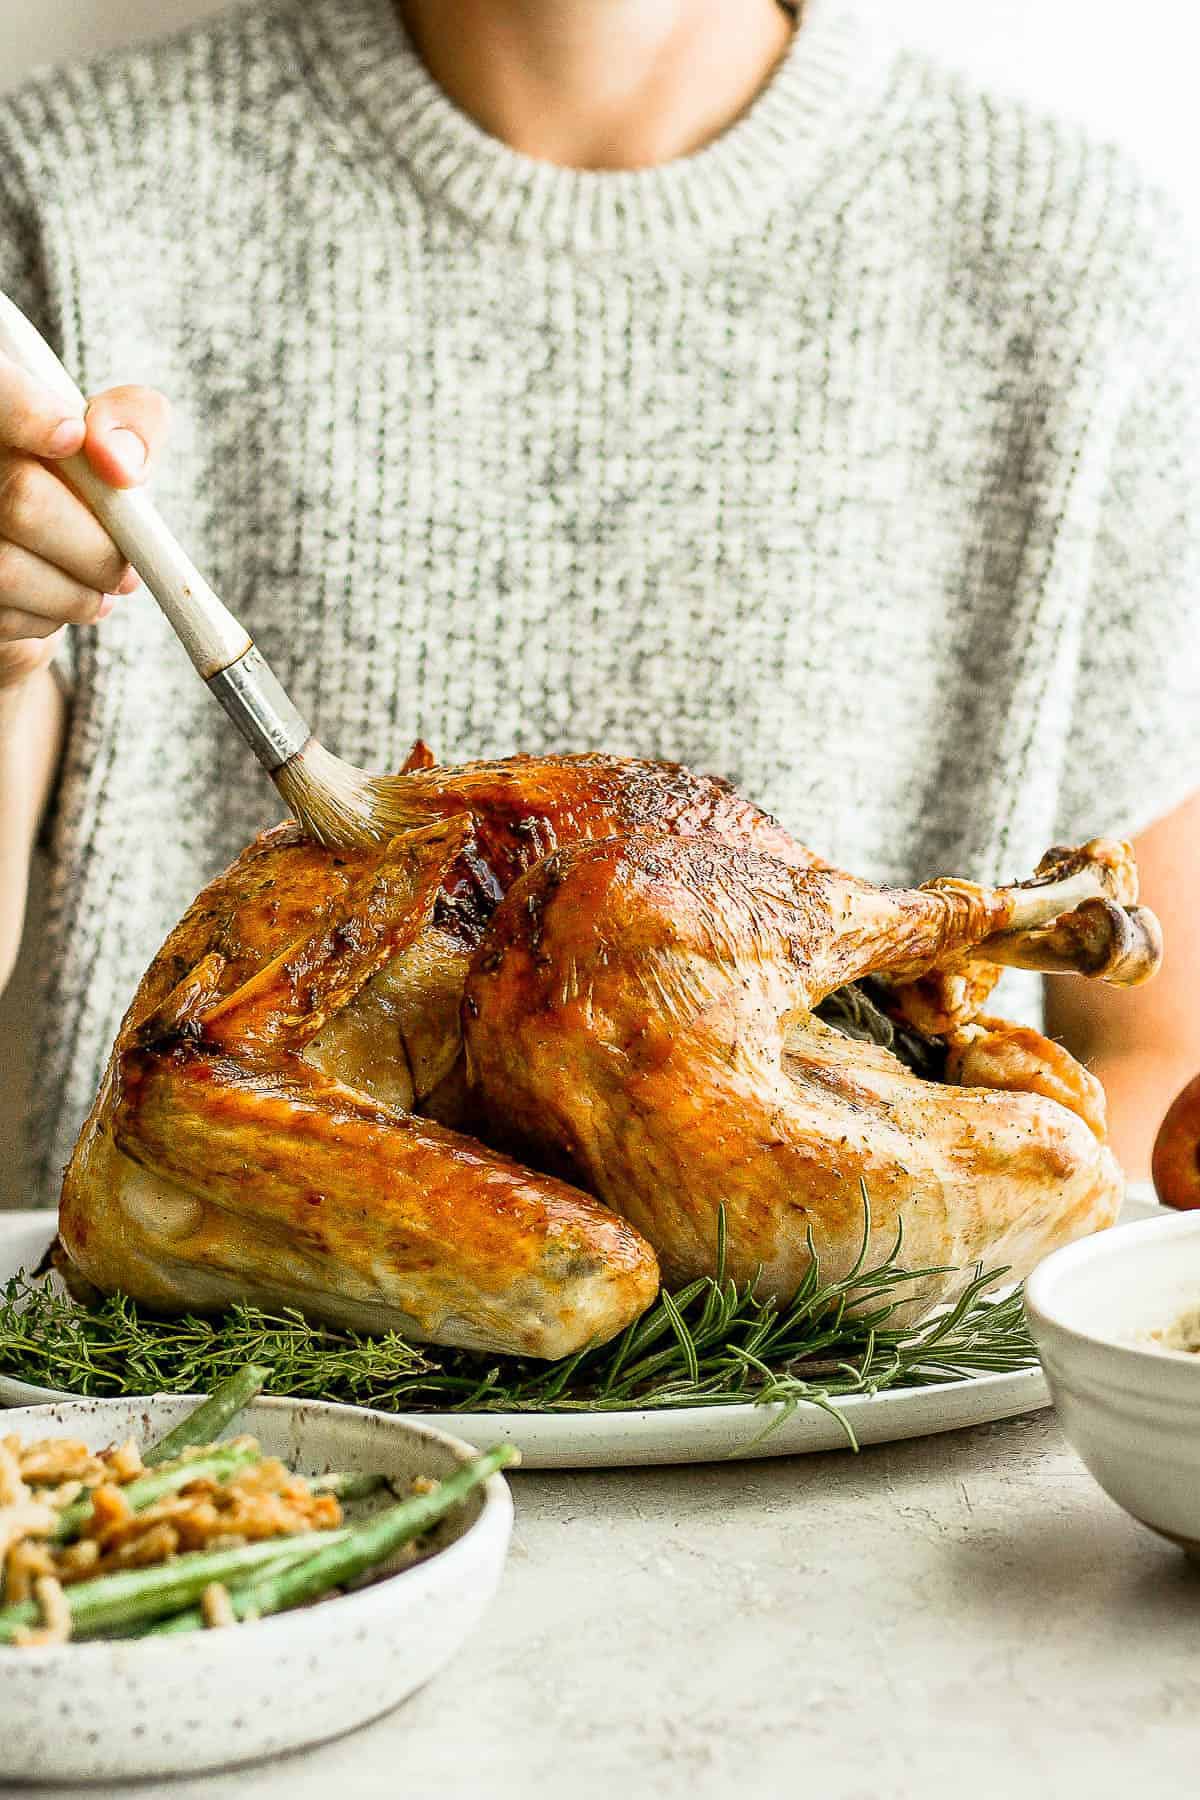
The Best Dry Brine Recipe For Turkey
We have been cooking turkeys for years! We have tried all the different tips and tricks to making the juiciest bird. After perfecting this dry brine turkey recipe, we can say that this is how we will be making our Thanksgiving turkey from now on. This brining process can be used on a whole Thanksgiving turkey, spatchcock turkey, or make a dry brine roasted turkey breast! Covering your turkey of choice in this salt/herb mixture will give you the most tender, juicy turkey meat you have ever tasted. No matter how you cook the turkey (or what you serve it with – we love this Stove Top Stuffing)!
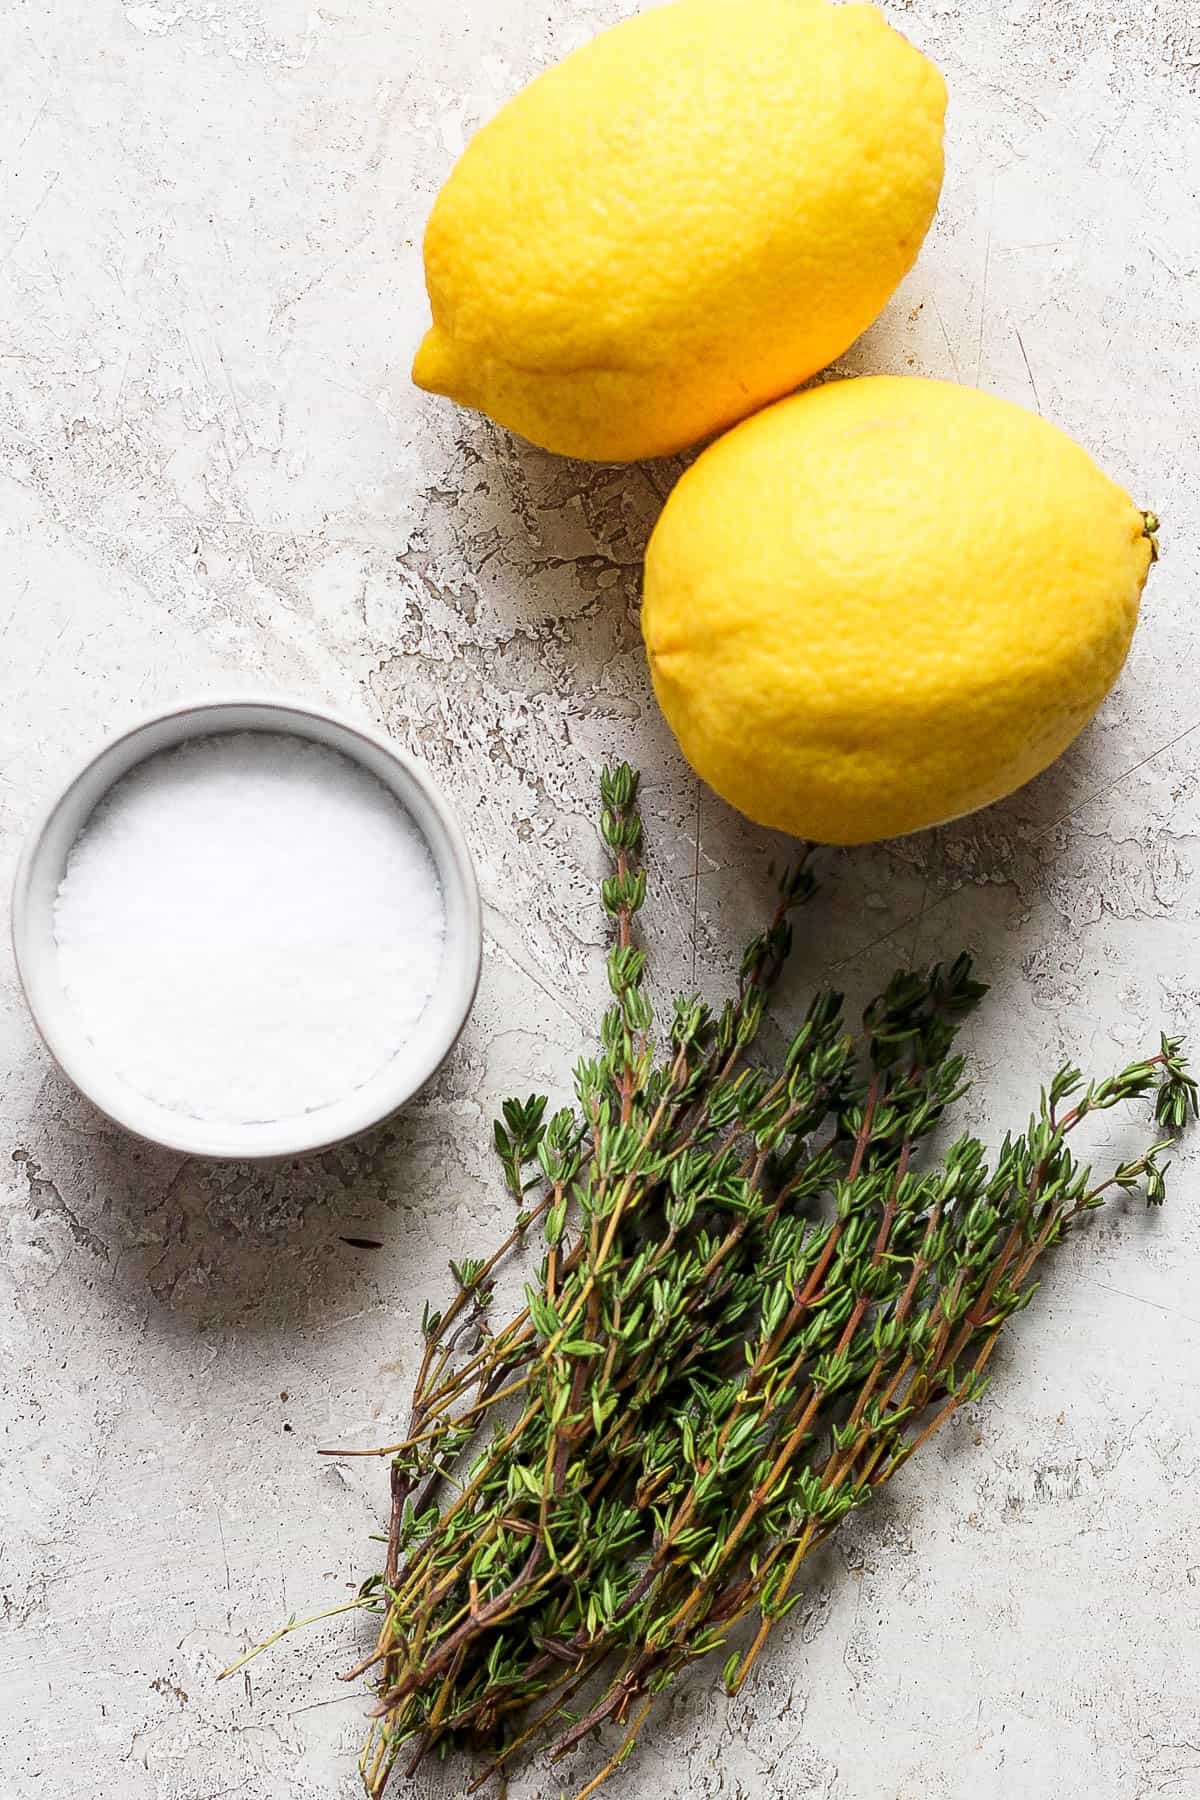
What You Will Need
- fresh turkey – this easy dry brine recipe can be used with any size of turkey. Just make sure it is fully thawed before you begin.
- kosher salt – an essential ingredient for any dry brine recipe to help draw out the moisture that will help breakdown the meat for a juicy result!
- orange or lemon zest – we used lemon zest, but either add a delicious, light citrus flavor.
- fresh herbs – almost any fresh herb will add so much flavor, we like to use thyme, oregano, and sage.
- butter – always a must when cooking a turkey! Make sure you pick-up plenty from the grocery store, because you will use it in the roasting pan, to make the herbed butter, and to baste the turkey!
- chicken stock or broth – pour some in the roasting pan with or without a splash of white wine to provide moisture in the oven and as a starter for the roasting juices that will be turned into gravy.
- yellow onion – slice one for the roasting pan and quarter another onion to stuff inside the bird.
- fresh thyme & rosemary – toss some sprigs in the pan and inside the turkey cavity for so much flavor!
- whole orange – option to cut into large chunks and stuff inside the bird.
- dried thyme leaves & ground black pepper – simple seasonings in the herbed butter!
How To Dry Brine A Turkey
The first steps to making an easy dry-brined turkey are to prepare the dry brine recipe in a small bowl and make sure the turkey is thawed, removed from any packaging, and the giblets and neck have been removed.
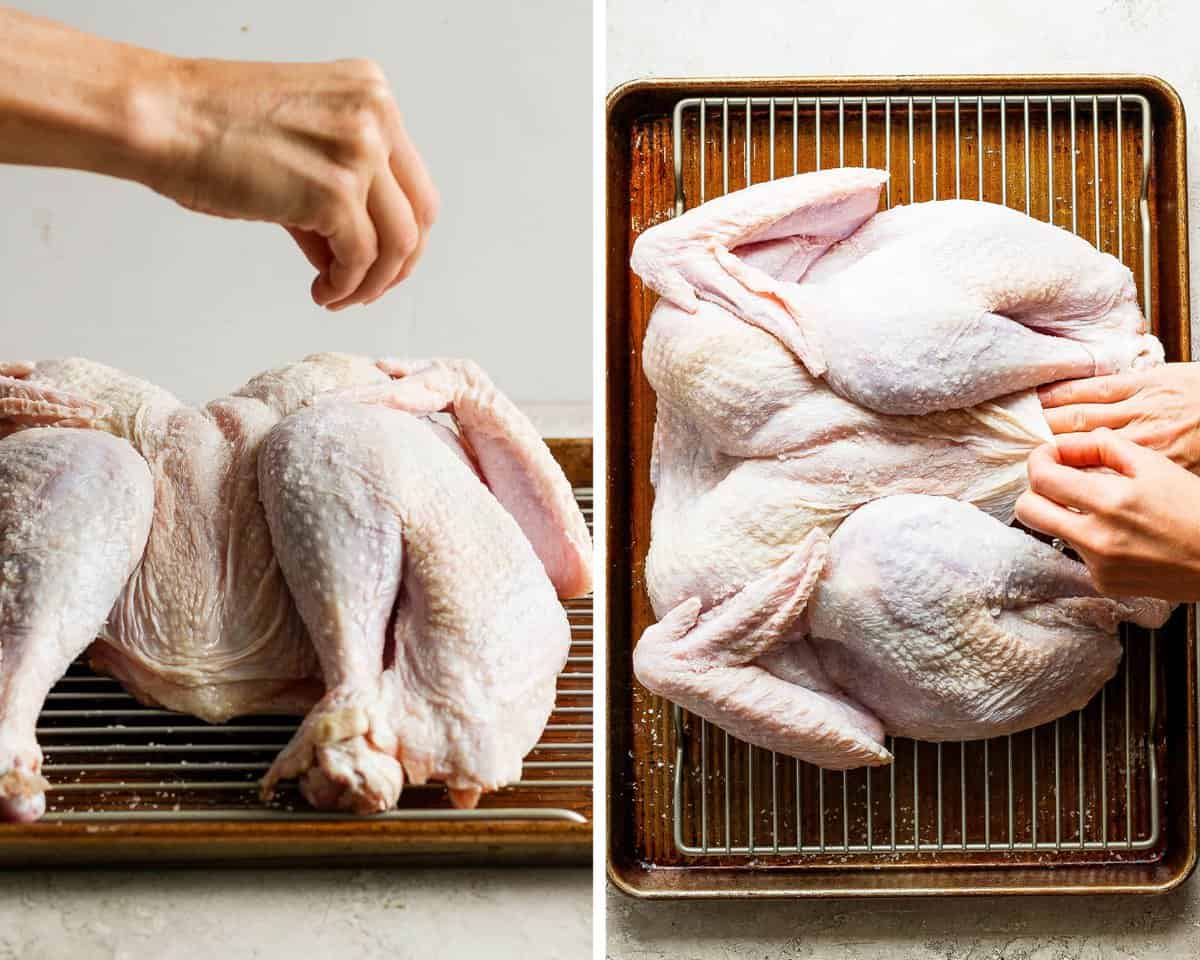
Now it is time to decide if you are cooking the turkey fully intact or if you want to spatchcock the turkey. Either way, you will need a rimmed baking sheet with a wire rack on it. Place the entire turkey on the wire rack and rub down with the dry brine. Make sure you get some under the skin, where you can, and in all the nooks and crannies.
Why Should I Spatchcock A Turkey
This is a completely optional alternative to cooking a whole, intact turkey. It results in a more even cooking process for the turkey and actually cooks it in a fraction of the time. If you haven’t tried it before, we highly recommend trying it! Just follow our simple tutorial on how to spatchcock a turkey!
If you are keeping the turkey whole and intact, you can let it brine on a wire-rack on a baking sheet or on a roasting rack inside a roasting pan (the same one you will cook it on).
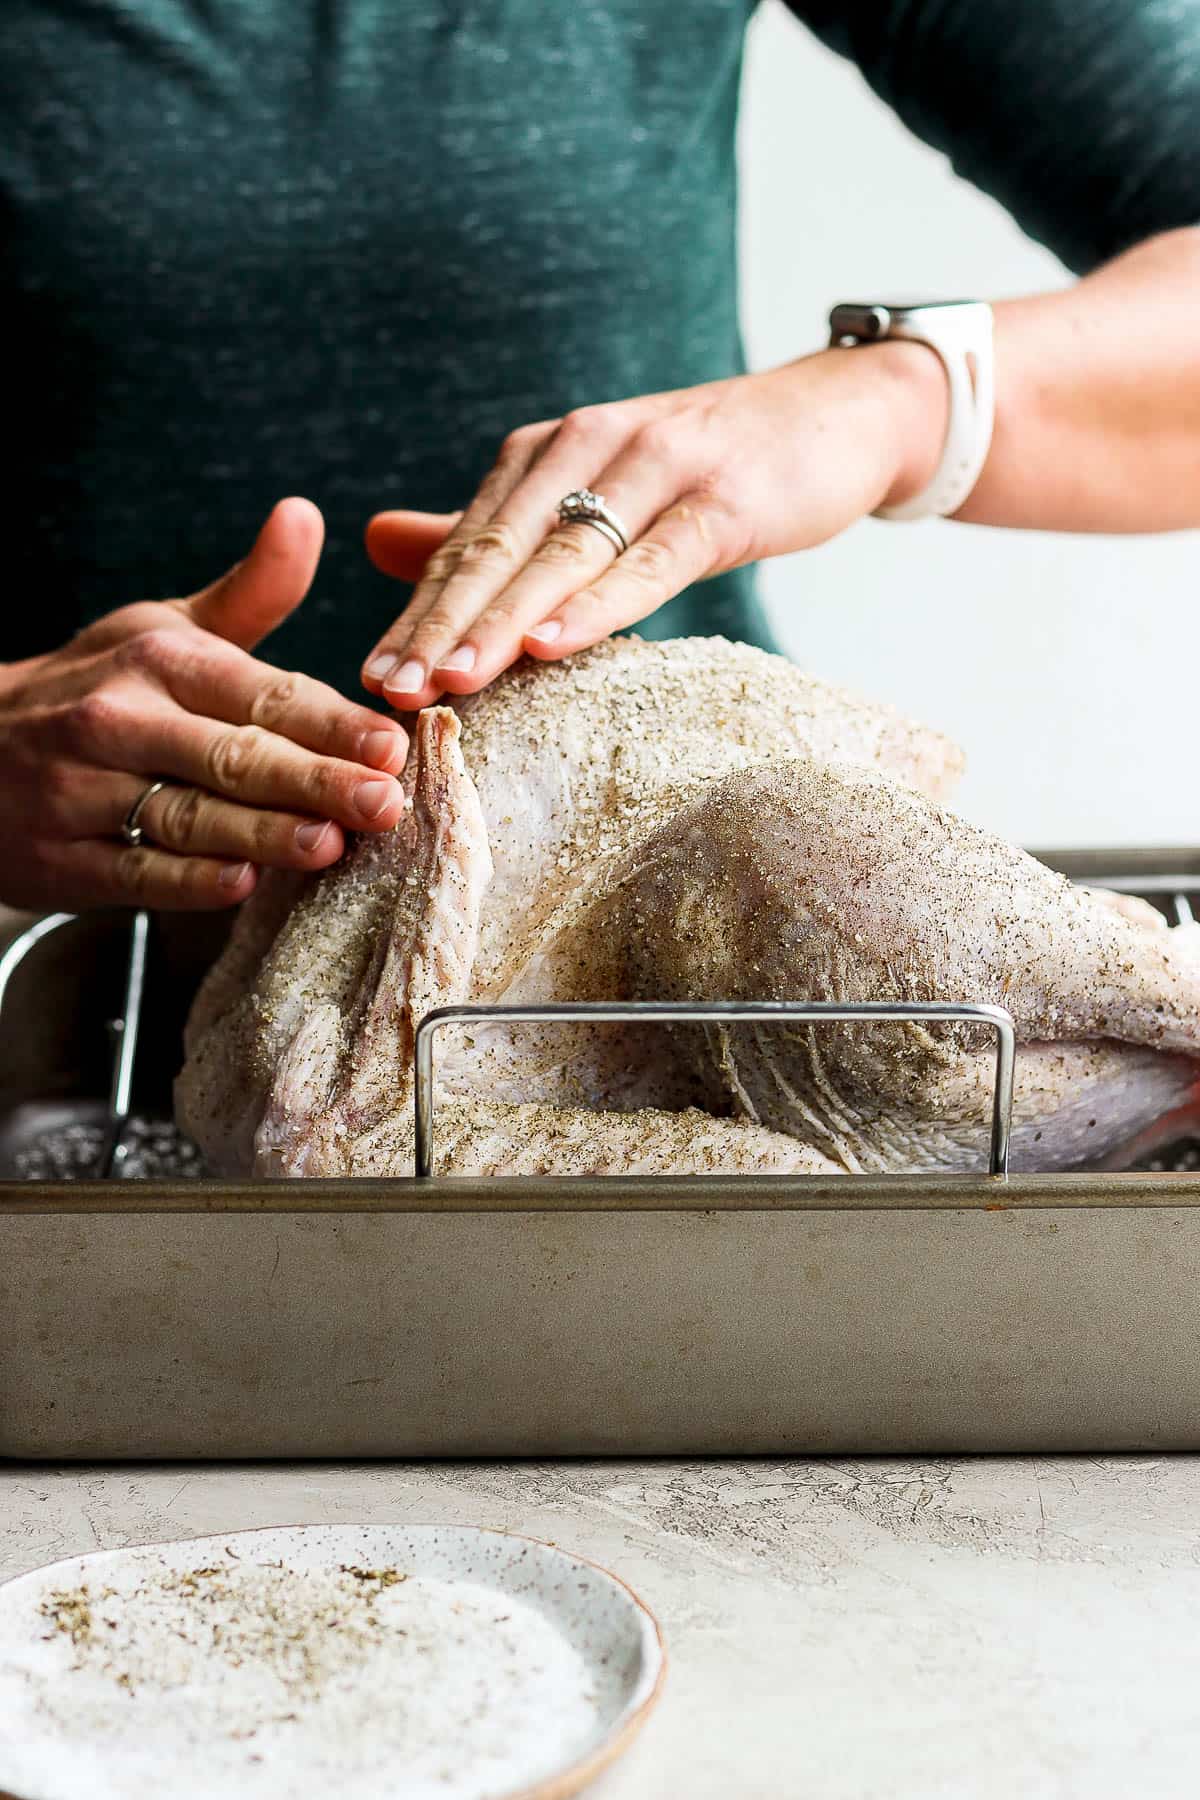
Once the entire turkey is covered in the dry brine mixture, you can place it in a brining bag or wrap tightly in plastic wrap. Place it all in the fridge to hang out until the night before you plan to cook it. On the night before cooking, you have the option to remove the brine bag or wrapping so that the skin can dry out a bit overnight. We love a nice, crisp skin so we always do this step but you don’t have to.
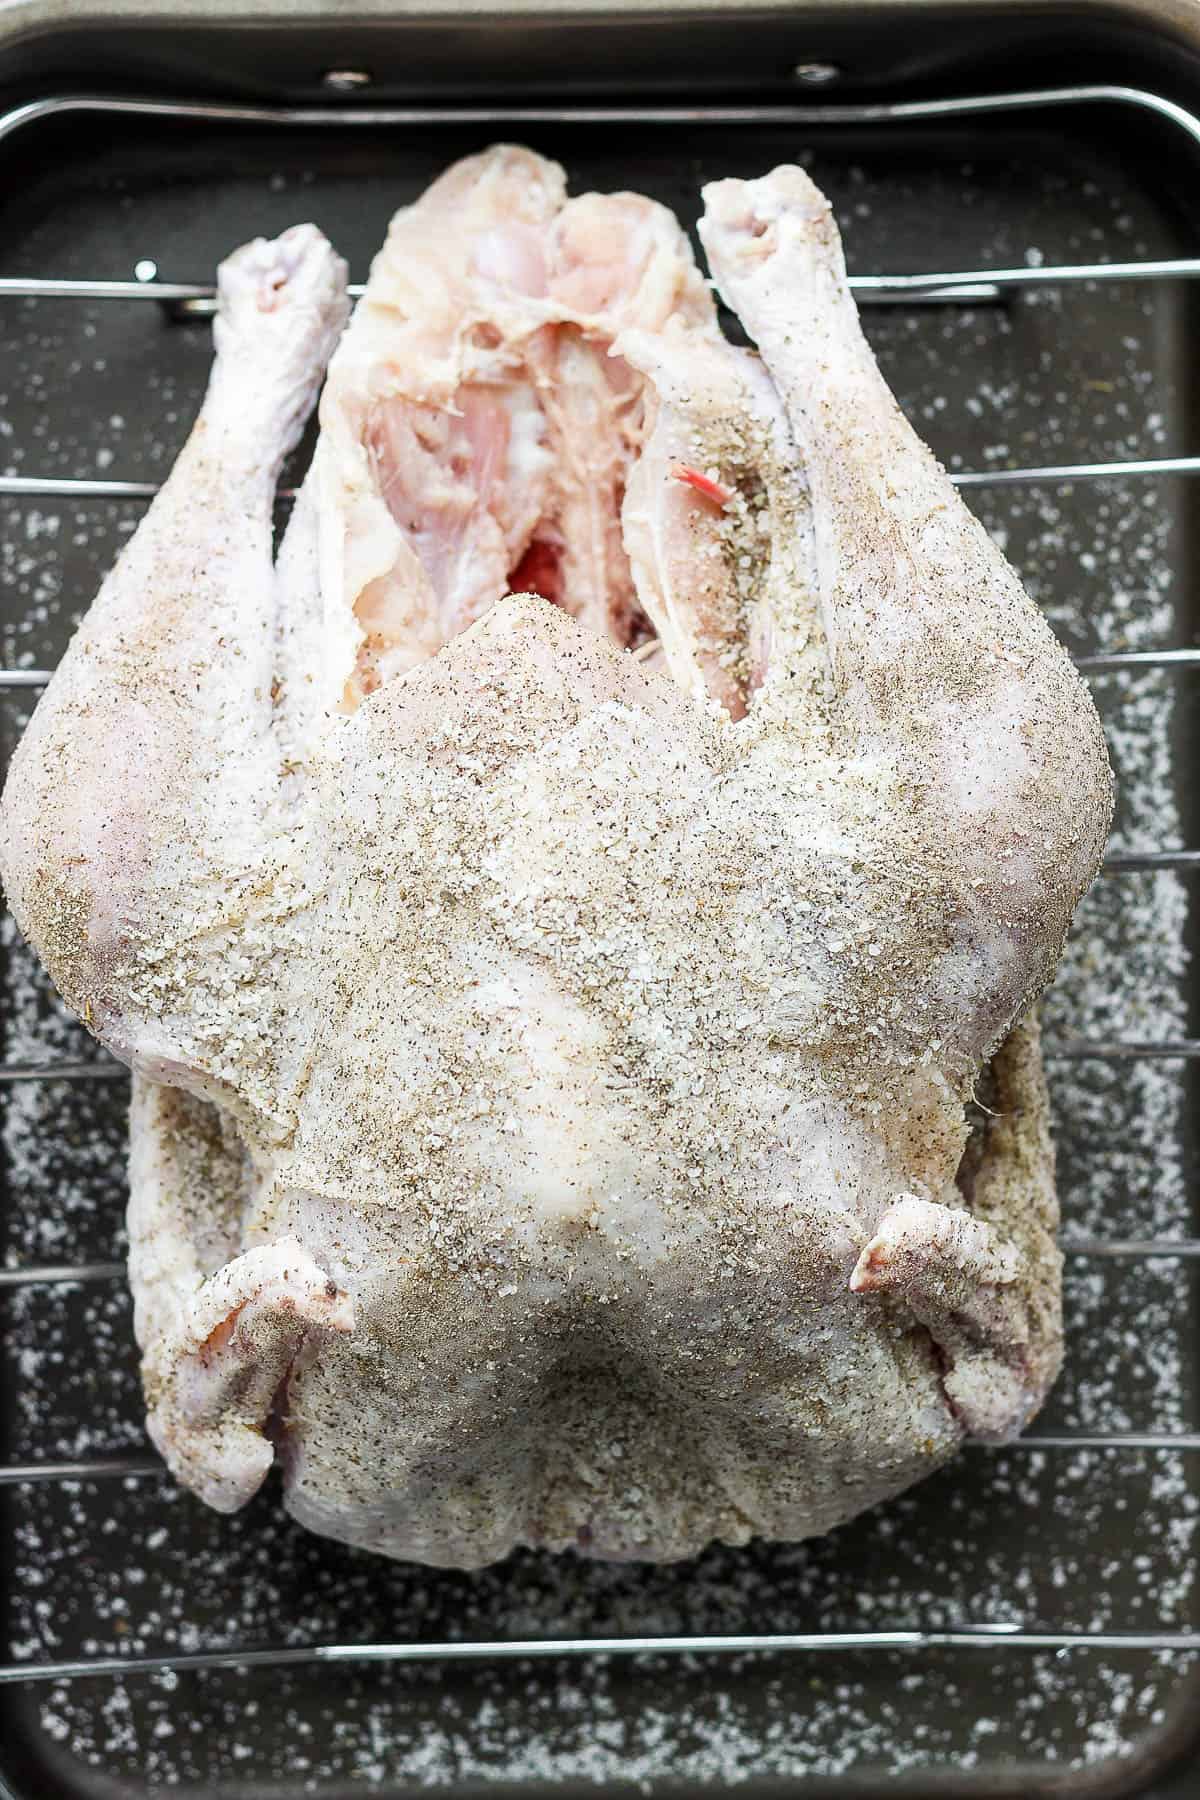
Now it’s cooking day and time to take the dry brined turkey out of the fridge and let it come to room temperature for about 1 hour before cooking. During this hour you can preheat the oven to 450 degrees F, if cooking in the oven, and mix up the herbed butter.
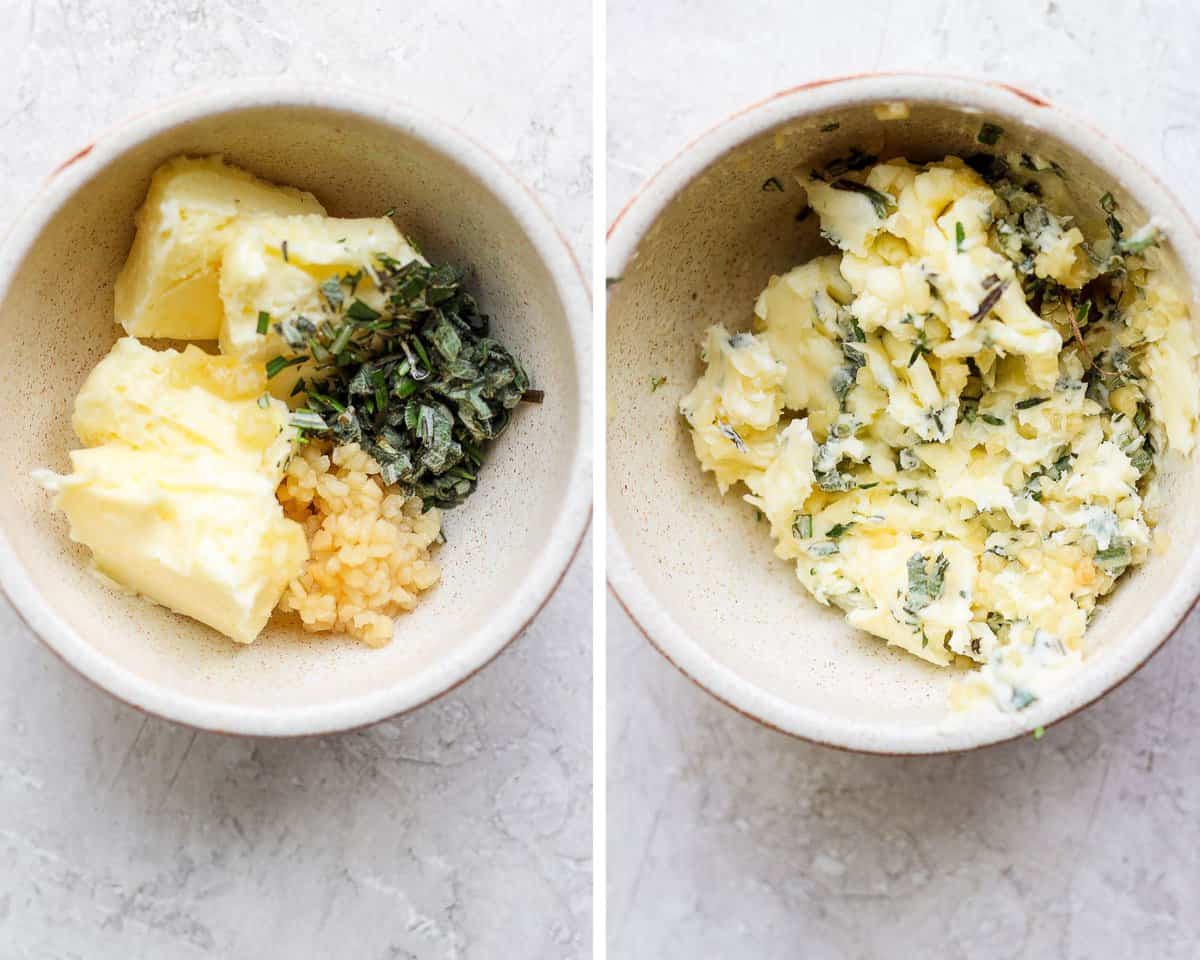
Pat the outside and inside of the turkey dry with clean paper towels and then rub that herby butter all over the outside of your bird. Make sure you also put a couple tablespoons of butter right under the skin of the breast. Now it is ready to be cooked!
Best Ways To Cook A Dry Brined Turkey
There are so many great options! Go with a classic oven roasted turkey or get it out of the oven and try a grilled turkey, smoked turkey, or even a deep-fried turkey. They are all great options and if you do cook the turkey outside of the oven, it makes more room for all those delicious Thanksgiving side dishes.
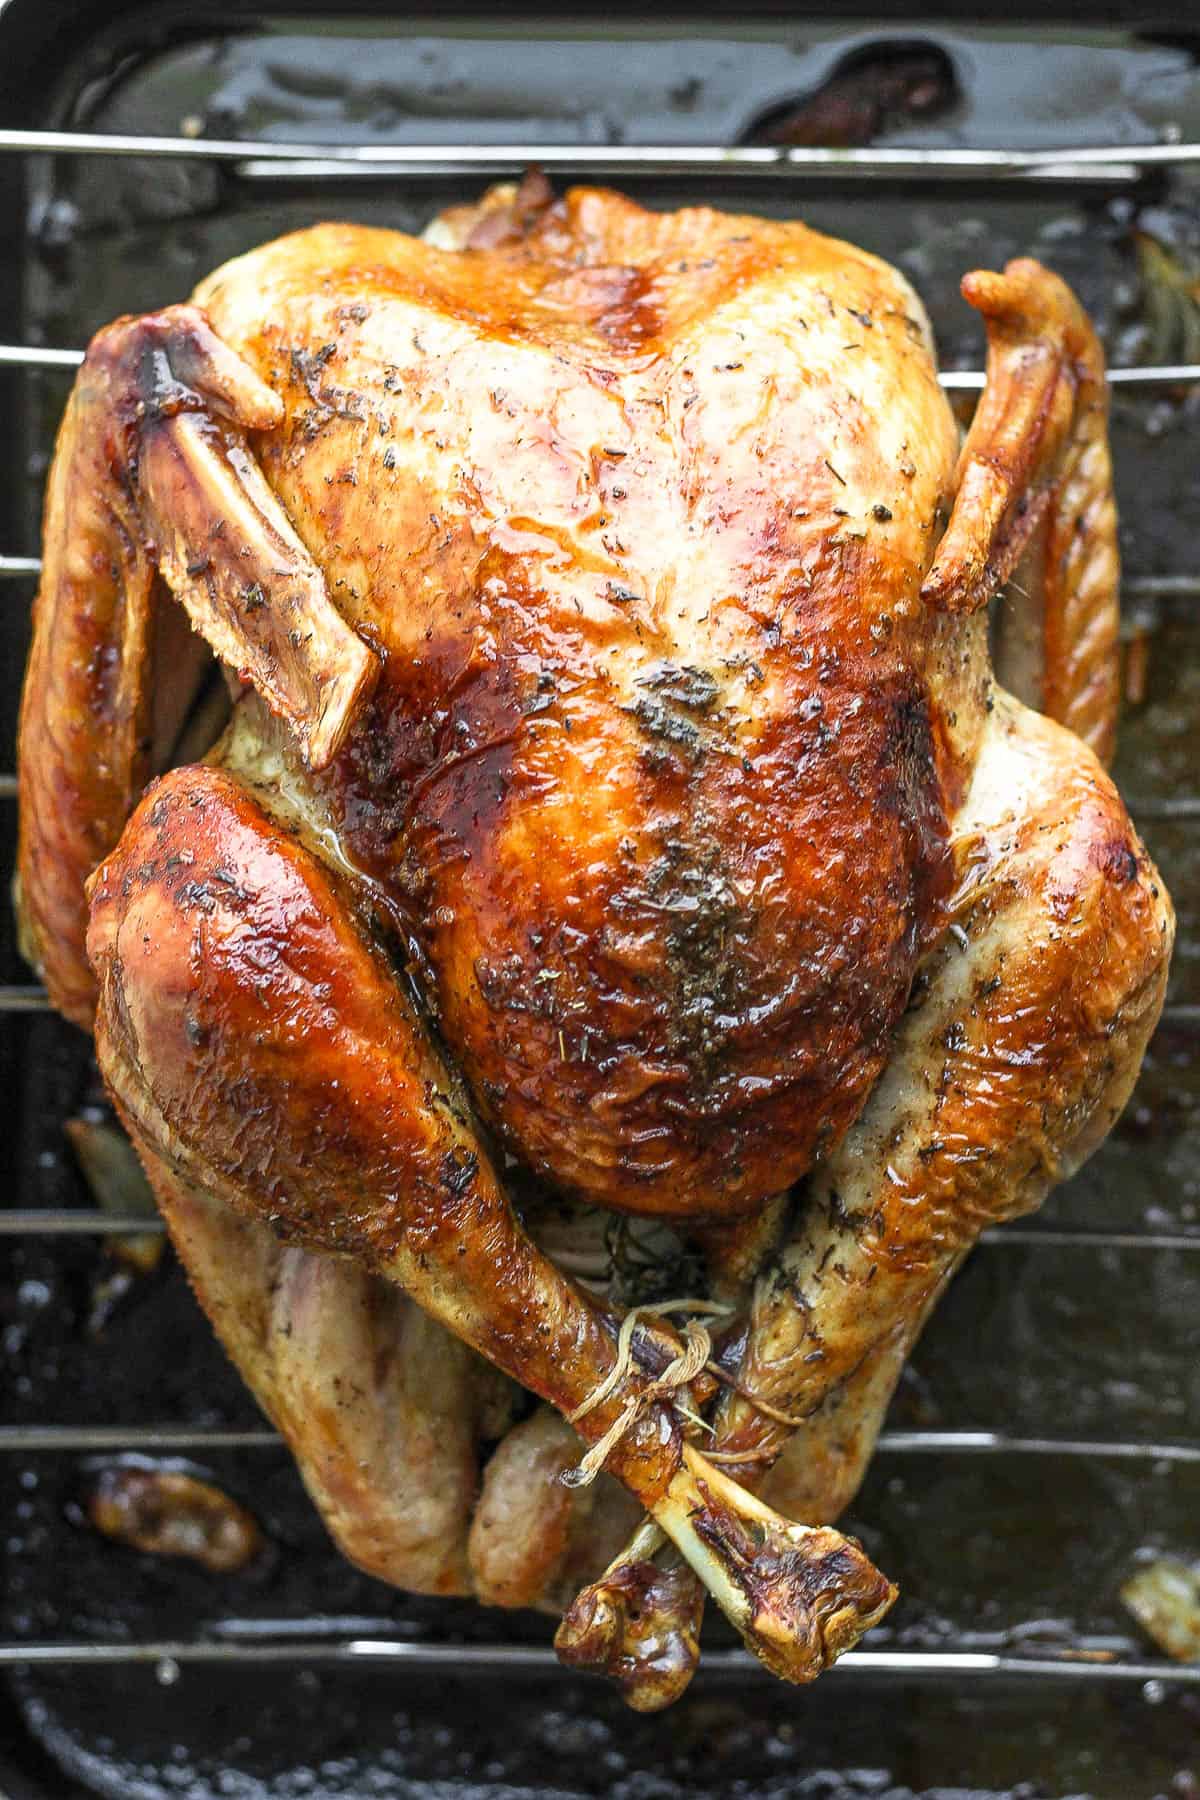
Cooking A Spatchcock Turkey
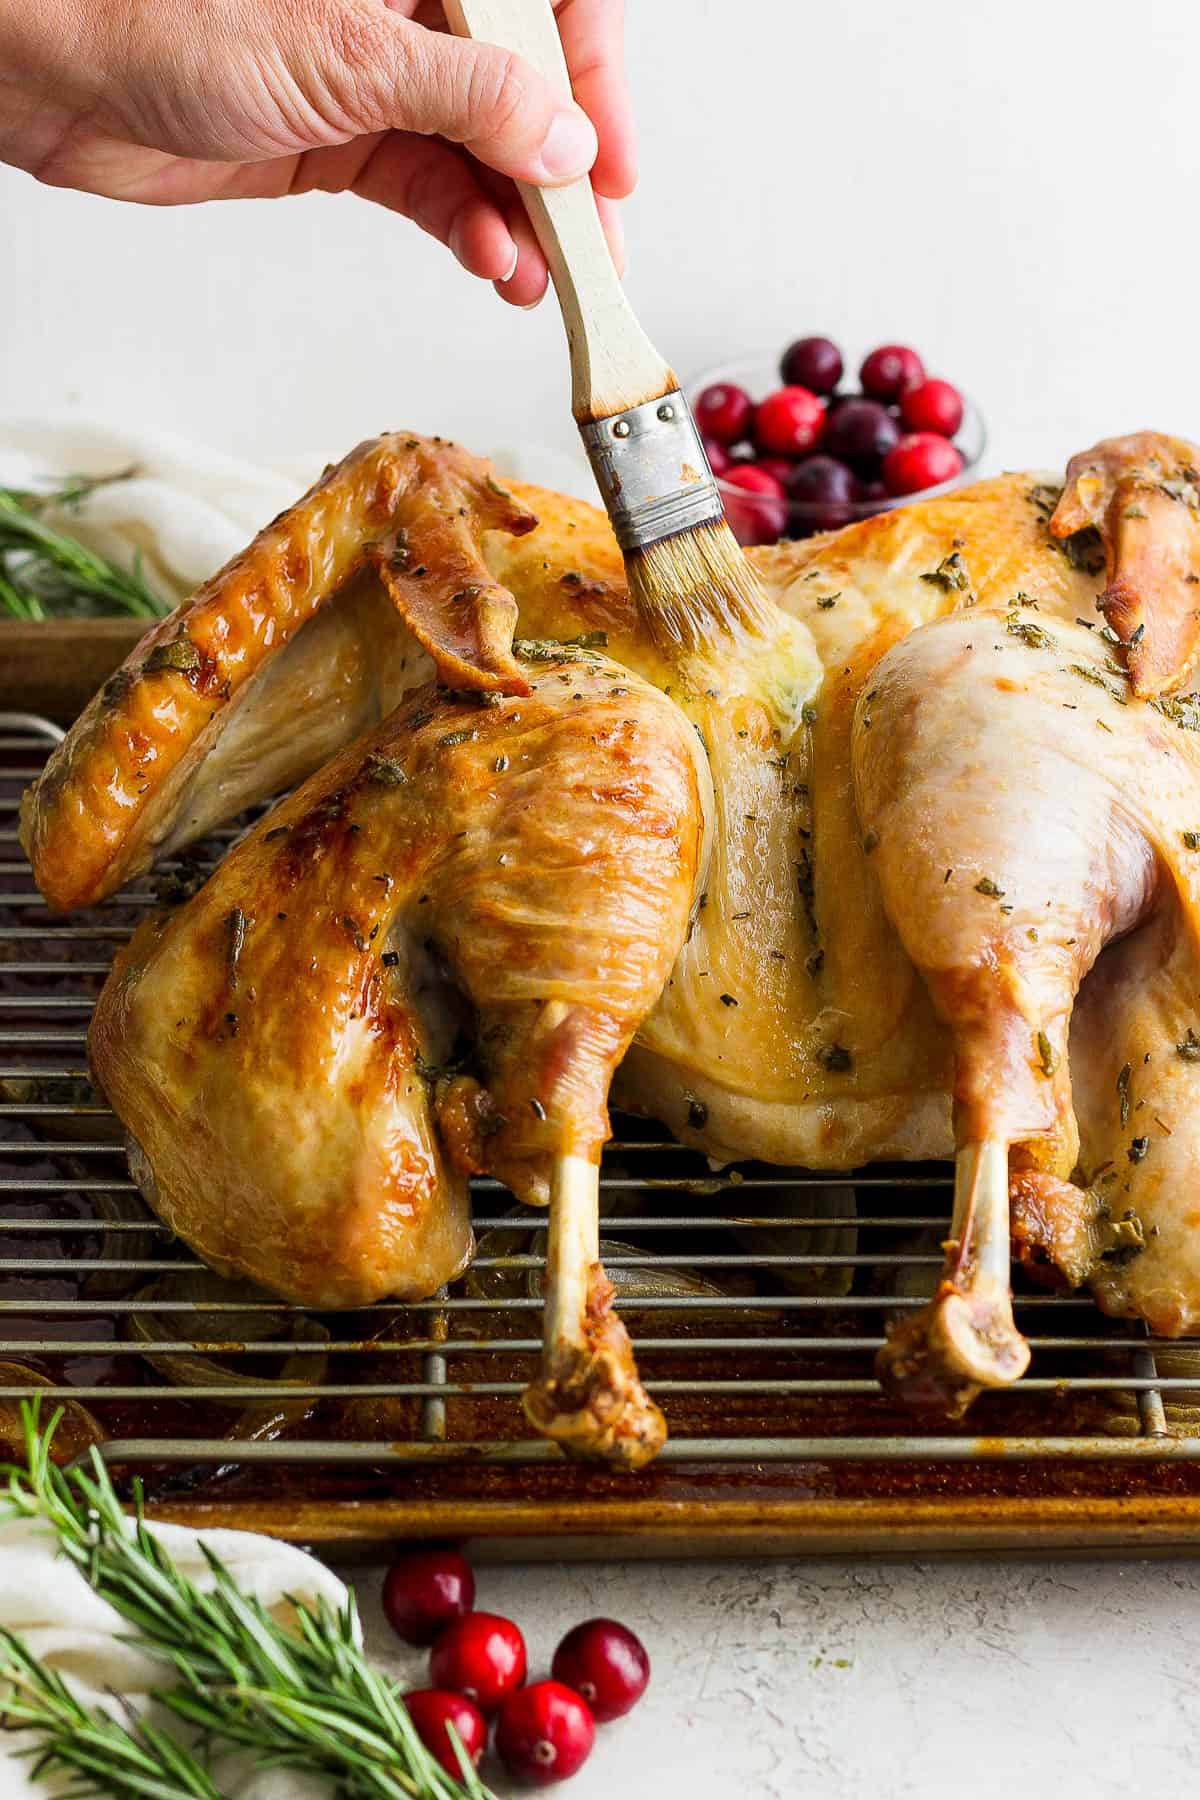
If you decide to spatchcock the turkey you have a couple options, you can make a: roast spatchcock turkey (in the oven), a grilled spatchcock turkey, or a smoked spatchcock turkey! We have made a turkey just about any way you can imagine!
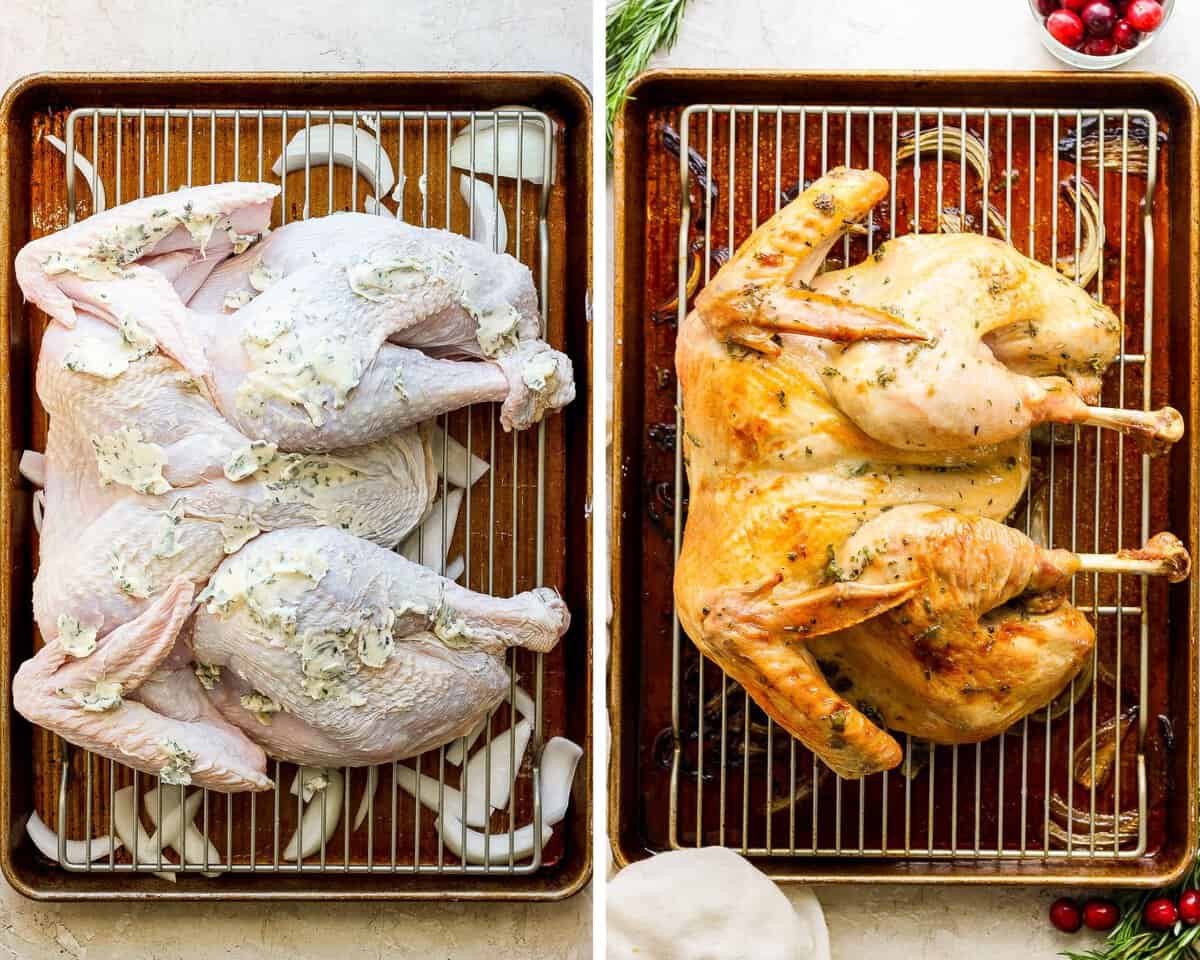
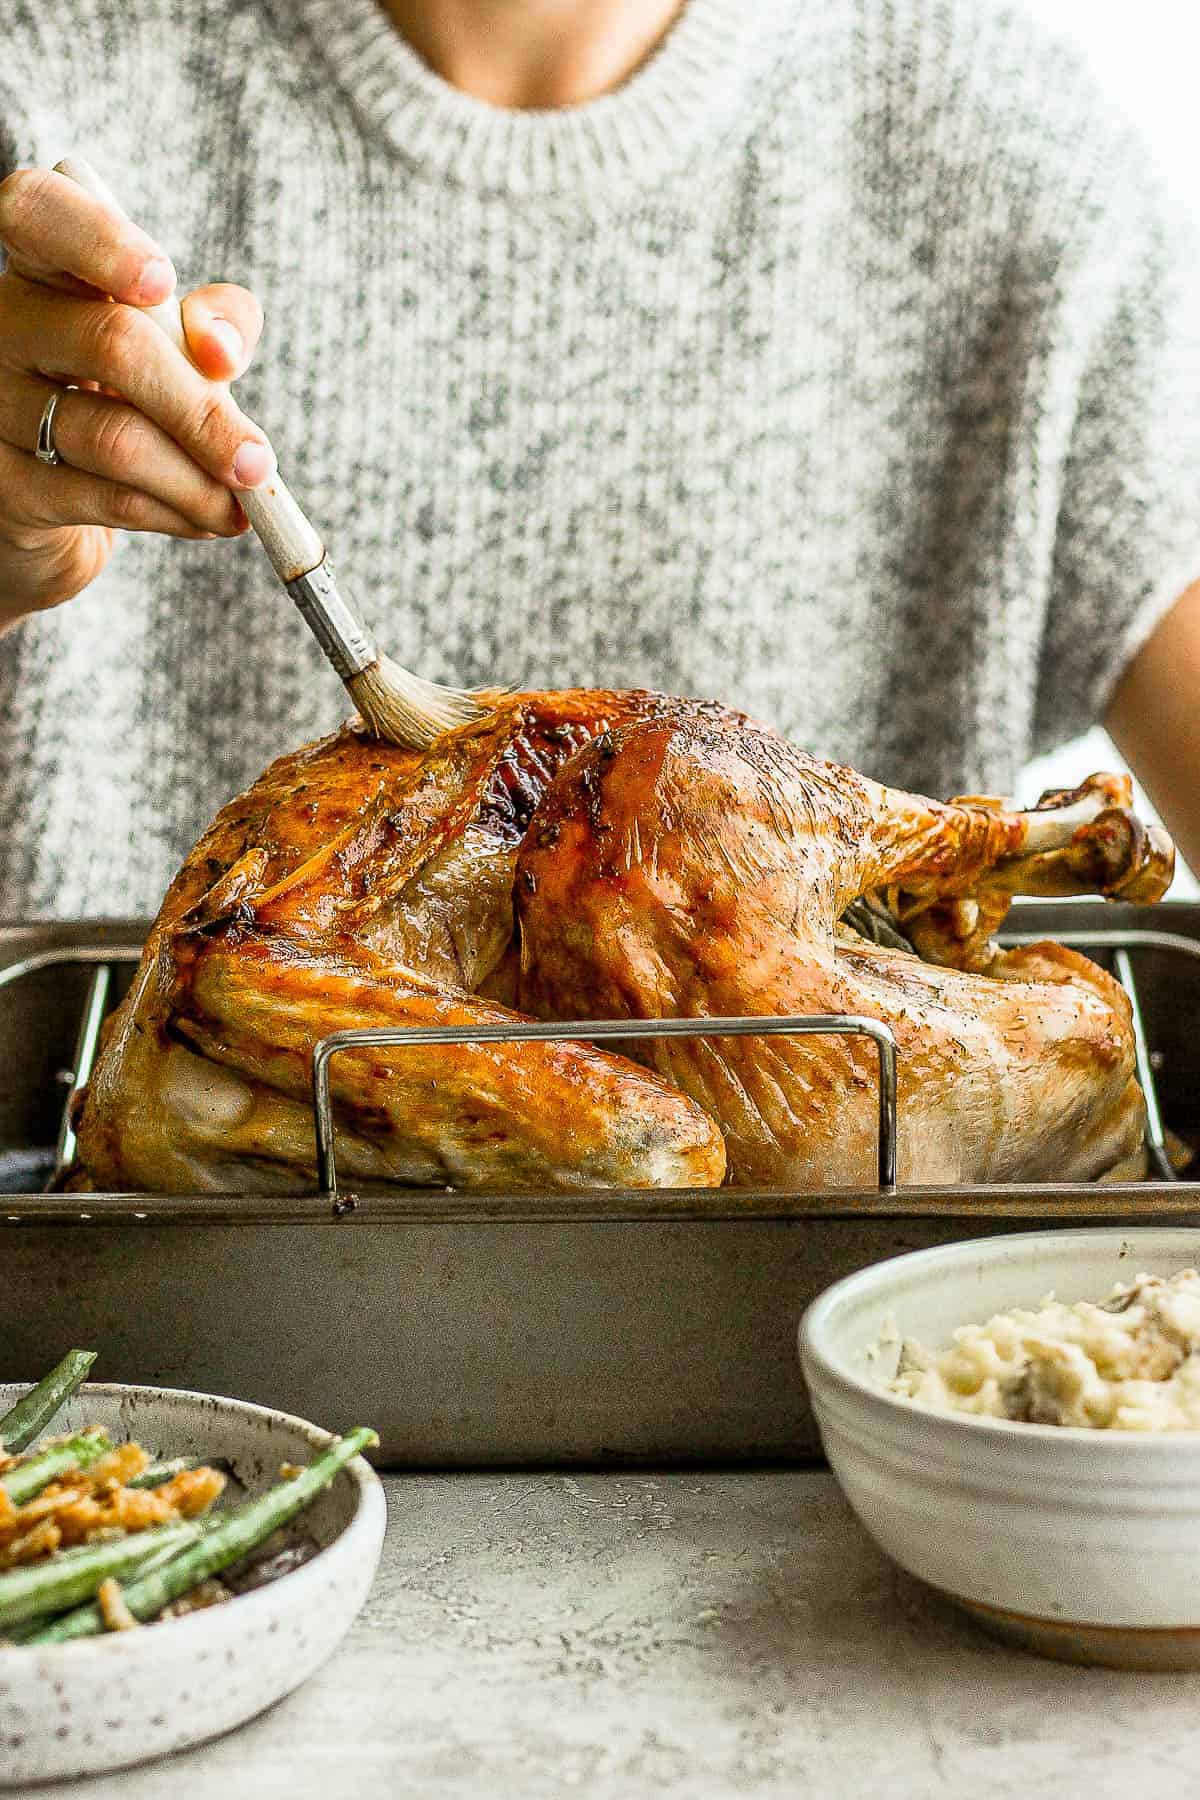
The turkey will typically cook for about 13-16 minutes per pound if you do NOT spatchcock it and 6-8 minutes if you do. Make sure you keep track of the internal temperature with an instant-read thermometer during the cooking process. You want it to reach 160 degrees F. During the cooking process make sure you use a basting brush to brush butter on the outside of the turkey for a perfectly golden brown skin!
Don’t forget to save those drippings and make some Homemade Turkey Gravy!
How Should I Serve a Dry Brine Turkey
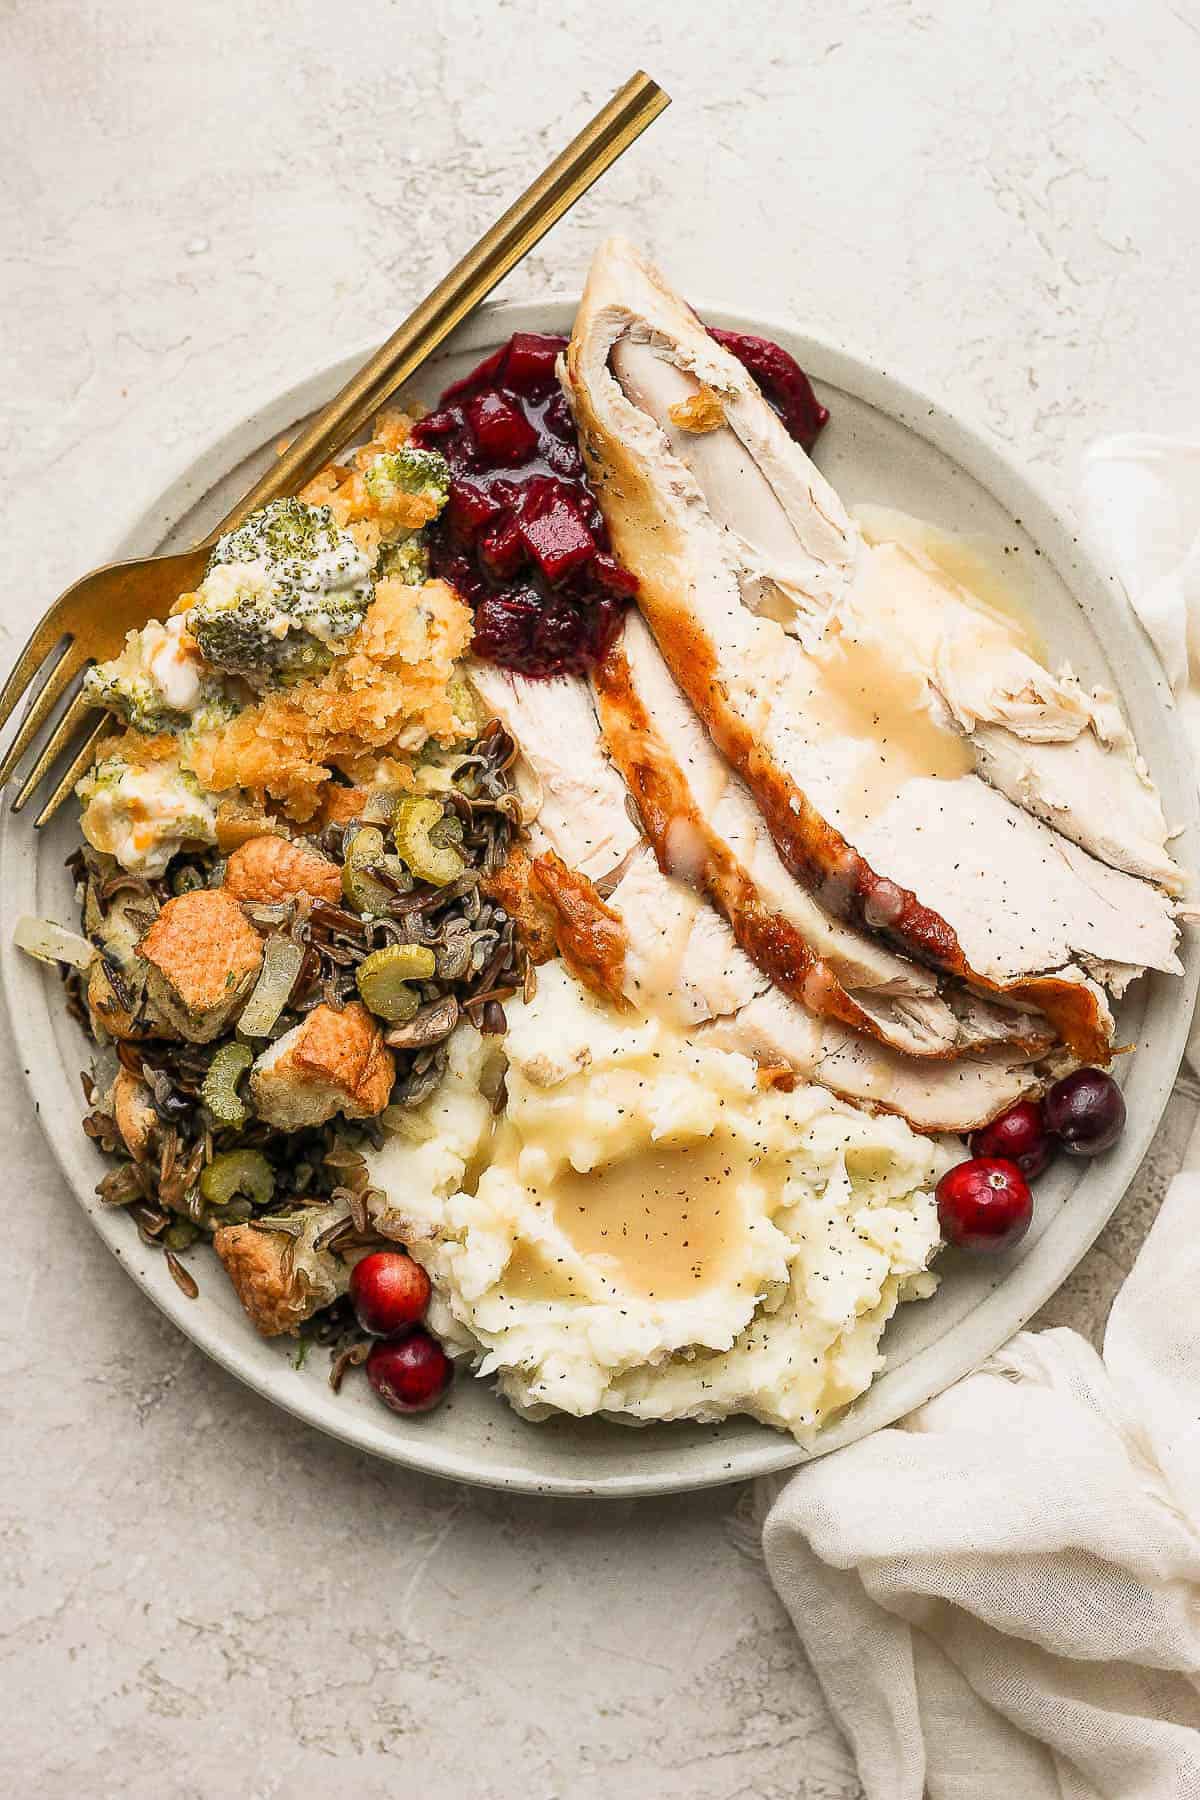
After you carve your bird (we have a tutorial on how to carve a turkey), you can serve it alongside all those traditional holiday side dishes that you know and love! We love serving with our Sourdough Stuffing, Slow Cooker Mashed Potatoes, Cranberry Sauce, Green Bean Casserole with Fresh Green Beans, and that wonderful homemade turkey gravy that is made with all the turkey drippings!
Dry Brine Turkey Recipe FAQ
A simple way to use salt to pull the turkey juices out of the meat and then reabsorb them back in along with the salt. This brings all that flavor in to the meat rather than just staying on the outside. Resulting in very juicy turkey meat!
It is recommended to let the turkey dry brine for 24-48 hours. If you don’t have at least 24 hours for the turkey to sit in the fridge, then you might want to use a wet brine.
A wet brine consists of submerging a cut of meat in a salt/water mixture (12-24 hours) in a container large enough to hold everything. A dry brine consists of rubbing salt, herbs and other seasonings directly onto the skin and meat of the turkey and letting it sit in the refrigerator for a period of time (usually 48 hours). Checkout our turkey wet brine recipe, if you are interested or don’t have the time for the dry brine.
No! You don’t want to rinse all those flavors off the turkey. Just give it a quick pat dry and then cover the turkey with an herbed butter mixture!
More Turkey Recipes You Might Like
Made this recipe and loved it?!
We would love it if you would take a minute and leave a star rating and review – it is also helpful if you made any substitutions or changes to the recipe to share that as well. THANK YOU!
Follow Us on Social

Ingredients
Dry Brine + Turkey
- 12-14 pound whole turkey*, fully thawed
- 2 tablespoons kosher salt**
- 1-2 teaspoons lemon or orange zest
- 1 tablespoon fresh herbs, minced (thyme, oregano and/or sage)
Roasting Pan Liquid:
- 4 tablespoons butter
- 2 cups chicken broth or stock
- 1 small yellow onion, sliced
- sprigs of fresh rosemary + thyme
- optional a splash of white wine adds a fun flavor to the drippings
Optional Stuffing:
- 1 small yellow onion
- 1 small orange
- fresh sprigs of thyme + rosemary
Herbed Butter:
- 4 tablespoons unsalted butter, softened
- 1/2 teaspoon kosher salt
- 1/2 teaspoon dried thyme leaves
- 1/8 teaspoon ground black pepper
Basting Butter:
- 3-4 tablespoons unsalted butter
Instructions
Dry Brine Turkey
- Thaw Turkey: Ensure your frozen turkey is fully thawed before you start the brining process. To thaw in the refrigerator, you need 5 days for every pound of turkey so for a 12-14 pound turkey you will need close to 3 days. Read: How to Thaw a Turkey for more tips and tricks!
- Spatchcock or Not: decide whether you want to spatchcock your turkey or not! The process of spatchcocking is actually super easy (as long as you have some sharp/strong kitchen shears). This method does tend to result in a more consistent cook of your turkey – and shorter cook time). Read: How to Spatchcock a Turkey here!
- 3 Days Before Cooking: Combine kosher salt, zest and minced herbs in a small bowl. Pat turkey dry with a clean paper towel. Rub dry brine all over including under the skin, where possible. Place in a brining bag OR on a rimmed baking sheet with a wire rack and wrap tightly in plastic wrap. Place in the refrigerator.
- Night Before Cooking: The night before you are set to cook, remove the plastic wrap or brine bag. Place the dry brined turkey back on a wire-rimmed backing sheet and return the bird to the refrigerator. This allows the skin to dry out and will result in an extra crispy skin. Note: this step is optional!
- Day of Cooking: Remove from refrigerator for at least 1 hour before cooking to allow the bird to come closer to room temperature. Feel free to pat dry with a clean paper towel; do not rinse!
- At this point you can continue on cooking your turkey how you want – keep reading for our go-to roasted method.
Oven Roasted Turkey (see Notes for Spatchcock Turkey Instructions)
- Oven + Roasting Pan: preheat oven to 450 degrees F. (we will reduce later) and ensure you have a roasting pan + rack (which lifts the turkey off the bottom of the pan and allows it to cook a bit faster). Add the chicken broth, onion, and rosemary/thyme to the bottom of the roasting pan. Ensure turkey is sitting in the roasting pan on top of the roasting rack, breast-side up.
- Prepare the Turkey: Combine the Herbed Butter ingredients and set aside. Pat turkey dry (outside and inside the cavity) with a clean paper towel. If stuffing, add your onion, orange, and herbs to the cavity of the cavity. Using your fingers gently separate the skin from the turkey breasts as much as you can. Push 3-4 tabs of butter underneath the skin. Take the Herbed Butter mixture, that you set aside, and spread all over the outside of the turkey.
- Place Turkey in Oven: place turkey inside the oven and turn the temperature down to 325 degrees F. Do not cover the turkey initially with aluminum foil – allow it to cook and once it starts to turn brown you can tent with foil, as-needed.
- Roast: Let turkey roast 13-16 minutes per pound.
- Baste: Melt the Basting Butter and use that to baste the turkey with a basting brush every 30-40 minutes. Once the Basting Butter is all used up simply use the basting liquid in the bottom of the roasting pan.
- Internal Temp: A turkey is fully cooked when it reaches an internal temp of 160 degrees F. at the thickest part of the meat (usually the thigh + breast). About halfway through the estimated cook time start checking the internal temperature so you can project how much longer will be needed. Again, if you notice certain parts of the turkey skin browning too quickly feel free to place a piece of foil over a specific area or tent the whole turkey if the whole thing is browning.
- Rest: Once the turkey has reached an internal temperature of 160 degrees F. remove from oven. Lift the roasting rack up and out of the roasting pan and place on a cutting board. Cover with foil and let rest 20-30 minutes. The turkey will continue cooking and residual heat will continue to raise the internal temperature 5 degrees. Transfer any liquid remaining in the bottom of the roasting pan to a glass measuring cup or fat separator so you can use it to make turkey gravy. Don’t forget to save the carcass to make homemade turkey stock.
- Carve + Serve: Follow this tutorial to learn how to carve your turkey then serve with homemade turkey gravy and all of your other favorite thanksgiving side dishes!
Notes
- *Turkey: I don’t recommend using a pre-brined/pre-salted turkey – the end result will be a turkey that is too salty. Instead find a natural or heritage turkey. (Note: we did test this recipe with a pre-salted turkey to see just how salty it was … while it wasn’t completely off-putting, it was noticeably saltier than most people would want or enjoy!)
- **Salt to Weight Ratio: use 1 tablespoon of salt for every 4-6 pounds of turkey.
- Spatchcock Method: if you spatchcock your turkey just know it will take approx. 6-8 minutes per pound – see our Juicy Spatchcock Turkey recipe for the full details!
- Extra Juicy: if you really want to amp up this recipe, add in this Turkey Injection recipe!
- Different Ways to Cook Turkey: besides roasting your turkey (either whole or spatchcocked) you can also grill your turkey (See: Grilled Turkey or Grilled Turkey Breast) or smoke your turkey (Ultimate Smoked Turkey recipe or Smoked Spatchcock Turkey).
- Dry Brine vs. Wet Brine: a wet brine includes submerging the turkey in a salt/water mixture – learn more about it here: How to Brine a Turkey.
- Roasting Rack/Foil Roasting Pan: if you are using a disposable roasting pan then I would recommend using either carrots or celery stalks as your “roasting rack” – just line them up in the bottom of the pan and place your turkey, breast-side up, on top of them.
- Tin Foil: you can start with the foil tented over the turkey and then remove it half way through cooking if you prefer, but I like starting without it and adding it as-needed as the turkey browns.
- Storage: store leftover turkey in an airtight container in the refrigerator for up to 3 days or in the freezer for up to 3 months.




Leave a Rating & Comment