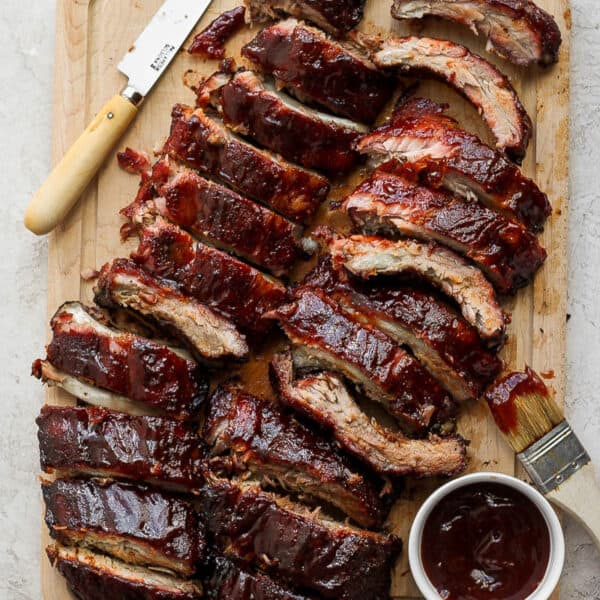
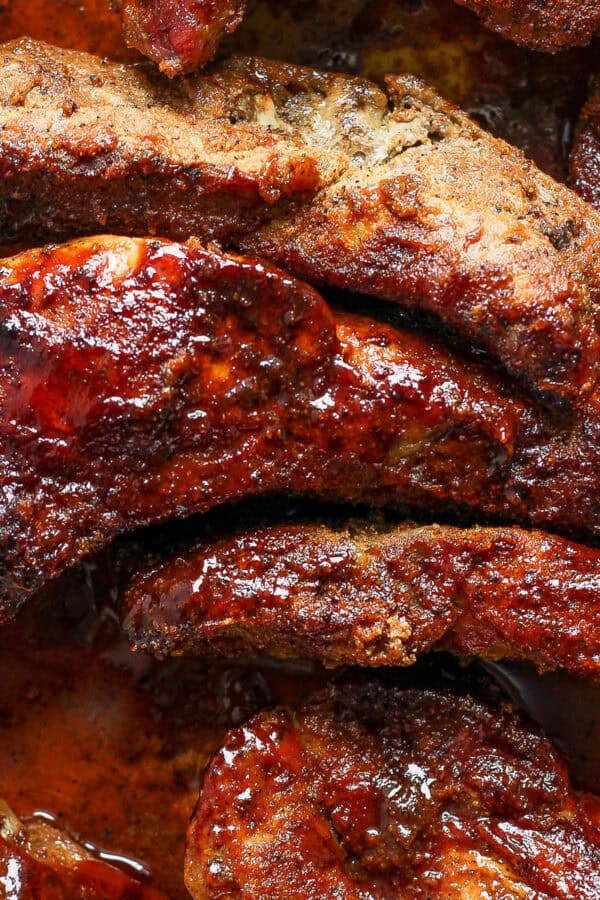
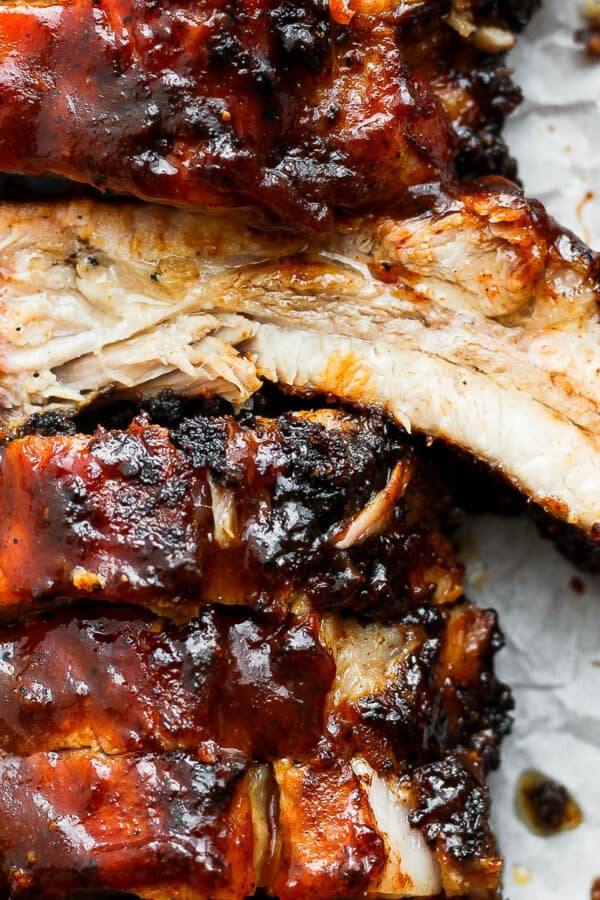
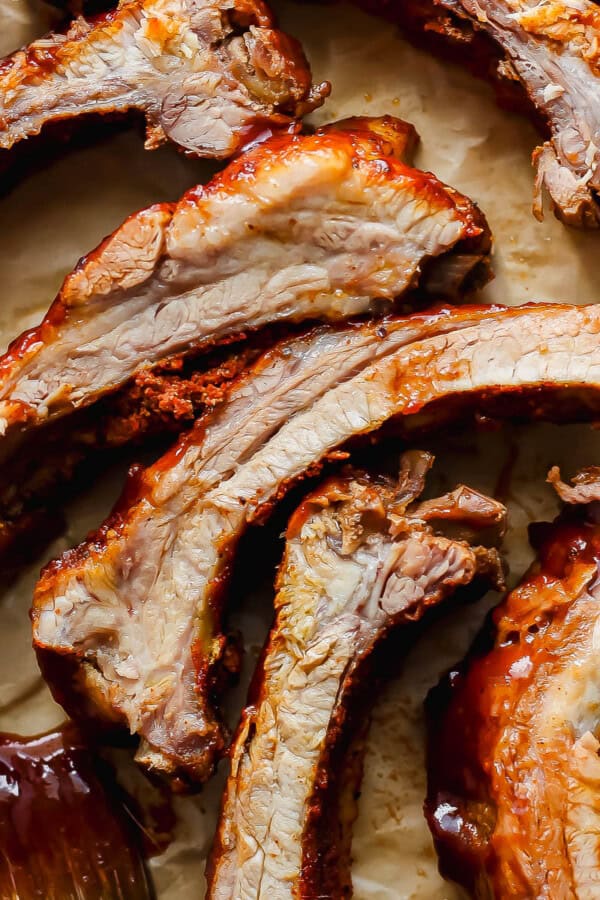
Oven Baked Ribs are such an easy, fool-proof way to make fall-off-the-bone ribs without a grill or smoker! Cooking ribs in the oven is a great way to feed a crowd or get out of the heat!
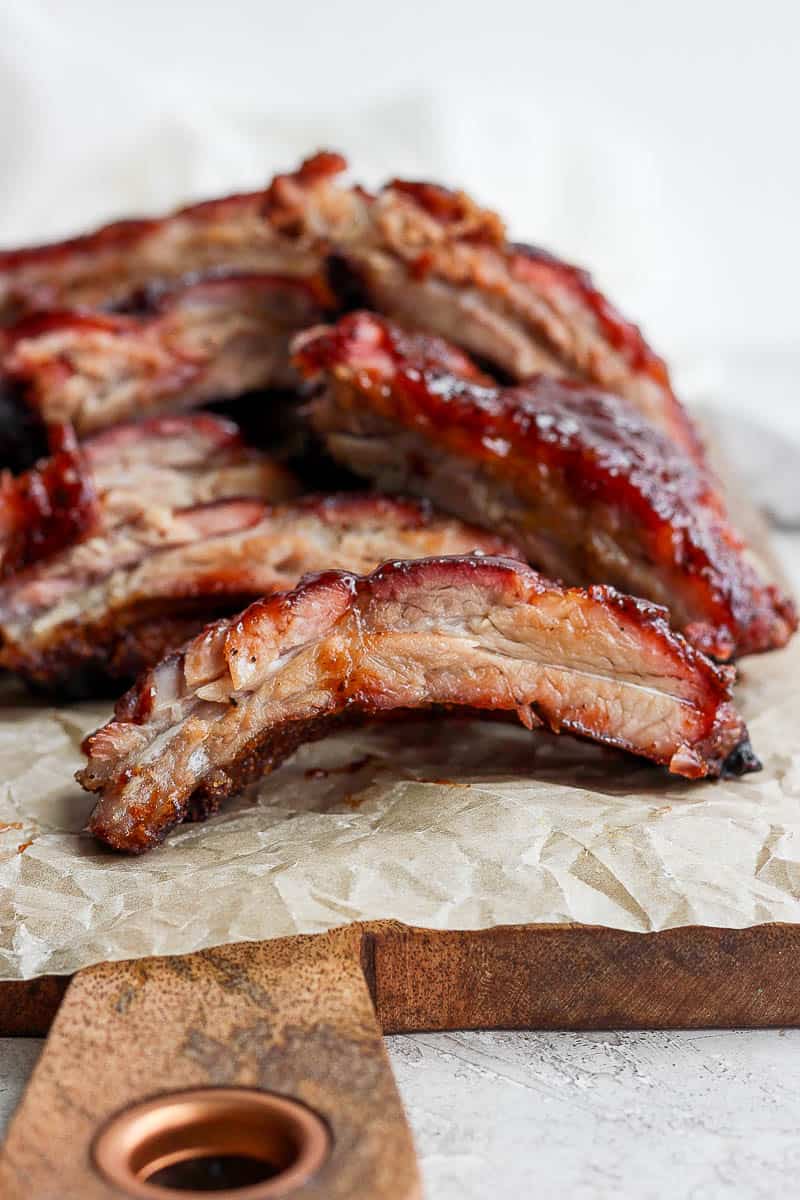
The BEST Oven Baked Ribs
I based this recipe off of my other favorite way to cook ribs (See: Smoked Baby Back Ribs) and they are SO, SO good! I know not everyone has a smoker or grill and this is such an easy way to make ribs in the oven at home that are bone tender and juicy (See also: Best Grilled Ribs)! Feel free to try out our Homemade BBQ Sauce or use your favorite store-bought brand. Some of our favorite side dishes to serve with these are Boiled Corn on the Cob, Smoked Baked Beans, Creamy Coleslaw and Gluten Free Cornbread Muffins for a delicious meal!
Oven Baked Ribs Ingredients
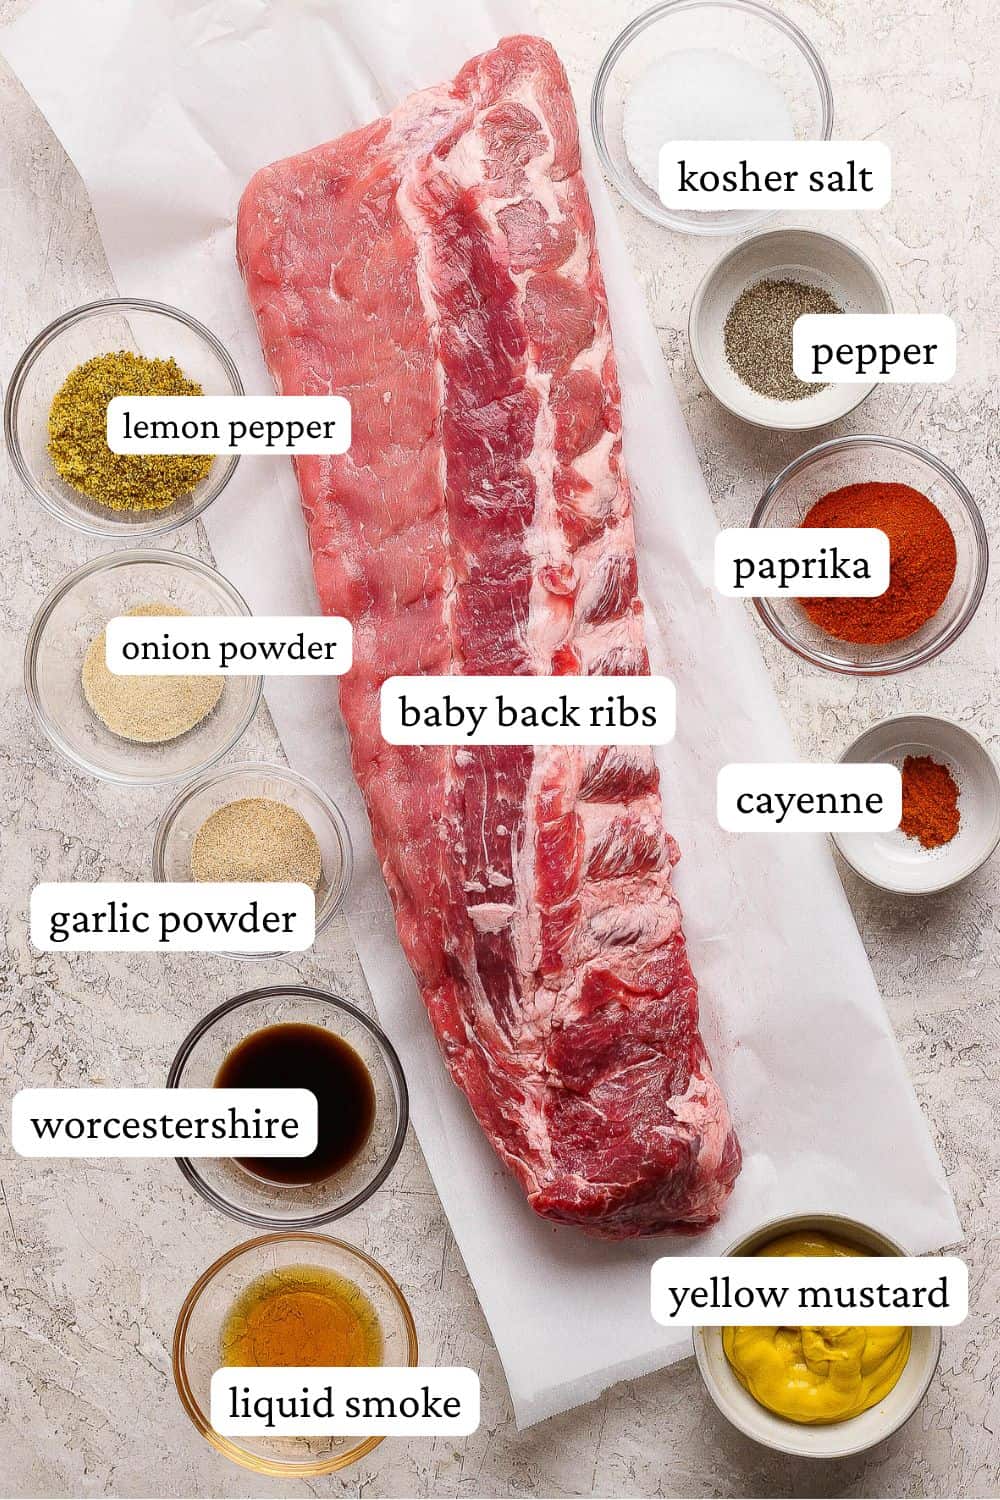
- baby back ribs: we usually use two racks of ribs – leftovers are amazing!
- worcestershire sauce + yellow mustard + liquid smoke: these are rubbed all over the ribs and then the dry rub is added and together they make a paste.
- One batch of dry rub for ribs: I absolutely love our homemade dry rub for ribs which is a combination of spiced like kosher salt, ground black pepper, paprika, lemon pepper, garlic powder, onion powder and a little bit of cayenne. This is included in the recipe card below!
- barbecue sauce: feel free to use any kind of bbq sauce you want – we do have a delicious homemade bbq sauce on the site if you want!
How Do You Remove the Membrane From Ribs
A lot of pre-packaged ribs already have the membrane removed, but if you bought your ribs straight from a butcher, it might be there (but you can always ask them before you buy it and if it is still there, ask them to remove it for you!). The membrane is the thin layer on the back of the ribs that is white(ish) in color. Simply take the tip of your knife and lift of the corner and slowly pull it off! Easy! (See picture below)
How to Make Oven Baked Ribs
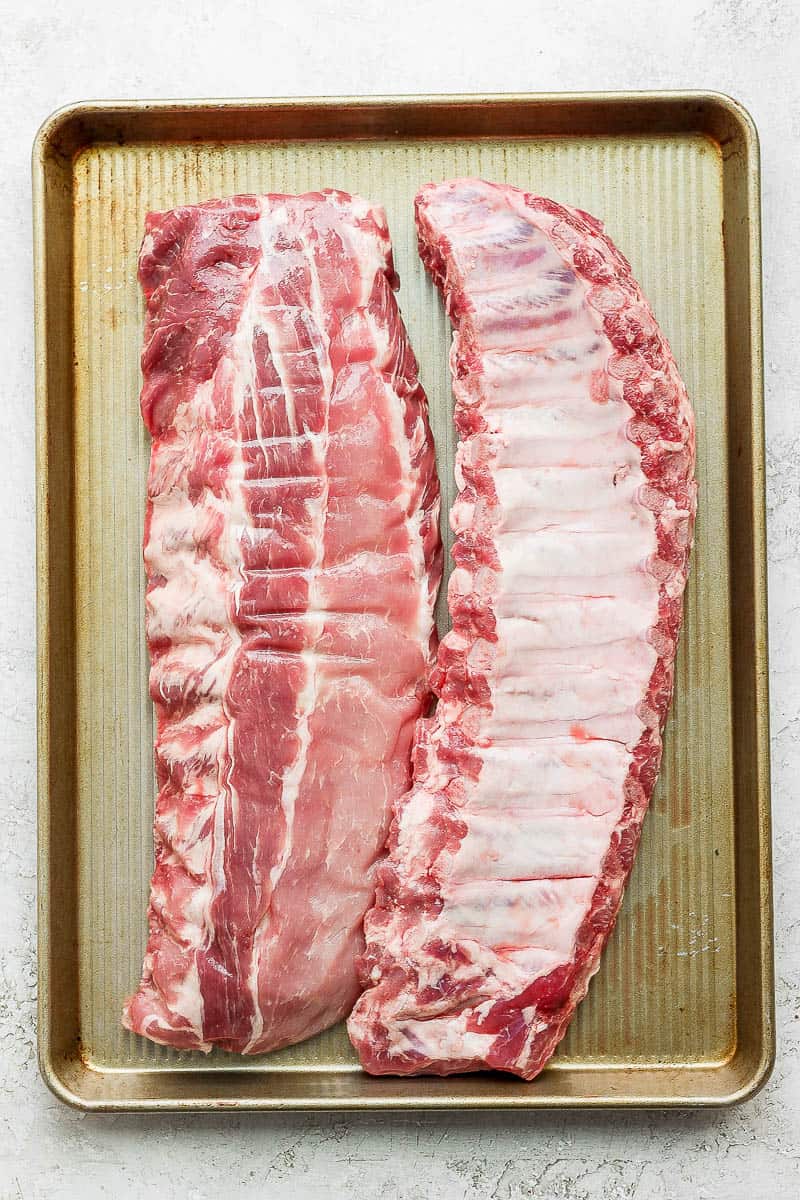
Step 1: Remove ribs from packaging and place on a clean surface (like a large baking sheet or cutting board).
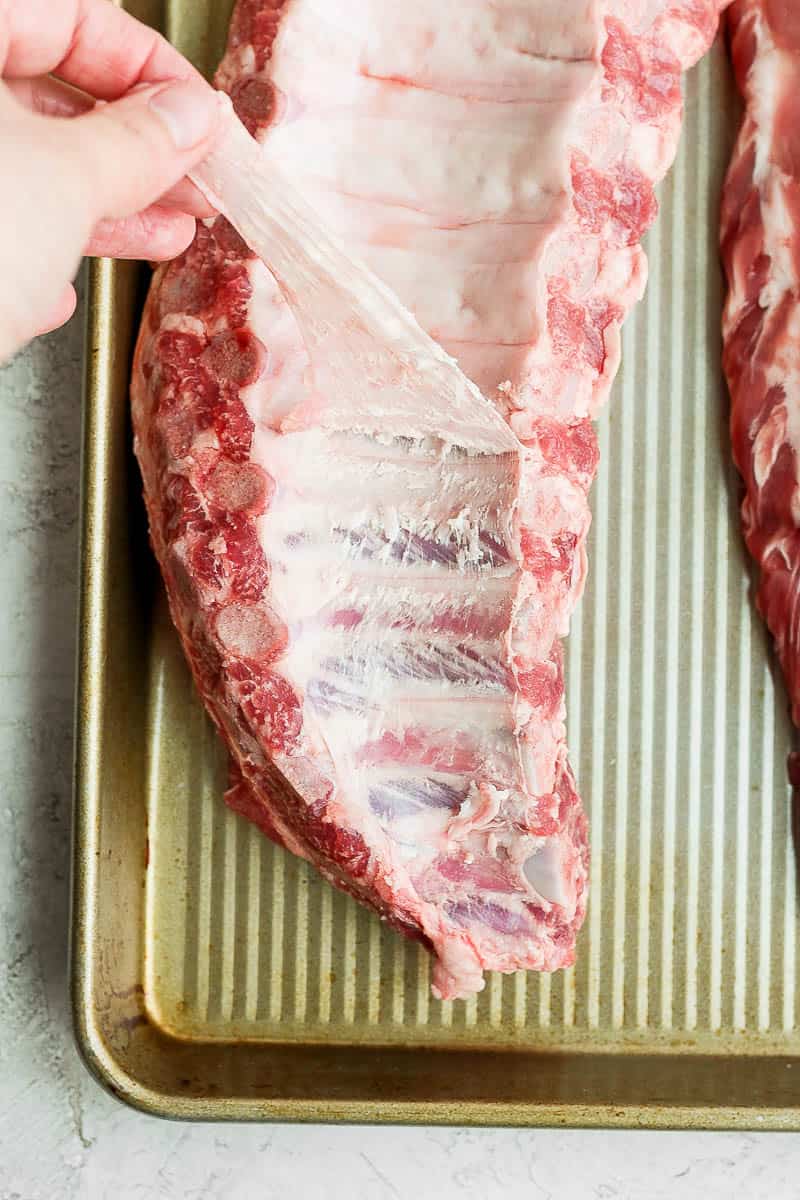
Step 2: Flip ribs over so the meat side is facing down. If there is a membrane still attached, use a sharp knife to help lift the thin membrane off of the ribs and then continue lifting and pulling until the whole layer comes off.
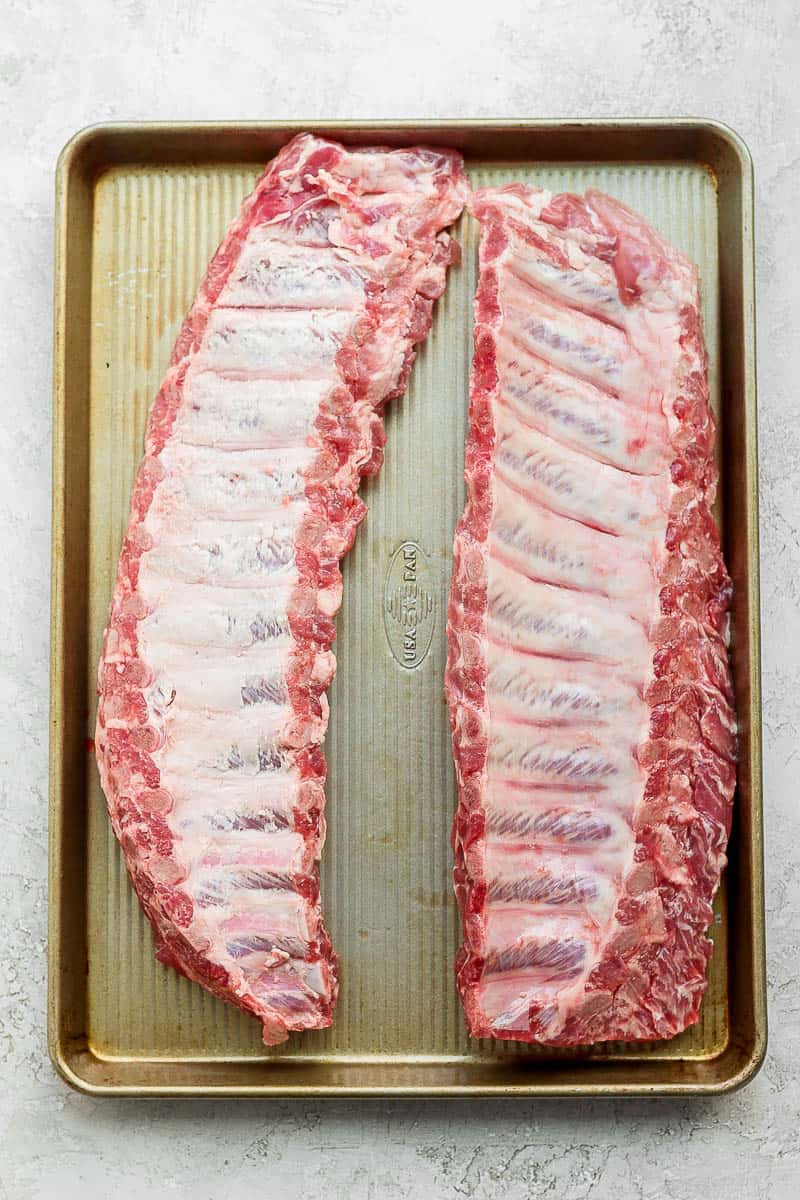
This is what they look like without the membrane attached.
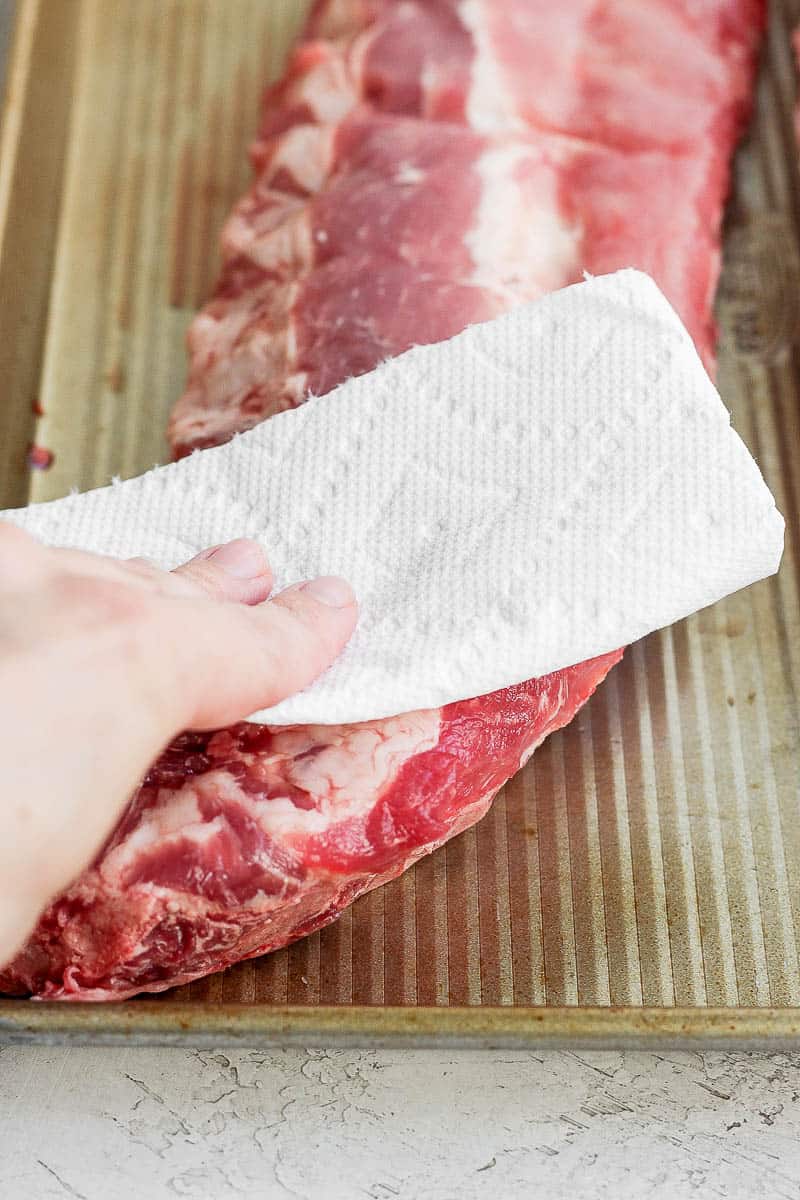
Step 3: Pat ribs dry all over with a clean paper towel.
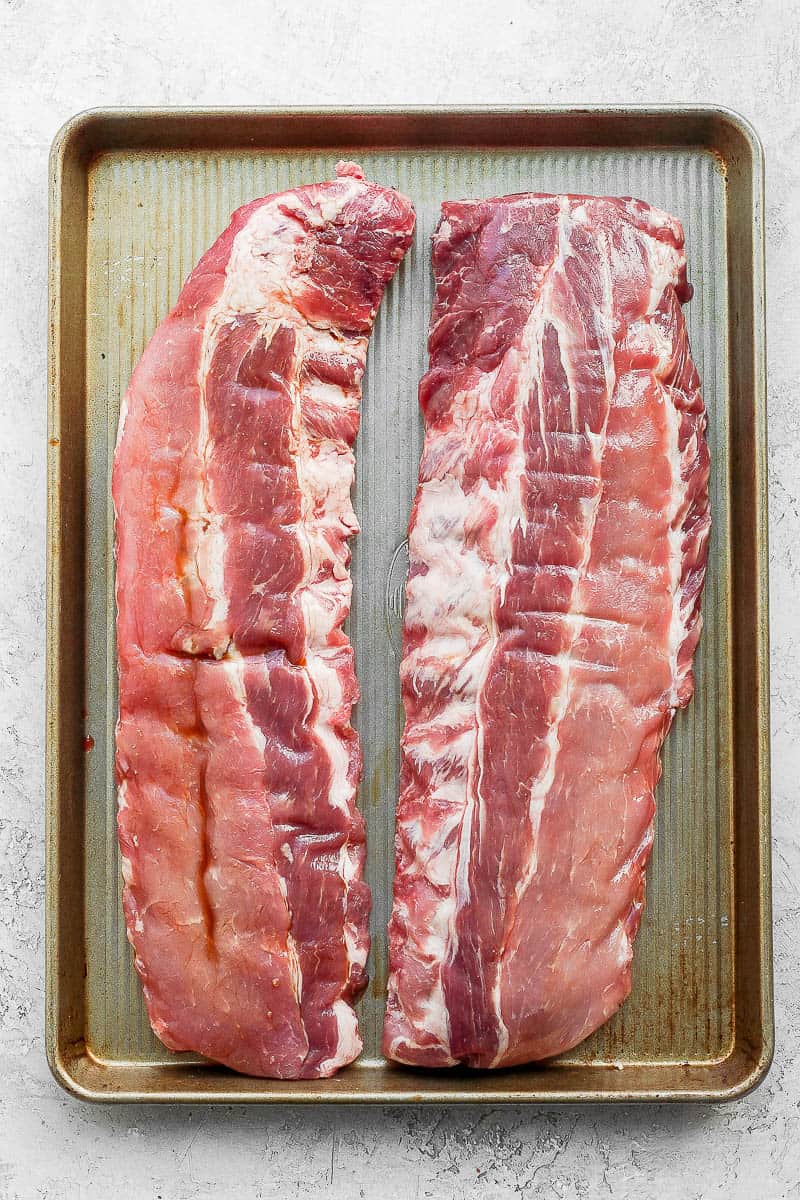
Step 4: Rub all over with worcestershire sauce.
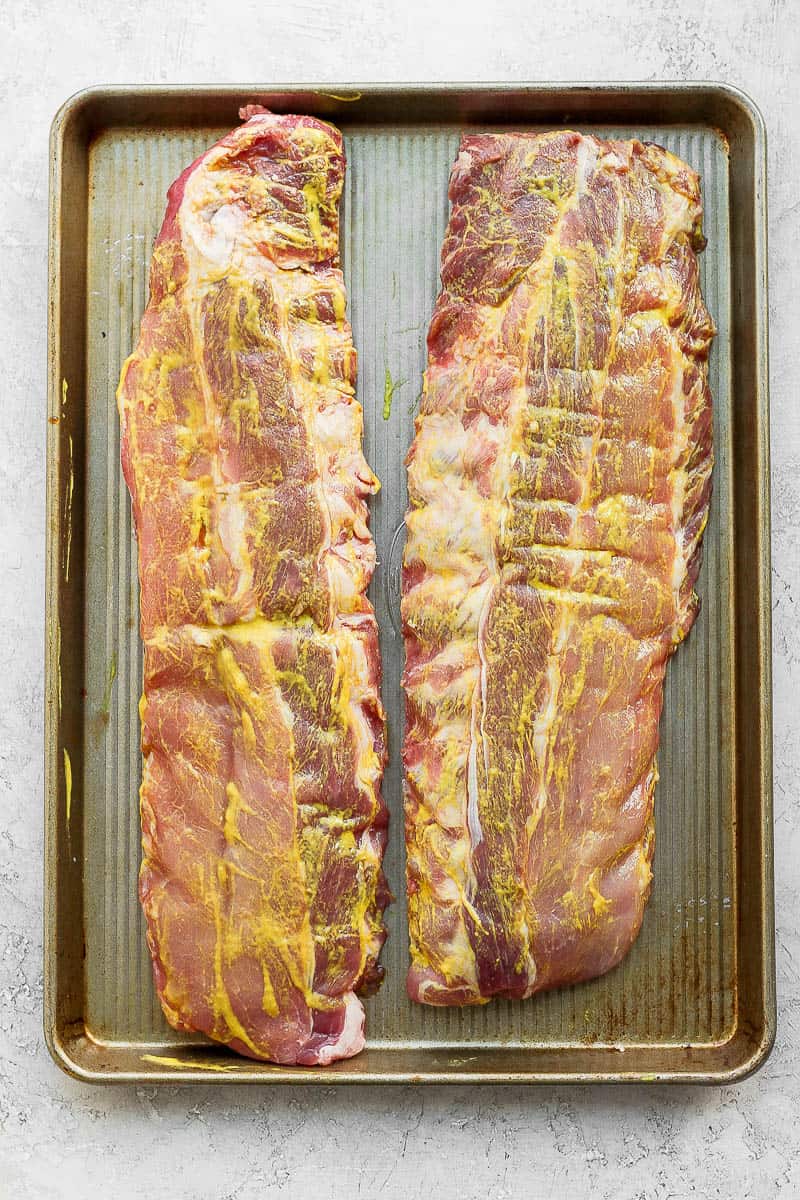
Step 5: Rub all over with yellow mustard.
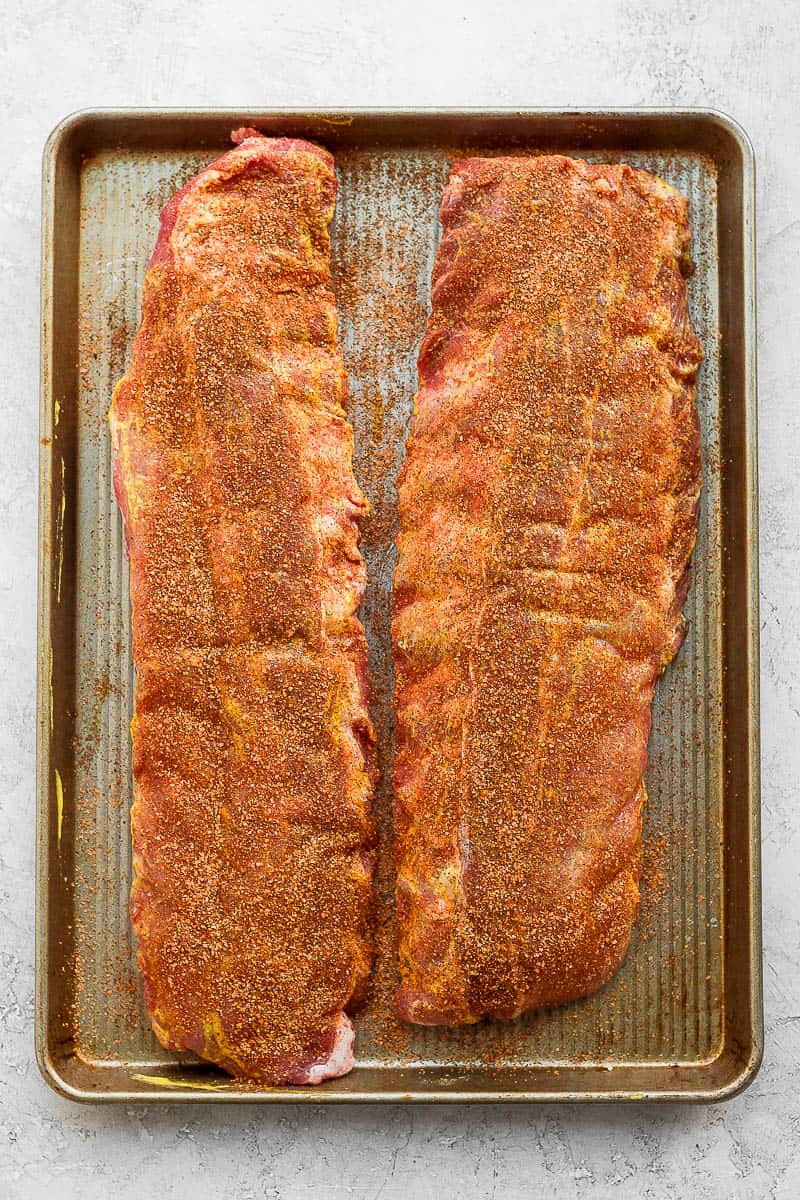
Step 6: Rub all over with our homemade spice rub. Place on foil-lined baking sheet and cook per the recipe card below! Don’t forget to brush on your favorite BBQ Sauce at the end!
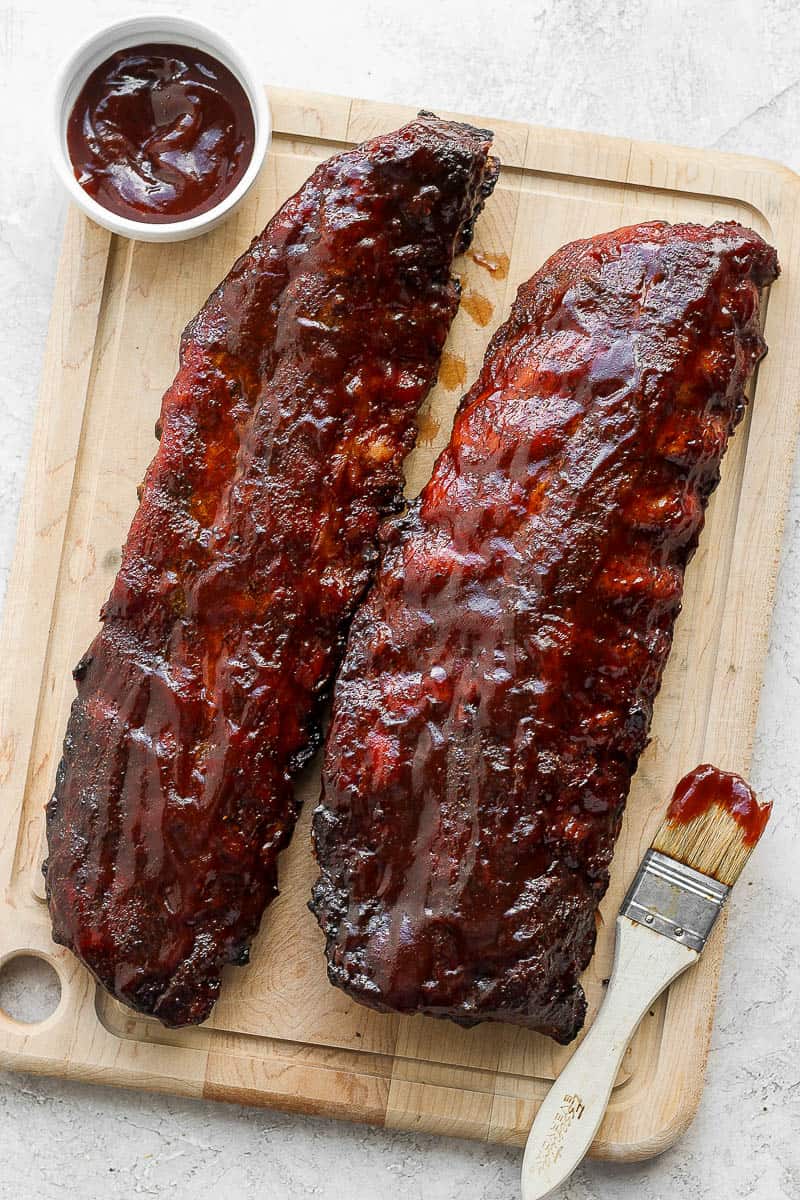
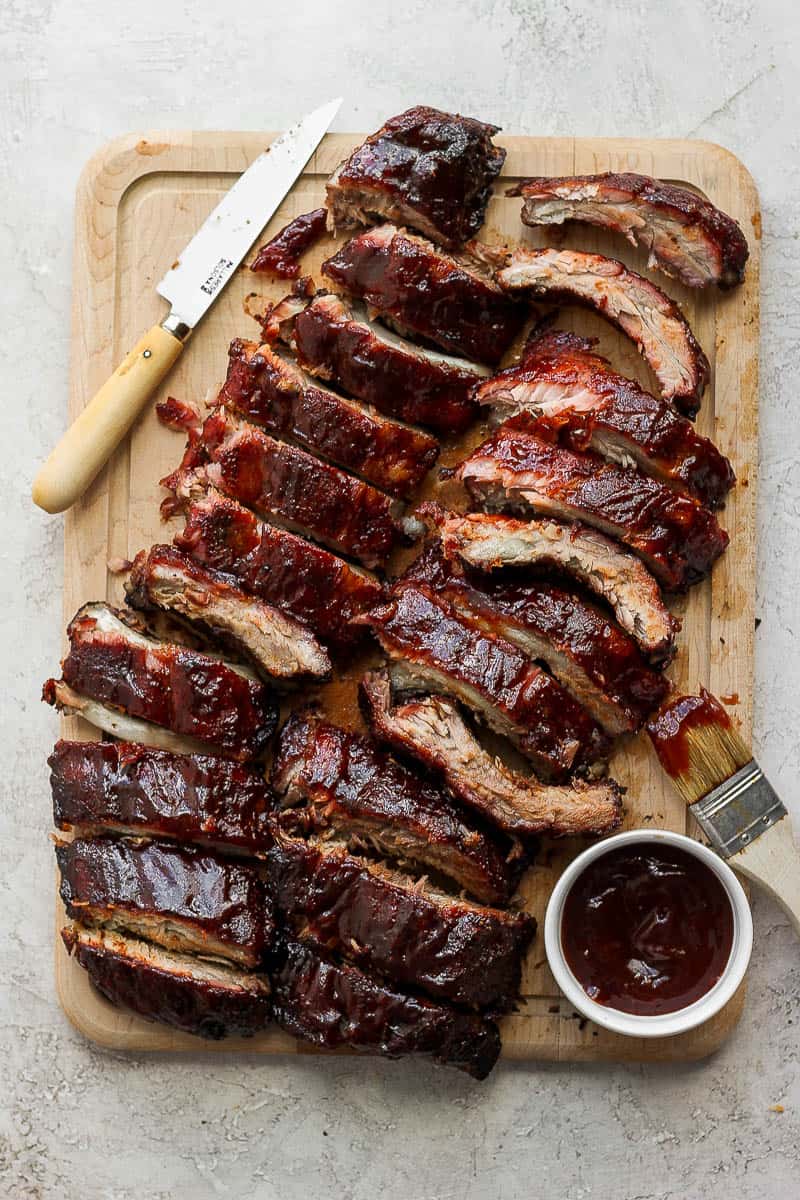
Step 7: Let rest for 5-10 minutes and then enjoy (cover or wrap ribs with tin foil while they are resting)!
Erin’s Signature Rib Preparation
In testing this recipe I borrowed a preparation method from my smoked pork shoulder recipe that I absolutely love and it works so well here! It involved a base on the ribs of worcestershire sauce, liquid smoke and yellow mustard followed by our beloved homemade dry rub for ribs! The cook times are based off of our popular smoked baby back rib recipe!
Oven Baked Ribs Side Dishes
- Purple Cabbage Slaw
- Classic Creamy Coleslaw
- Gluten-Free Cornbread
- Seven Layer Salad
- Grilled Corn on the Cob
- Grilled Broccoli
- See all of our recommended Side Dishes for Ribs here!
Oven Baked Rib FAQs
No. Ribs do not need to be washed or rinsed before cooking. According to the USDA, this not recommended as it can increase the risk of cross-contamination.
Yes, you should take the membrane off of the ribs before cooking. If you do not remove it, the ribs will be much harder to cut apart after cooking and tougher to eat.
Ribs do not need to be covered when cooking. They have enough natural fat on them that the fat self-bastes itself while cooking. You CAN cover them with aluminum foil, but that may impact the cooking time. For this recipe we do not recommend covering with tin foil.
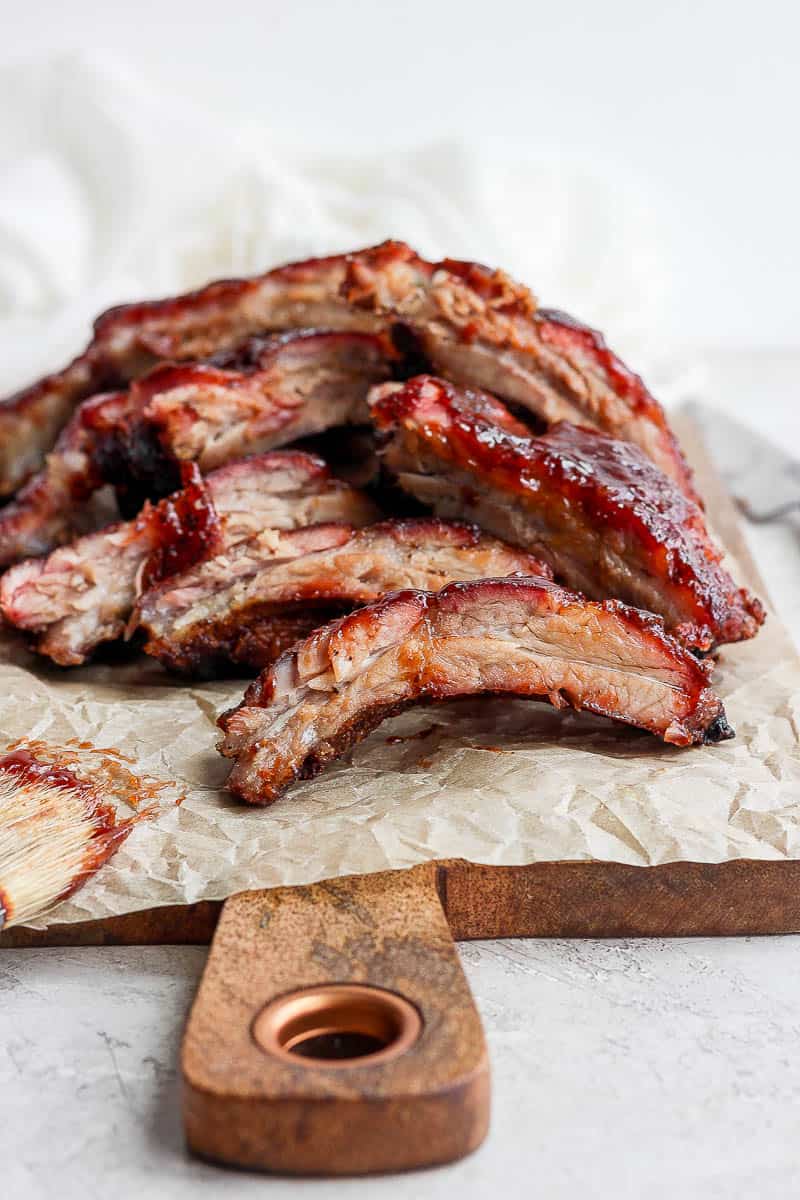
With this recipe it takes approximately 6 hours to cook ribs in the oven. Ultimately, you are looking for your ribs to reach an internal temperature of 190 – 200 degrees F. Ribs are safe to eat once they reach 145 degrees F, but the meat would be much too tough. Once the meat reaches an internal temperature of 190 – 200 degrees F. the meat is tender and juicy and will fall off the bone!
Ribs are generally cooked between 225 – 275 degrees F. For this recipe, we are starting off low at 225 degrees F. and gradually increase the temperature until it ultimately gets to 275 degrees F. Then, at the end we crank it up to 350 degrees F. to help caramelize the bbq sauce (you can also broil them for a minute or two instead if that is what you prefer)!
Made this recipe and loved it?!
We would love it if you would take a minute and leave a star rating and review – it is also helpful if you made any substitutions or changes to the recipe to share that as well. THANK YOU!
Follow Us on Social
Video
Ingredients
Oven Baked Baby Back Ribs:
- 2 racks of baby back ribs
- 1-2 tablespoons liquid smoke
- 1 –2 tablespoons worcestershire sauce
- 2 –4 tablespoons yellow mustard
- 1 bottle of your favorite, smokey barbecue sauce (we also like this homemade bbq recipe!)
Dry Rub for Ribs:
- 1 1/2 tablespoons kosher salt
- 2 1/2 tablespoons smoked paprika
- 2 1/2 tablespoons lemon pepper
- 1/2 teaspoon cayenne pepper, optional
- 1 tablespoon smoked garlic powder
- 1/2 tablespoon onion powder
- 1/2 tablespoon ground black pepper
Instructions
- Preheat oven to 225 degrees F.
- Remove Membrane: Take ribs and remove the thin layer of connective tissue on the non-meat side (aka the membrane).
- Make Dry Rub: Combine dry rub ingredients in a small bowl. and set aside.
- Prep Ribs: Pat ribs dry with a clean paper towel. Rub liquid smoke all over ribs. Followed by the worcestershire and then the yellow mustard. Rub dry rub all over ribs.
- 1st 4 Hours at 225: Place ribs on a foil-lined baking sheet (or large roasting pan), meat-side up. Bake for 4 hours (middle rack, uncovered).
- 1 Hour at 250: Turn oven up to 250 degrees F and let ribs cook for another hour.
- Finish at 275: Turn oven up to 275 degrees F and let ribs cook for another hour or until ribs have reached an internal temperature between 190 – 203 degrees F (approximately 1 hour) remove ribs from oven and turn oven up to 350 degrees F.
- Sauce: Sauce the ribs generously with your favorite BBQ sauce and place back in oven for 6-8 minutes, or until the BBQ sauce becomes tacky (you can also do this under the broiler – just watch them closely so the sauce doesn’t burn).
- Rest: Remove ribs from oven and let rest 15 minutes. Serve and enjoy!
Notes
- Fav BBQ Sauce: Feel free to use whatever sauce you want but we do have a smokey + sweet homemade barbecue sauce recipe if you want to use that or you can grab a bottle of Sweet Baby Ray’s or any other brand of your favorite barbecue sauce!
- Type of Ribs: feel free to really use any type of rib for this recipe: spare ribs, baby back ribs, etc.
- Brown Sugar: feel free to add a bit of brown sugar to our homemade dry rub – just a tablespoon or two works great!
- Liquid Smoke: Liquid smoke is amazing and can be found at most grocery stores typically by the bbq sauce, etc. I have always used the Wright’s Liquid Smoke and loved it!
- Paleo/Whole30: to make Paleo/Whole30 simply omit the Worcestershire sauce and ensure your bbq sauce is compatible.
- Let them rest: don’t skip this step!
- What to Serve: make it a meal with some lemon pasta, purple cabbage slaw, slow cooker baked beans and cornbread muffins!
- Leftovers: store leftover pork ribs in an airtight container in the refrigerator for up to 3 days.
Nutrition
Originally posted May 28, 2021.




Ginger says
The hardest part of the recipe was removing the membrane. The rest was easy to follow! My family loved them! My only suggestion would be to keep a close eye on that last hour to prevent them from overcooking. Wonderful recipe!
Erin Jensen says
Thanks, Ginger! And agree – sometimes taking that membrane off is a breeze … and sometimes they are extra annoying!! Glad you enjoyed the recipe and thanks for taking the time to come back and leave a rating and review – I really appreciate it!