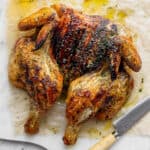
Quick Look at this Pellet Grill Spatchcock Chicken
- Ready In: about 3.5 hours
- Serves: 6
- Main Ingredients: whole roasting chicken, olive oil, butter, and my simple smoked chicken dry rub.
- Dietary Info: Whole30, Paleo, Dairy-Free, Gluten-Free
- Best For: Sunday Supper, backyard cookout, 4th of July
Share and summarize this recipe:
Why You’ll Love This Recipe

- Easily learn how to spatchcock a chicken.
- Spatchcocking Chicken: faster cook time, more even cooking, and crispy skin.
- Electric smoker provides the most amazing smoky flavor to the chicken.
- Use an optional smoked chicken brine (if time allows) for even more juiciness!
Key Ingredients + Substitutions
Be sure to see the recipe card below for a full listing of ingredients, instructions, and estimated nutritional information.
- Whole Chicken – make sure it is fully thawed and that any gizzards or items inserted in the chicken’s cavity are removed before cooking.
- Olive Oil – swap for avocado oil, if desired. A neutral oil will help you achieve a golden brown, crispy skin.
- Dry Rub – highly recommend using our homemade smoked chicken dry rub (only takes 5 minutes) or use a store-bought version.
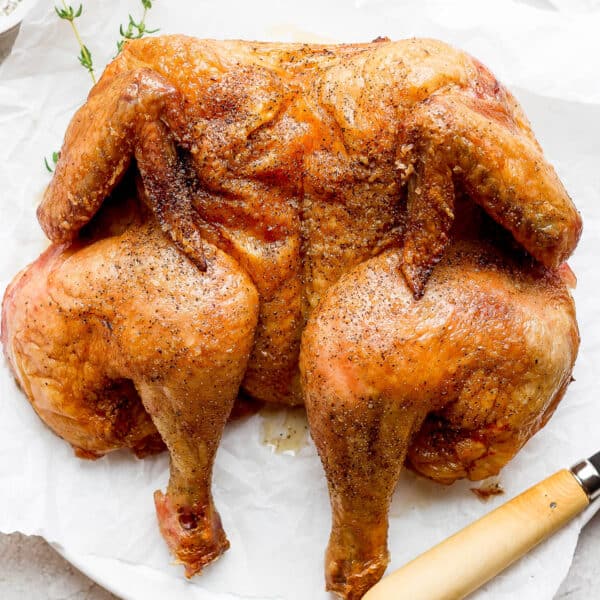
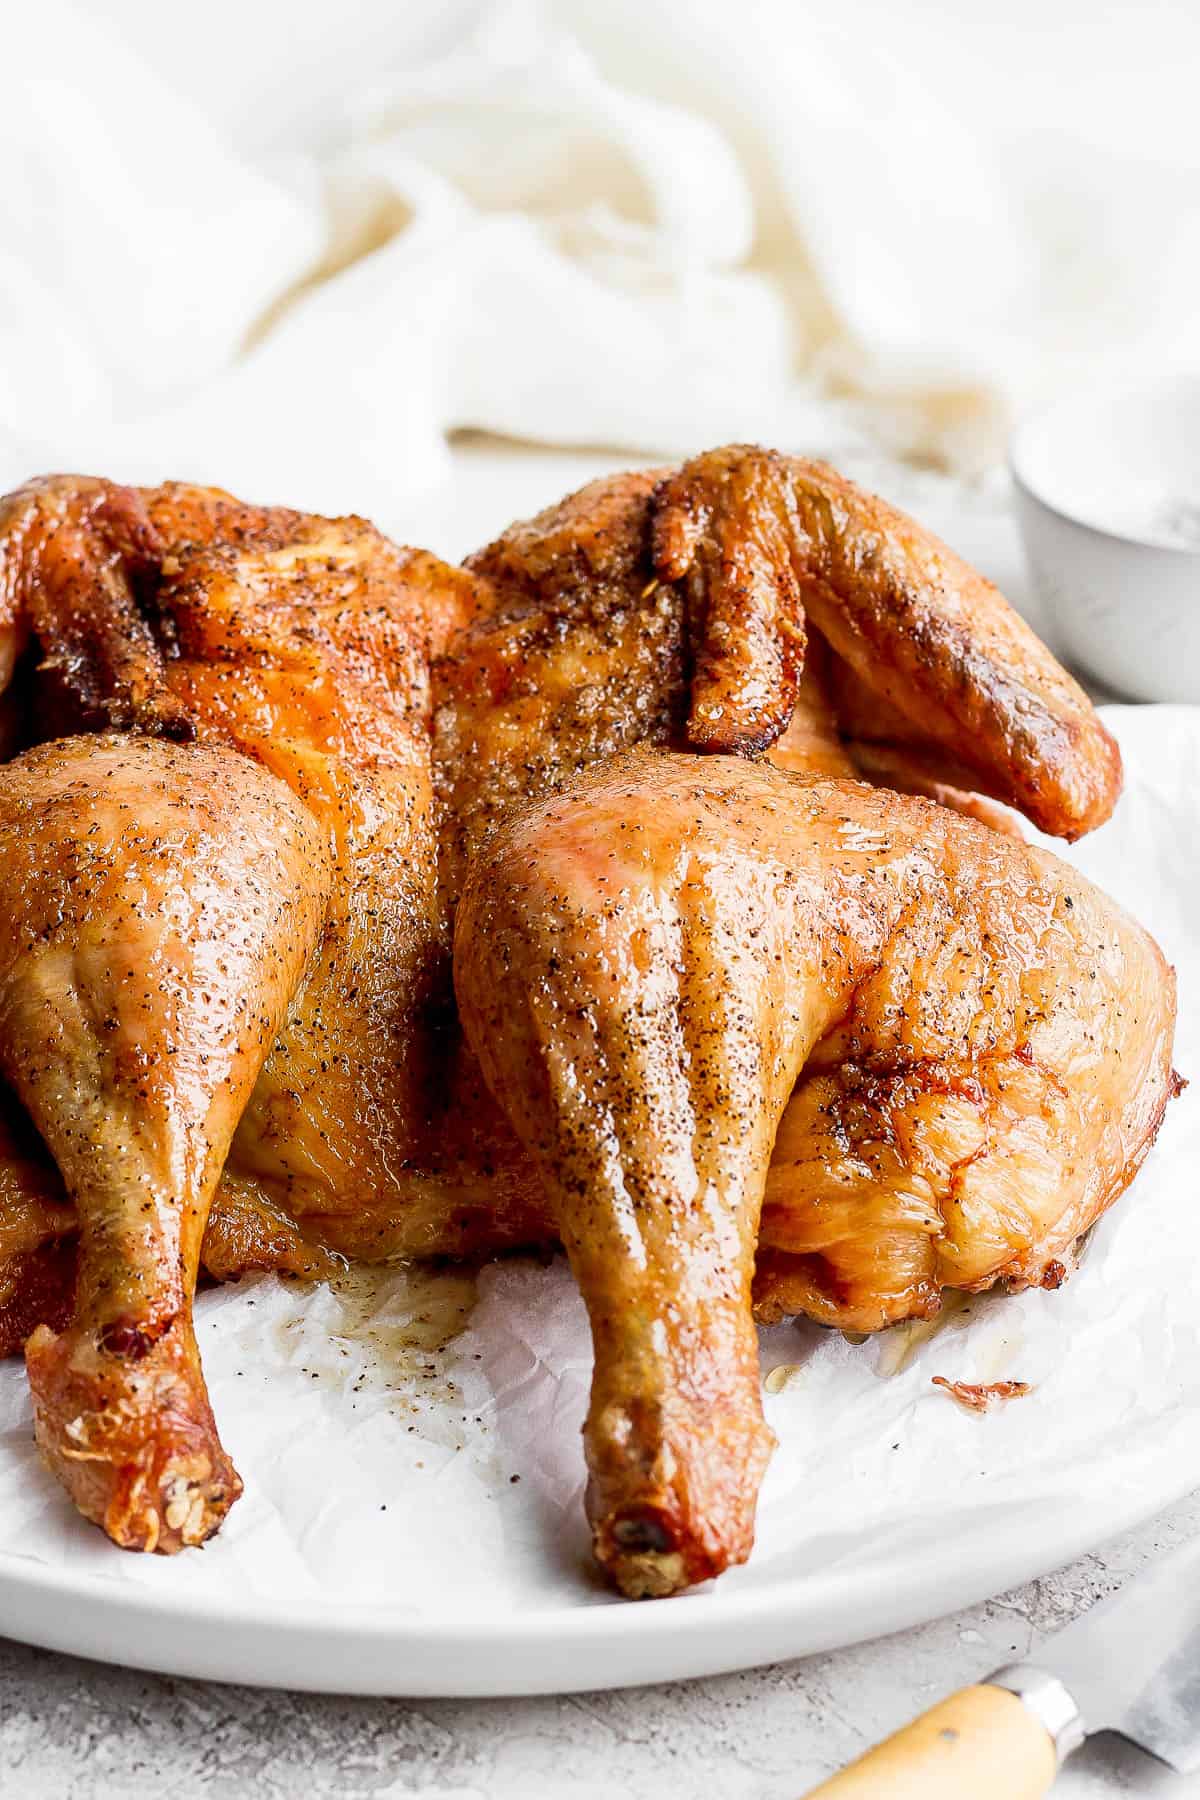
How To Make Smoked Spatchcock Chicken
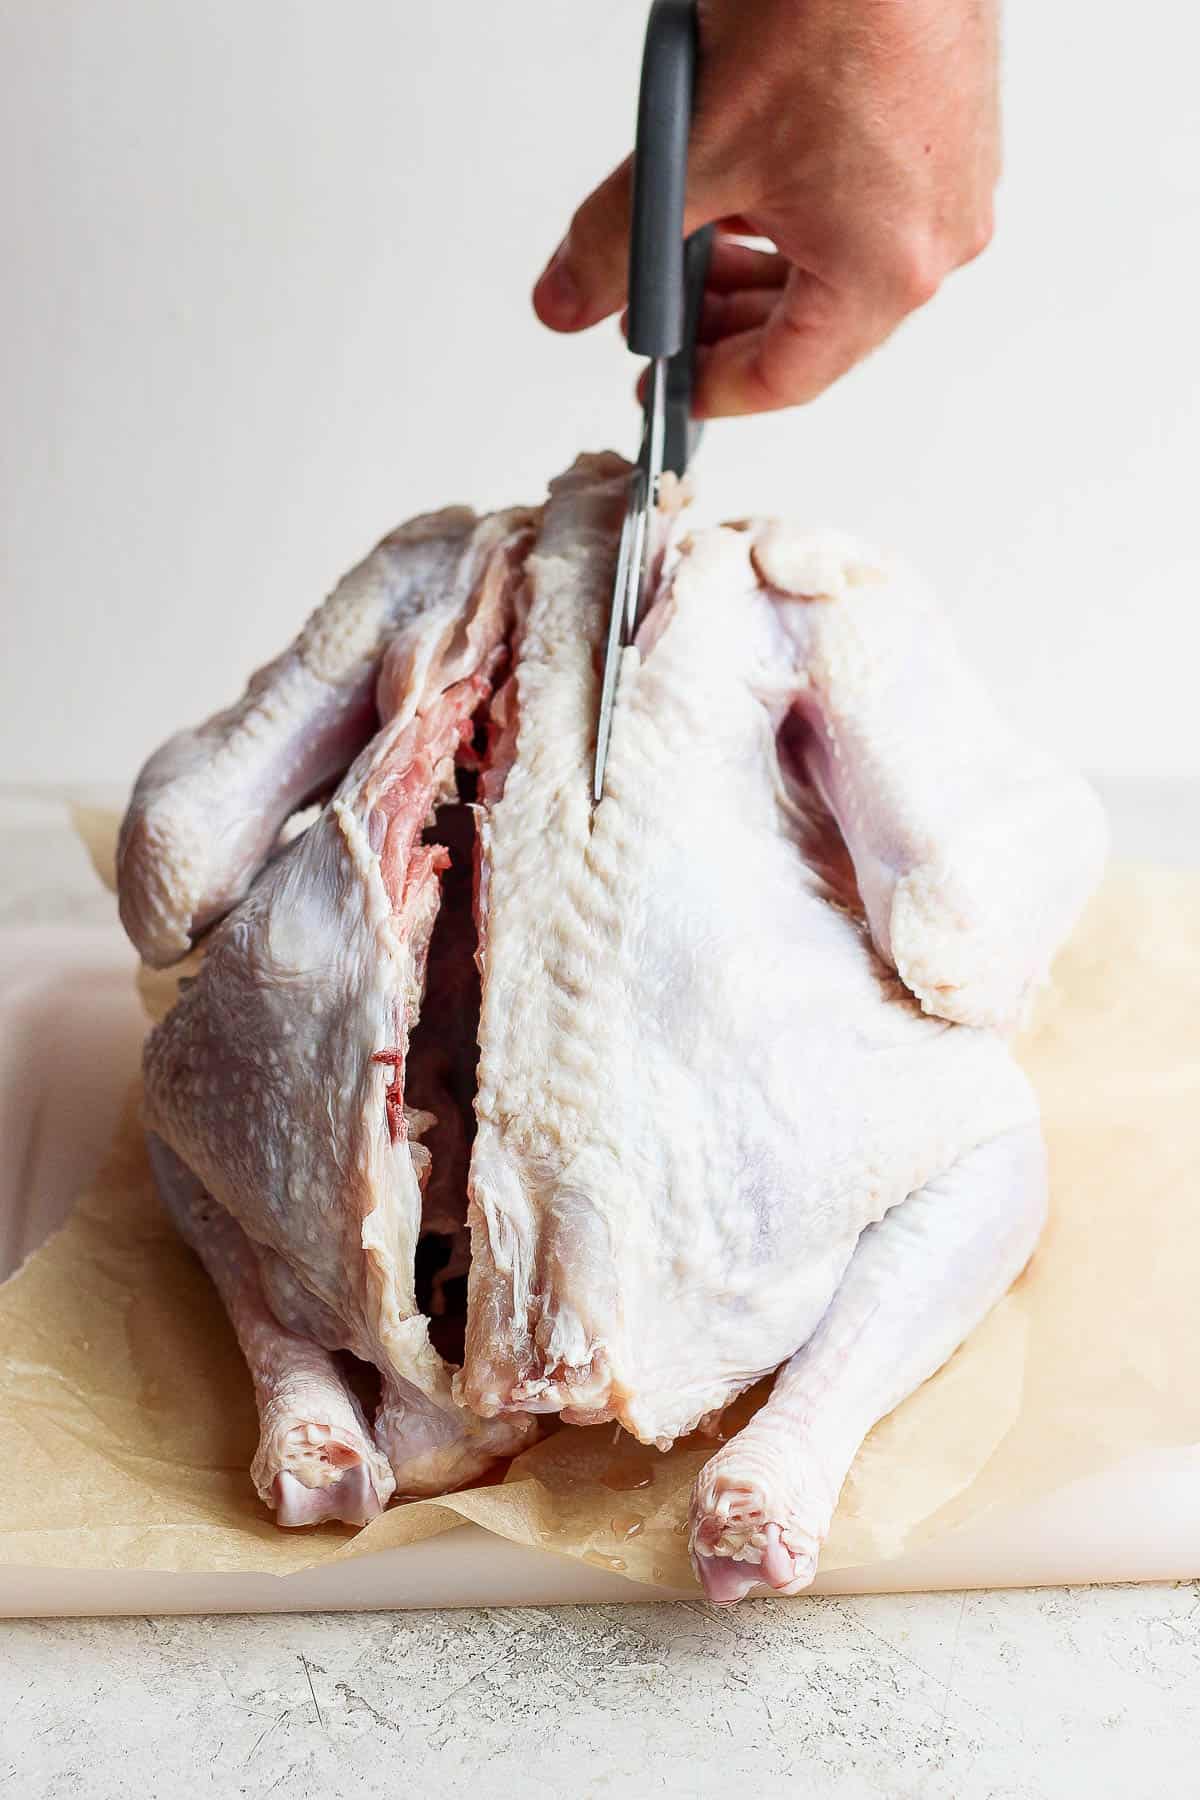
Step 1 – Spatchcock the chicken by cutting out the backbone.
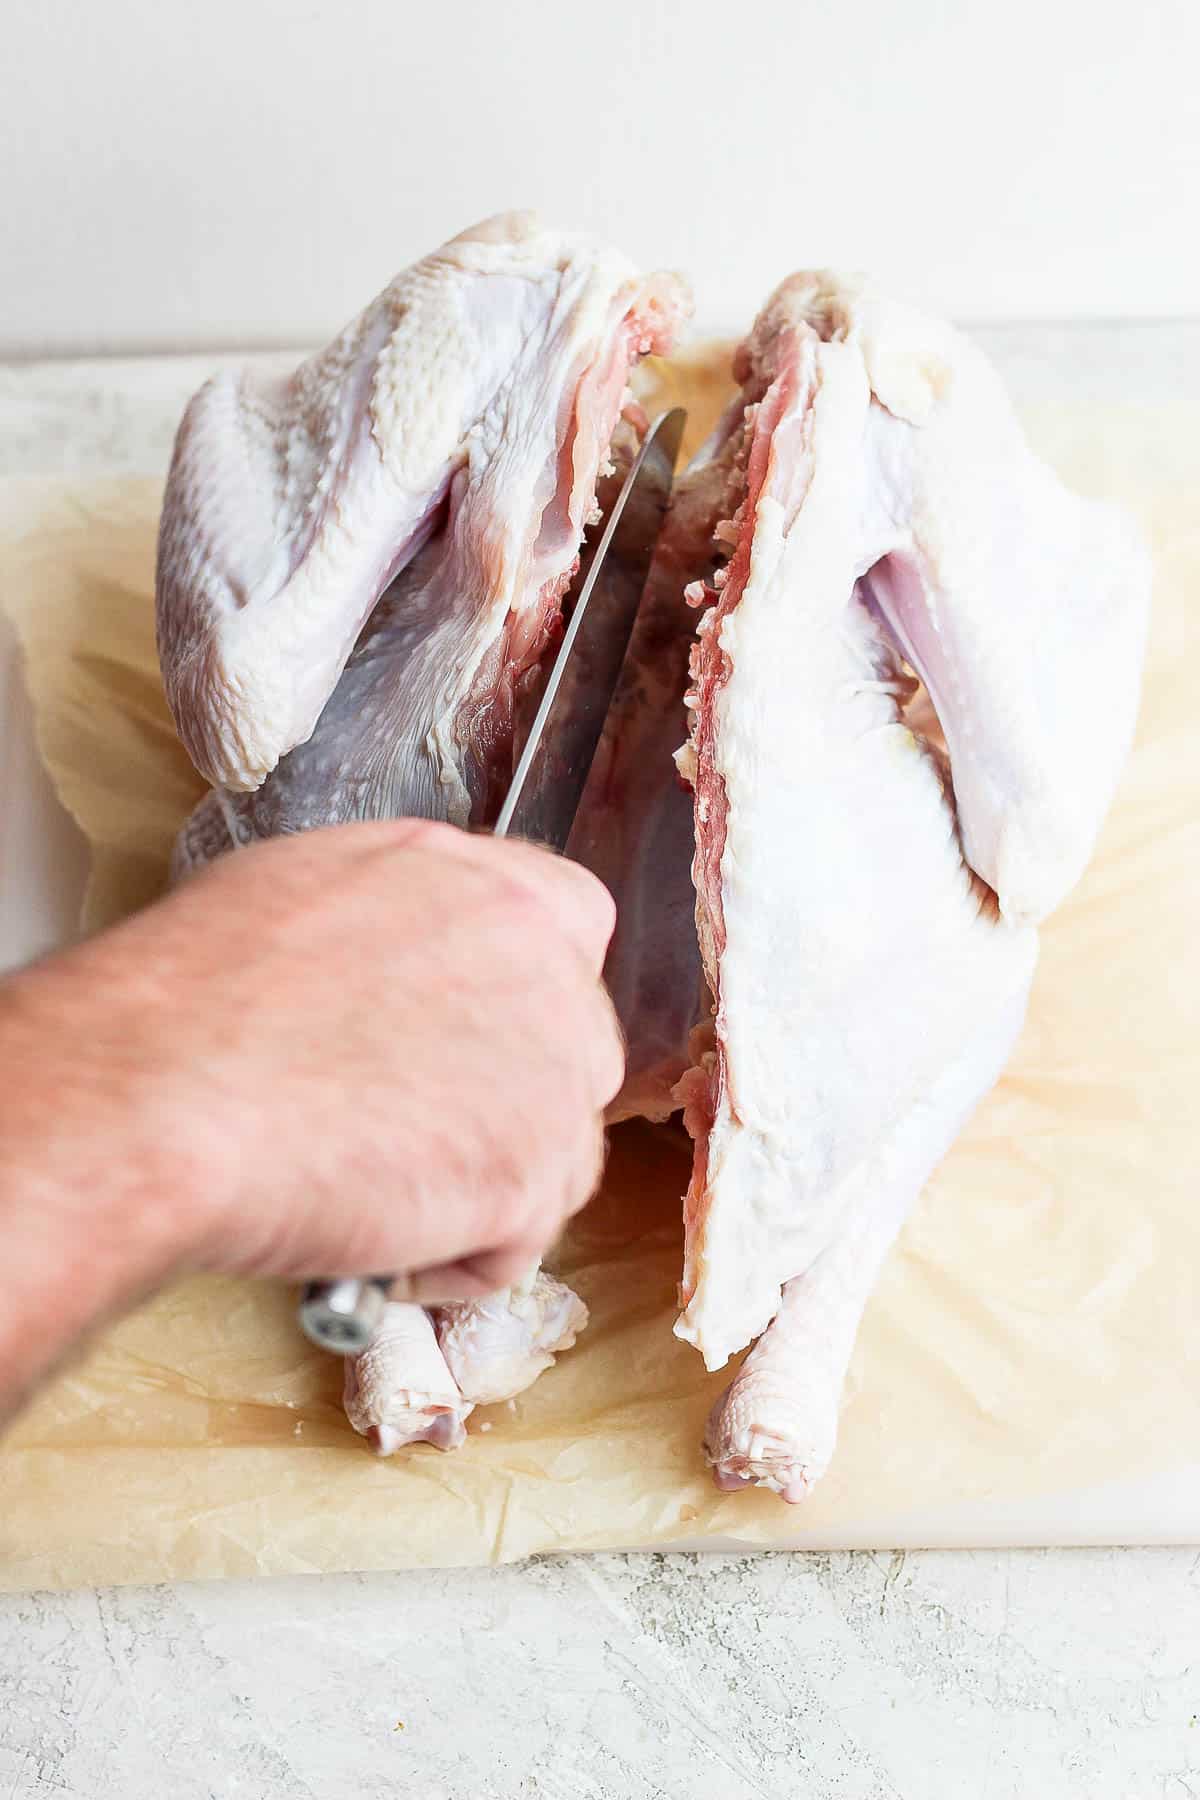
Step 2 – Then cut the cartilage at top of the breastbone.
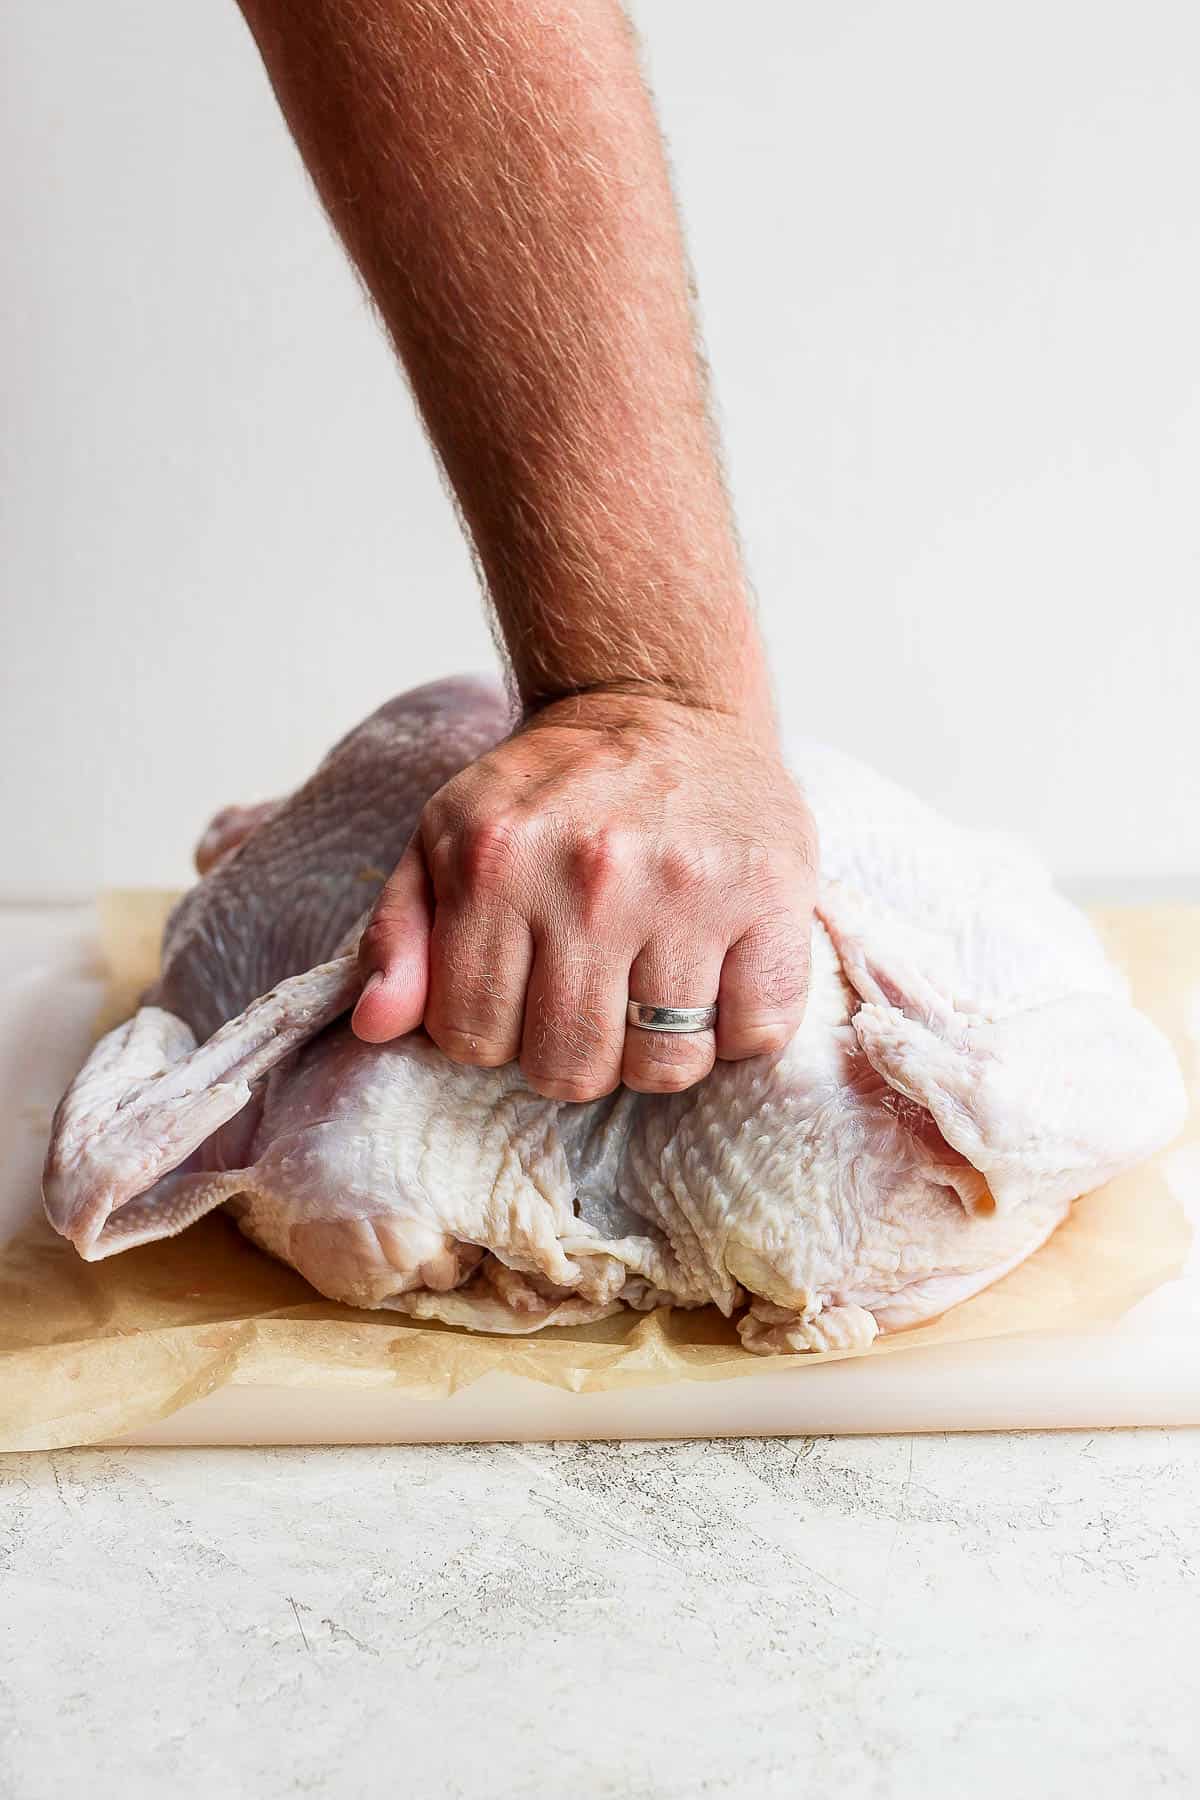
Step 3 – Flip the chicken and firmly press down until it cracks.

Step 4 – Rub the chicken down with oil and any seasonings.
Pro Tip – Dry Rub vs. Marinade
Personally, I like a flavorful dry rub on smoked chicken rather than a marinade. But if you are more of a marinade person, I have the best chicken marinade recipe!
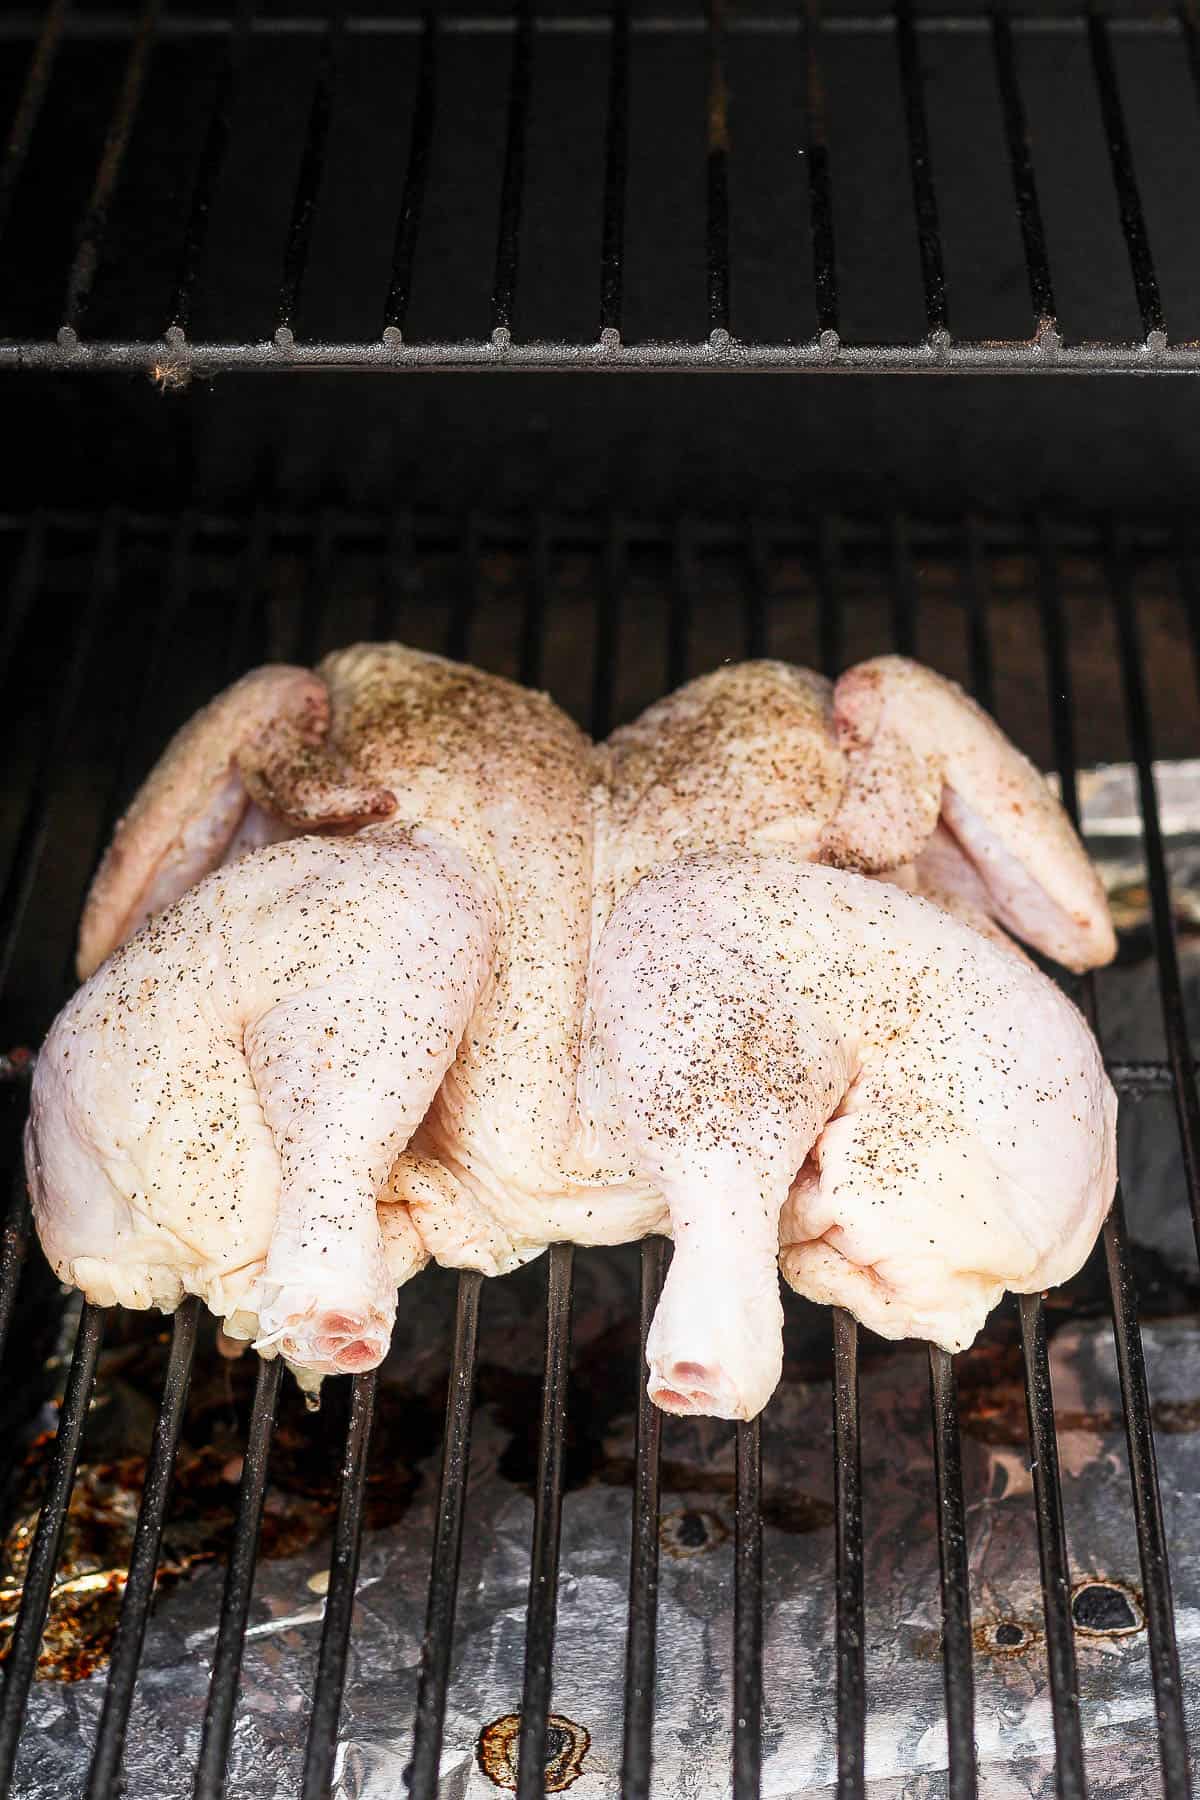
Step 5 – Place spatchcock chicken on smoker at 225 degrees F.
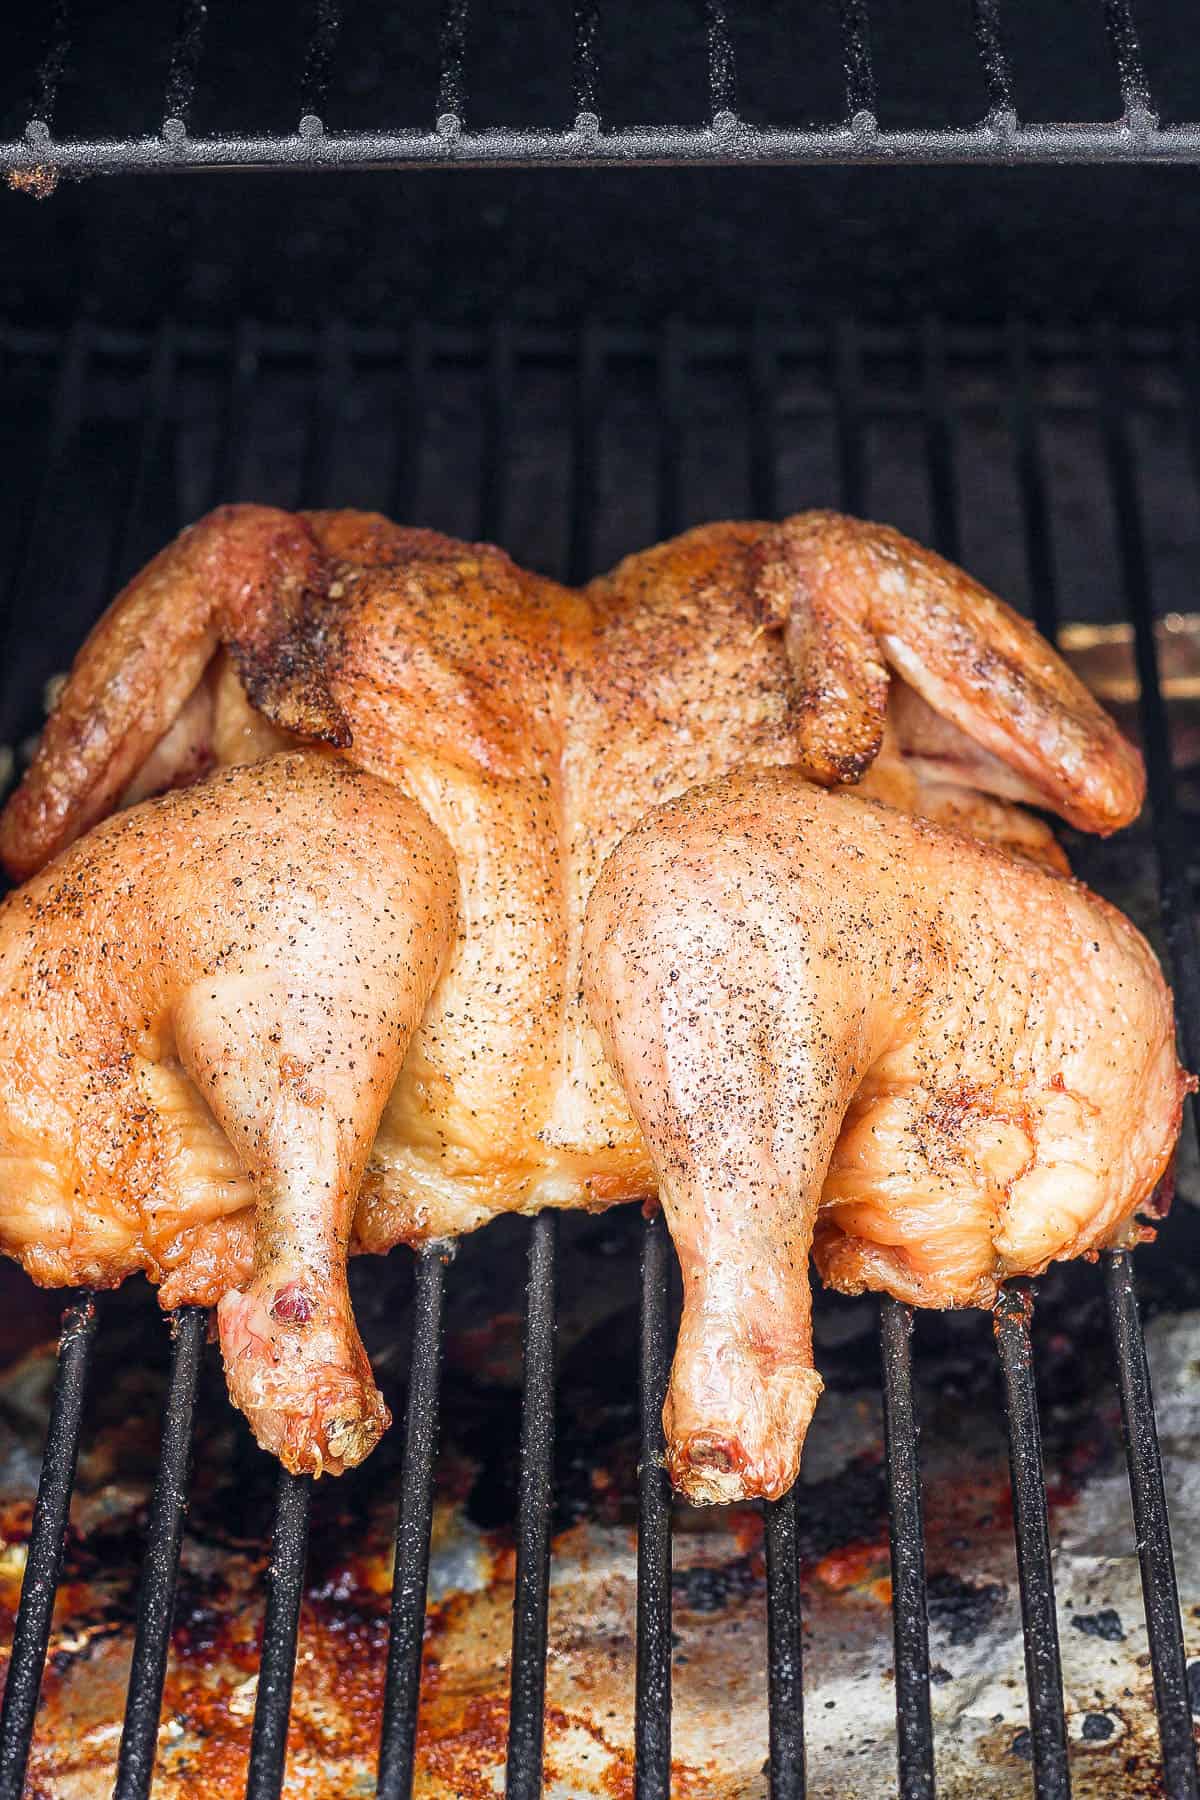
Step 6 – Baste every 30 minutes. Smoke until it reaches an internal temp of 165 degrees F for safety.
Pro Tip – Reverse Sear for Crispy Skin
Finish at a high heat with the skin side down. This can be done on a hot grill or turn up the smoker to a high heat, place the chicken (skin-side down), and let it char for 1-2 minutes.
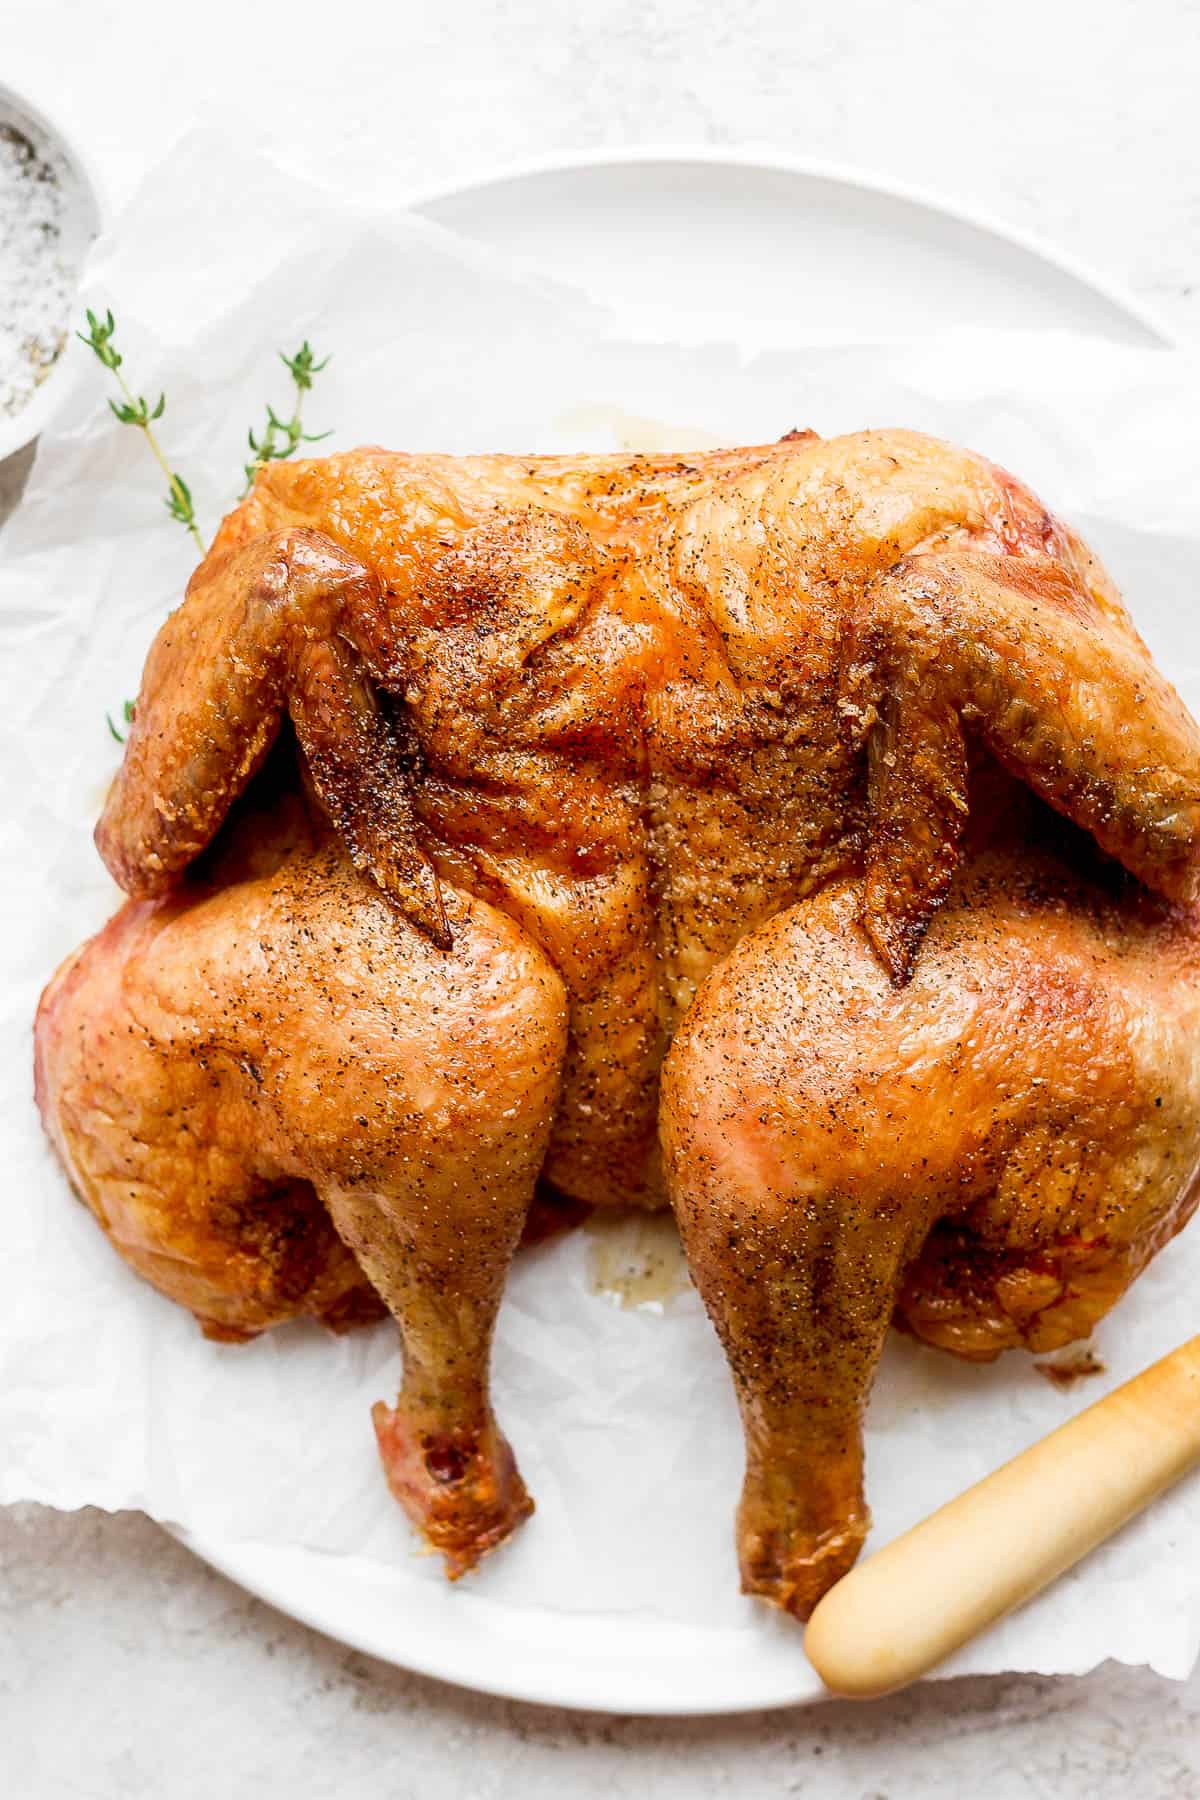
Best Ways To Serve Smoked Spatchcock Chicken
There are so many ways to enjoy this incredibly juicy and smoky chicken. Here are a few favorites:
- Sauces for Dipping: either my homemade bbq sauce or peruvian green sauce would be perfect.
- Side Dishes on the Smoker: it’s already hot, so why not serve with diced smoked potatoes and traeger smoked broccoli.
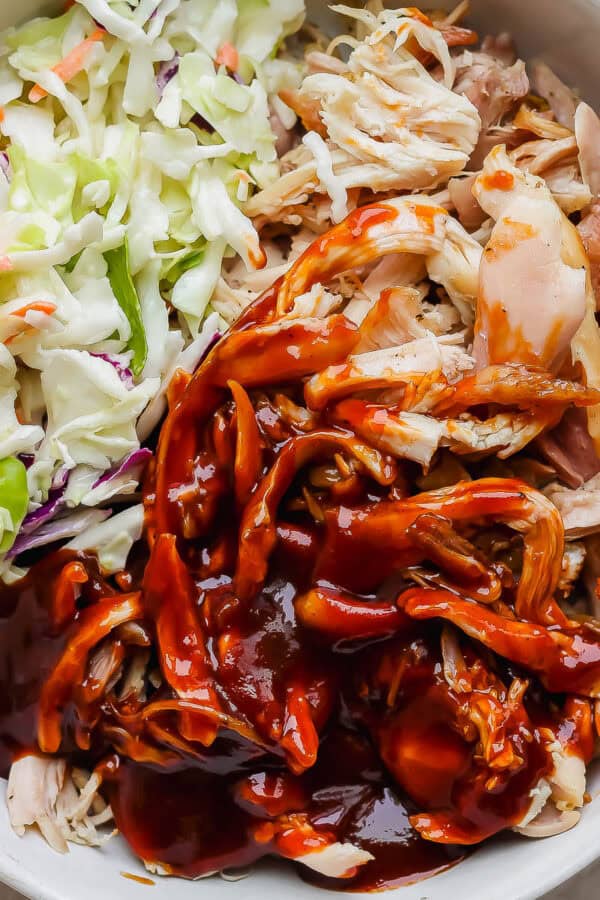
- Side Dishes off the Smoker: enjoy with my creamy coleslaw recipe (the cool creaminess with the warm chicken is SO good) and grilled sweet corn.
- Shred Chicken for Meal Prep: simply shred the chicken and store in the fridge to be used in wraps, salads, or make the best bbq pulled chicken sandwiches.
Smoked Spatchcock Chicken FAQs
Spatchcocking a chicken (aka butterflying a chicken) allows the chicken to lay flat. As a result, the chicken cooks more quickly and evenly than a whole smoked chicken.
You really can’t go wrong with your pellet choice, but we love apple, cherry, hickory, mesquite or pecan.
No flipping is needed when smoking food.
Approximately 3 hours and 30 minutes for a 4 pound spatchcock chicken. That being said, the best way to track the cook time is to keep an eye on the internal temp. There are so many variables when determining total cook time (such as humidity, hot spots on your smoker, wind, etc). Use an internal meat thermometer or probe to track the internal temp.
Low and slow at at smoker temperature of 225 degrees F for best results. This is the best temperature for maximum smokiness and a slow cook time helps to render the fat slowly, giving you a very juicy meat.
Pull the chicken off when the internal temperature is about 160 degrees F (it will reach 165 degrees F while searing and resting). Either have a grill preheated to high heat (500 degrees F) or crank up the smoker as hot as it will go and carefully put the chicken skin-side down for 1-2 minutes (or until the skin is charred).
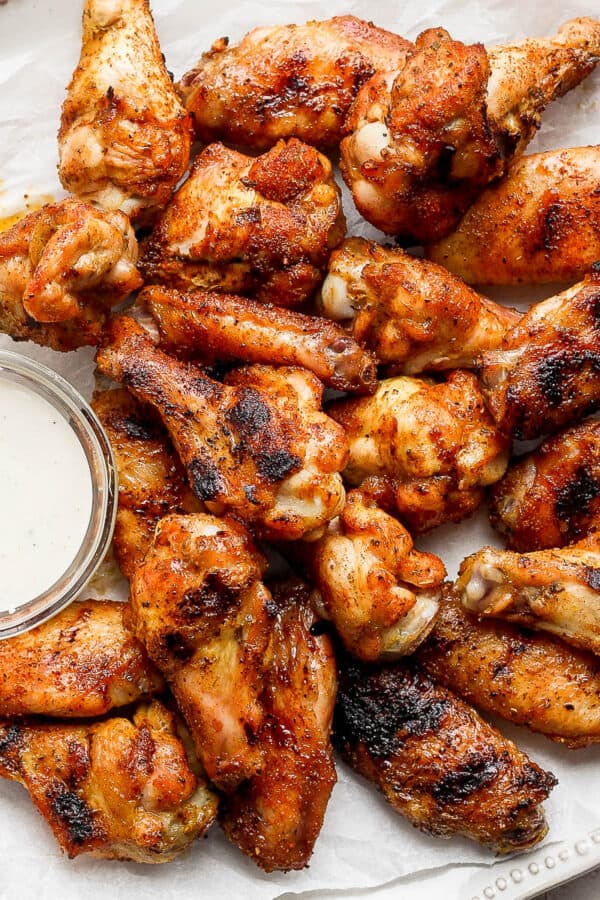
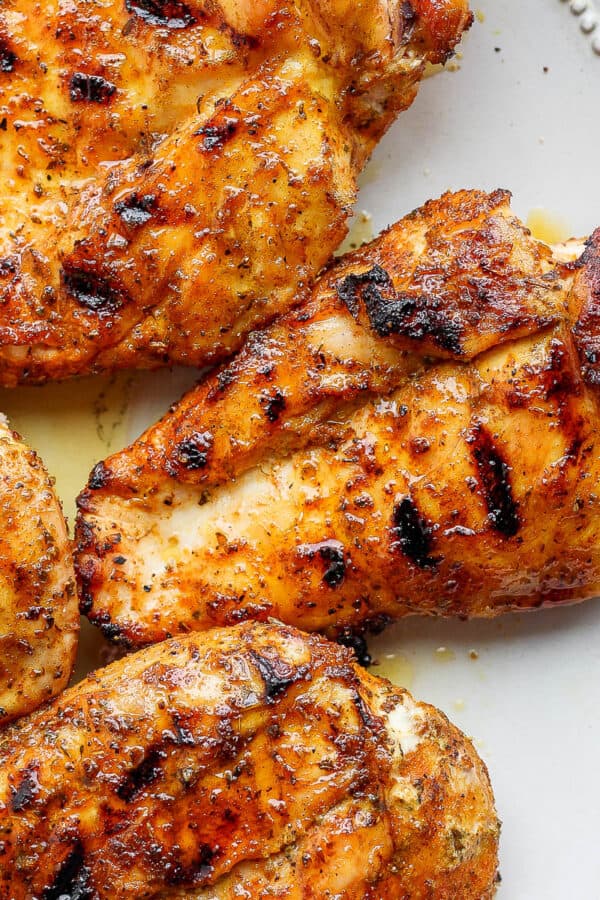
Other Smoked Chicken Recipes You Might Like

Made this recipe and loved it?!
We would love it if you would take a minute and leave a star rating and review – it is also helpful if you made any substitutions or changes to the recipe to share that as well. THANK YOU!
Follow Us on Social
Equipment
Ingredients
- 4 pound whole chicken
- 2-3 tablespoons olive oil, or avocado oil
- 2-3 tablespoons butter, melted (for basting)
Dry Rub:
- 1 tablespoon kosher salt
- 2 teaspoons onion powder
- 2 teaspoons garlic powder
- 2 teaspoons paprika
- 1 tablespoon dried oregano leaves
- ½ teaspoon turmeric
- ½ teaspoon ground black pepper
- ½ teaspoon ground cumin
- ½ teaspoon coriander
- ¼ teaspoon ground ginger
Instructions
- Prep: Preheat smoker to 225℉. Ensure the 4 pound whole chicken is fully thawed and prep by removing any gizzards that are stuffed inside the cavity.
- Remove the Backbone: Place chicken on a poultry-safe cutting board and flip chicken over so that it is breast-side down. The backbone will now be running right down the middle of the chicken. Take a pair of sharp kitchen shears/kitchen scissors and cut along one side of the backbone. Then cut along the other side of the backbone and remove it.
- Flatten Chicken: Next, using a sharp knife cut into the cartilage at the top of the breastbone so that when you flip the chicken over it will lay flat. Alternatively, you can press down on each of the wings at the same time and the breastbone will simply crack, allowing you to flip it over and lay the chicken flat. Once you flip the chicken over feel free to press down on the breast bone until you hear and feel a small crack.
- Season: Pat the chicken dry with a clean paper towel. Drizzle with 2-3 tablespoons olive oil and ensure fully coated.
- Dry Rub: Combine Smoked Dry Rub ingredients in a small bowl and rub all over the chicken (under the skin where you can) and in every nook and cranny.
- Smoke Chicken: Place chicken (breast side up) on the smoker and close the lid. Baste every 30 minutes or so with the melted butter (be quick though). Cook until the internal temperature reaches 165℉, approximately 3-4 hours. (See Notes about getting a nice crispy skin finish). Use a digital meat thermometer or probe to track the internal temp.
- Rest + Serve: Remove from smoker and let rest 10-15 minutes (cover with aluminum foil). Carve and serve!
Notes
- Smoke Time: keep an eye on the internal temp, every smoker can be different and there are always so many variables at play when when determining how long it will take to become fully cooked (such as humidity, hot spots on your smoker, wind, etc). Use an internal meat thermometer or probe to track your internal temp – if the internal temp is plateauing you can always turn up the heat a bit (235 or even 250) towards the end of cooking time.
- Brine: option to use our Smoked Chicken Brine before you smoke! It still turns out amazing even without the brine, but if you have time and want to try something different it is a good one!
- Hot Finish/Crispy Skin: to get a charred/crispy skin finish, pull the chicken off when hits 160 degrees F internal temp. Either have a grill preheated to high heat (500 degrees F) or crank up the smoker as hot as it will go and carefully place the chicken down (breast side down/skin side down) for 1-2 minutes (or until the skin is charred). Remove and let rest.
- Pellets: you really can’t go wrong with your pellet choice, but we love apple, cherry, hickory, mesquite or pecan.
- BBQ Sauce: want to make things saucy – brush on some homemade bbq sauce during the last 10-15 minutes and crank up the heat so the sauce gets tacky.

Caitlin says
We made this recipe this week and it was delicious. Super easy and the flavor of the spice rub was DELICIOUS. We will definitely keep this one in our rotation.
Erin says
Yay! So happy to hear that, Caitlin! Thanks so much for taking the time to leave a review!